




Standing Desk Setup for Renters: A No-Drill Home Office Guide

In this article
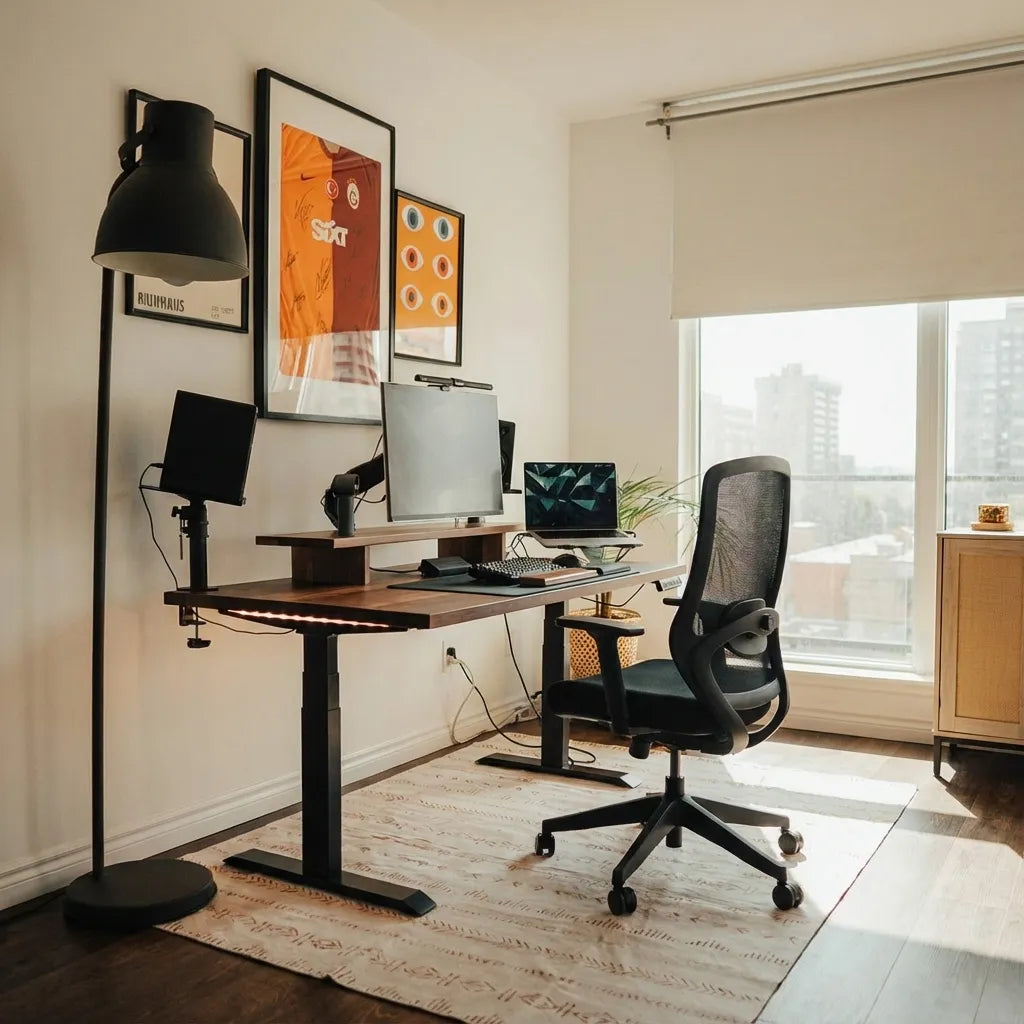
Renting does not prevent you from building a useful sit-stand workspace. It does change the priorities. The best rental-friendly setup protects floors and walls, keeps permanent alterations to a minimum, fits through doors and stairs, and can be packed without rebuilding the room.
This guide focuses on a no-drill approach for a standing desk in an apartment, condo or rented house. Always follow the desk manufacturer's instructions, your lease and building rules. Do not improvise electrical work or modify structural parts of the desk.
Quick answer: build the workstation from freestanding and clamp-on parts
Start with a correctly sized freestanding desk. Add only the equipment needed for everyday work, then use clamp-on, weighted or removable accessories where they are compatible. Route cables on the moving desk itself, leave a safe service loop to the wall outlet and protect contact points with suitable floor pads.
A no-drill setup still needs full movement testing. Raise and lower the loaded desk while watching the walls, window, cables, chair and flooring. Removable does not mean risk-free; every clamp, adhesive product and floor protector must suit the material and the load.
Measure the room and the delivery path
Rental workspaces often occupy bedrooms, living rooms or narrow alcoves. Measure the usable wall length, room depth, baseboards, outlets, heaters, windows and door swings. Then measure the doorway, hallway, elevator and stair turns that the packaged components must pass.
Mark the desk footprint and chair zone with low-tack painter's tape that is suitable for the floor. Include the feet, not only the desktop. The Burotic measuring guide provides a complete checklist for room, equipment and delivery access.
Choose a desk size that can move with you
A larger top gives equipment room but increases weight, handling difficulty and the chance of dominating a small room. Choose width and depth from the equipment you actually use. A laptop and one monitor need less space than multiple displays, speakers and paper work.
Think ahead to disassembly. Keep the original fasteners, labels and instructions together. Photograph cable routes and frame positions before a move. Avoid modifications that make the desk difficult to separate or void the manufacturer's requirements. A modular setup is easier to adapt to the next room.
Protect the floor without destabilizing the desk
Hardwood, laminate, vinyl, tile and carpet behave differently under a desk base. Use floor protectors that are compatible with the finish and wide enough to remain under each foot. Avoid soft pads that compress unevenly or let the desk rock. Do not place one foot on a rug and the other on the bare floor.
Clean trapped grit before setting the desk down, because dirt can scratch as the base shifts. Recheck levelling after the desk is loaded. If a chair mat or area rug is added, verify that it does not interfere with the desk feet or create a raised edge in the standing path.
Keep walls and baseboards outside the moving envelope
A standing desk needs clearance at its highest and lowest positions. Baseboards can push the frame forward even when the desktop appears clear. Monitors, arms, shelves and plants may move backward as the desk rises. Leave a visible gap instead of using the motor to press against the wall.
Test the entire travel slowly before placing wall art or furniture nearby. The standing desk clearance guide explains how to check the three-dimensional moving envelope. In a rental, clearance is often more reliable than adding wall guards or fastened bumpers.
Use a freestanding screen solution when possible
A monitor on its own stable stand requires no wall mounting. A compatible monitor arm can reclaim surface space without drilling the wall, but it transfers force to the desktop. Confirm screen weight, VESA compatibility, desktop thickness, clamp range and rear clearance before installing one.
Do not clamp to glass, a weak edge or an unsupported panel. Keep the cable long enough for arm movement and desk travel. If a fixed monitor stand already gives the right height, it may be the simpler rental-friendly choice.
Choose removable storage carefully
A mobile filing cabinet, freestanding shelf or rolling cart can move to the next home and avoids holes in the wall. Under-desk drawers can also work if the desk and accessory are designed for the load, but many require screws. Do not substitute adhesive tape unless the accessory manufacturer explicitly permits it for the surface and weight.
Keep storage away from knees, chair arms, controls and lifting columns. Open every drawer while the desk is at seated and standing heights. A freestanding cabinet must remain outside the path of the moving desktop.
Plan lighting without permanent fixtures
Use daylight where it can be controlled, not where it creates screen glare. A freestanding lamp or stable desk lamp can provide task light without wall wiring. Keep the lamp base and cable away from the raising mechanism and from the chair path.
When possible, place the screen roughly perpendicular to a bright window. Use existing blinds or renter-approved window treatments. The CCOHS lighting guidance recommends managing reflections and contrast rather than relying on screen brightness alone.
Route power for movement and inspection
Locate the wall outlet before final placement. Use electrical products approved for their intended use in Canada and follow all instructions. Do not daisy-chain power bars, run cords under rugs or pinch them behind the desk. Health Canada advises using certified electrical products and replacing damaged cords or plugs.
Keep device cables on the moving desk, then provide one controlled service loop to the fixed outlet. At maximum height, nothing should pull tight. At minimum height, no loop should touch the floor, chair or columns. Removable hook-and-loop straps can organize cables without becoming a permanent building alteration.
Be cautious with adhesives
Removable adhesive products vary by wall paint, humidity, temperature, surface preparation and load. A product advertised as removable can still lift paint or leave residue. Follow its stated limits and test only where the lease permits. Never support a heavy monitor, power device or safety-critical component with an unapproved adhesive.
For the desk itself, prefer mechanical connections specified by the manufacturer. Use adhesive only for light cable clips or labels when the surface instructions clearly allow it. Removal should be slow and follow the product directions.
Build a reversible workstation in layers
- Place and level the empty desk.
- Test the full height range against walls and windows.
- Add the keyboard, mouse and primary screen.
- Set seated and standing heights.
- Add lighting and only essential accessories.
- Route cables and test the full range again.
- Add removable storage last.
- Photograph the final wiring and keep the hardware list.
This sequence keeps the core workspace usable even if a shelf, drawer or decoration cannot move to the next rental.
Plan for noise and neighbours
Electric desks make brief motor noise, and chairs can transmit impact through hard floors. Keep the base level, tighten only the fasteners specified by the manufacturer and avoid moving the desk late at night if the building is quiet. A suitable chair mat or area rug may reduce rolling noise, but it must not destabilize the desk.
Do not place the desk against a shared wall if monitor speakers or calls regularly disturb others. Headphones, a soft room layout and sensible call volume often solve more than adding permanent acoustic panels.
Common renter setup mistakes
- Buying the largest top before measuring the delivery route.
- Pushing the desk against a wall to save a few centimetres.
- Using wall mounts when a stable freestanding option would work.
- Trusting adhesive load claims without checking the exact surface.
- Running cords under a rug or through a doorway.
- Discarding original hardware and assembly instructions.
- Adding storage before testing legroom and desk travel.
- Assuming the next apartment will have the same layout.
A move-out checklist
- Save photos of the assembled desk and cable routes.
- Label frame parts and keep fasteners in separate bags.
- Clean floor protectors before sliding the base.
- Remove adhesives according to their instructions.
- Inspect walls, floor and cables before packing.
- Confirm that each part fits the planned vehicle and new doorway.
Final recommendation
A good standing desk setup for renters is stable first and reversible second. Measure the current room and the delivery path, choose a desk that fits the equipment, protect the floor, leave lift clearance and favour freestanding or compatible clamp-on accessories. Keep the electrical route visible and testable. A setup that can be disassembled cleanly is more valuable than one optimized for only one apartment.
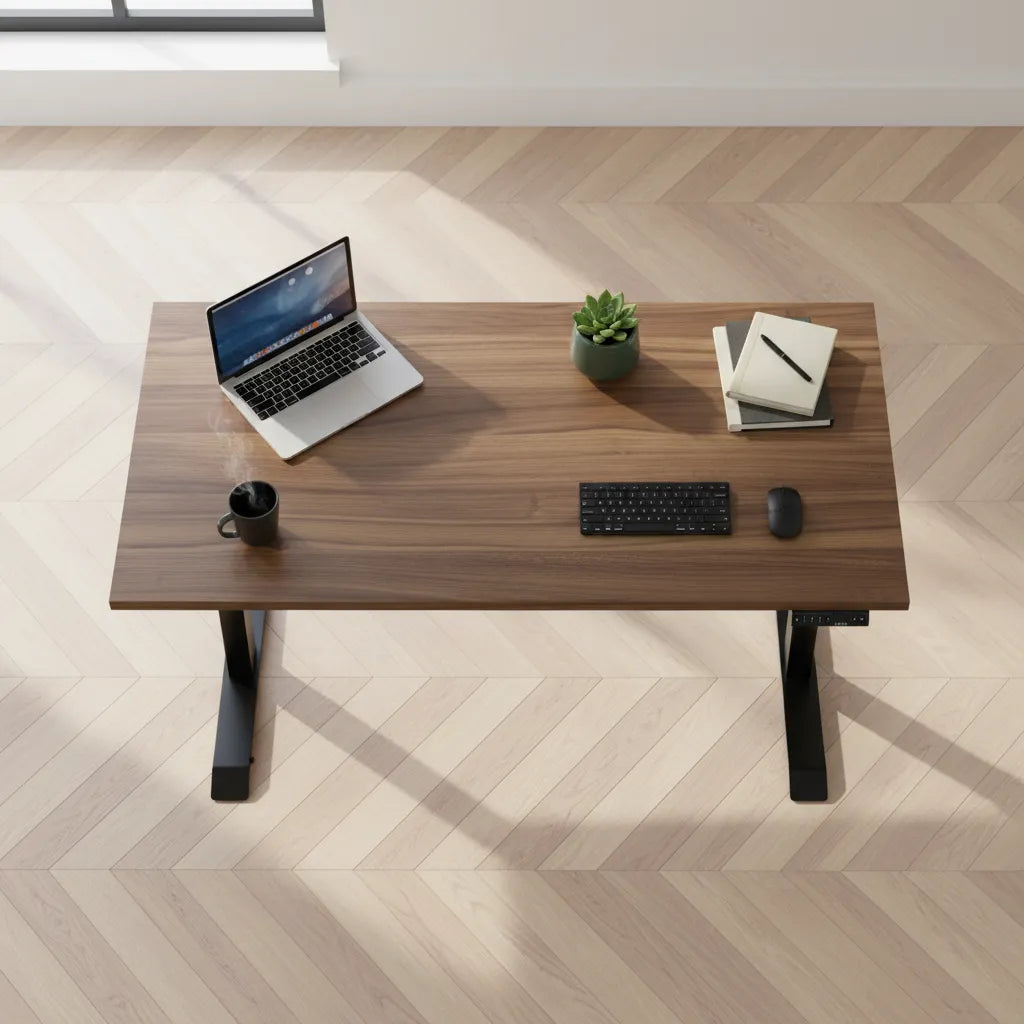
The active Aspire Wood Laminate Standing Desk is one verified Burotic option for a freestanding adjustable workstation. Confirm current dimensions, assembly requirements and specifications on the product page before choosing a size.
Sources: CCOHS, Space Requirements for Office Work; CCOHS, Sit/Stand Desk; CCOHS, Lighting Ergonomics; Health Canada, Electrical Product Safety


Previous article
How to Install an Under-Desk Drawer Without Losing Legroom
Next article
How to Install an Under-Desk Drawer Without Losing Legroom