

How to Set Up a Desk for Computer Work and Handwriting

In this article
A desk that works well for typing can feel awkward the moment you open a notebook. The keyboard occupies the centre, the mouse takes the dominant-hand side and the monitor may leave little room for paper. The solution is not necessarily a larger desk. A better approach is to plan two compatible work zones: a primary computer zone and a clear writing zone that can be reached without twisting or repeatedly moving heavy equipment.
This guide shows how to arrange one workstation for computer work, handwriting, document review and short planning sessions. The goal is a flexible setup that supports comfortable posture and quick transitions, not a perfectly empty desktop.
Decide which task is primary
Begin with the task that occupies most of your day. If computer work is primary, keep the monitor, keyboard and mouse centred on your usual seated or standing position. Build the writing zone beside them. If longhand writing, drawing or paper review is primary, reserve the centre of the desk for that activity and place the screen on an adjustable arm or secondary zone.
Trying to centre every tool at once creates conflict. Instead, establish a neutral home position and a short transition routine. For example, slide the keyboard back, place the notebook in front of you and move the mouse closer to the keyboard. The change should take seconds and should not require lifting the monitor.
Plan three practical desk zones
1. Primary computer zone
The monitor should normally sit directly in front of you for sustained work. The Canadian Centre for Occupational Health and Safety notes that both viewing angle and distance affect comfort. Place the screen so text is easy to read while your head remains balanced over your torso. Do not raise it simply to match a decorative reference photo.
Keep the keyboard and mouse close enough that your upper arms can remain near your body. Burotic's guide to keyboard and hand placement explains how neutral wrists and relaxed shoulders depend on both device position and desk height.
2. Active writing zone
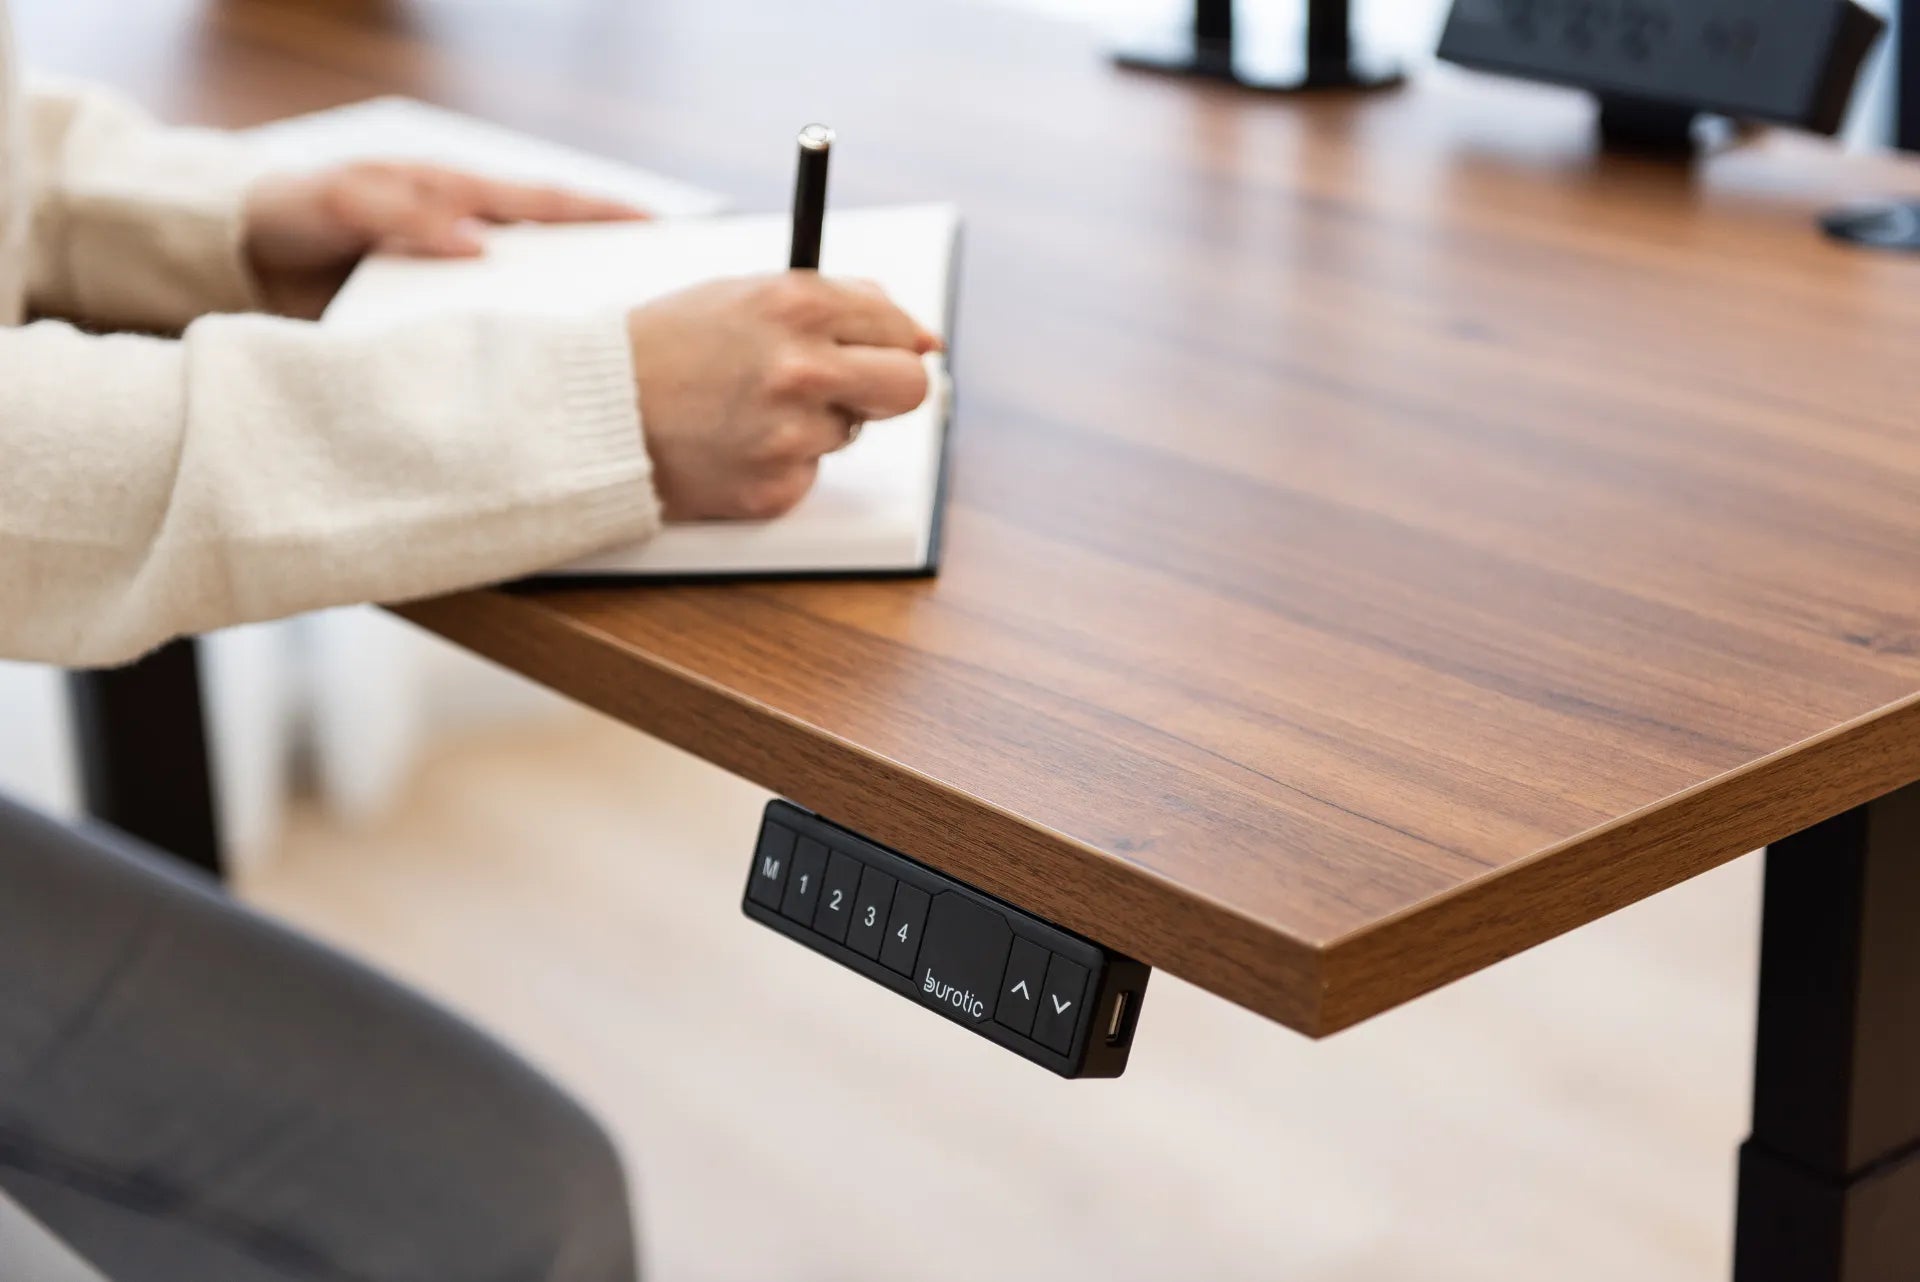
The writing zone should fit the paper size you use most often, plus room for your writing hand and forearm. For a notebook, a compact area may be enough. For letter-size documents, plans or sketchbooks, reserve more depth and width. Keep the active page close enough that you do not have to reach across the keyboard.
A right-handed user often places the notebook slightly right of centre, while a left-handed user may prefer the opposite. That is only a starting point. Lighting direction, mouse location and the amount of space needed for the forearm can change the best side.
3. Reference and storage zone
Items that are consulted but not actively used should move outside the closest reach area. A vertical document holder, monitor stand shelf, drawer or small tray can hold reference pages, pens and charging cables. The purpose is to keep the main surface available without sending frequently used tools to a distant cabinet.
Choose enough depth for both screen and paper
Desk depth determines whether you can position the monitor at a comfortable distance and still leave room for a keyboard and notebook. On a shallow desk, a large original monitor base may consume the area needed for writing. A monitor arm or narrow stand can help, but only if it is compatible and stable.
Before changing furniture, measure the space each task actually uses. Put the screen at a comfortable distance, place the keyboard where your elbows and shoulders feel relaxed, then open your largest regular notebook. If it only fits by pushing the keyboard against the monitor or turning your torso, the usable depth is insufficient for that layout. Burotic's standing desk depth guide offers a structured way to evaluate the tradeoffs.
Keep tools within comfortable reach
The CCOHS guidance on mouse placement warns that limited desk space can push the mouse into an awkward reach. The same principle applies to pens, notebooks and phones. Frequently used items belong in the near zone, while occasional supplies can sit farther away or in a drawer.
Use a simple reach test. Sit back with your shoulders relaxed and elbows near your sides. Sweep your forearms across the surface without leaning. The area covered easily is your active zone. Keep the keyboard, mouse, pen and current notebook within it. Place staplers, chargers and archived notes outside it.
Avoid stacking tasks on top of each other
Do not place a notebook directly over the mouse cable, keyboard palm rest or desk controller. The arrangement may look compact but creates friction every time you switch tasks. Give each active tool a predictable parking place. If space is tight, a keyboard that slides under a monitor stand after use can be more practical than constantly moving a pile of supplies.
Set desk height for the current task
Typing and handwriting do not always feel best at exactly the same surface height. When typing, the keyboard should allow relaxed shoulders and neutral wrists. Handwriting may involve light downward pressure and a slightly different forearm position. An adjustable desk makes it possible to save or learn two nearby heights, but the difference should be based on your posture rather than a universal number.
For writing, move the page close and angle it slightly if that helps you keep the wrist and neck comfortable. Avoid leaning over the page for long periods. If detailed handwriting or drawing occupies a large part of the day, a sloped writing surface may be worth evaluating with professional ergonomic advice.
Use the monitor without blocking the writing zone
A screen centred on a wide original base can divide the desktop. There are three common solutions:
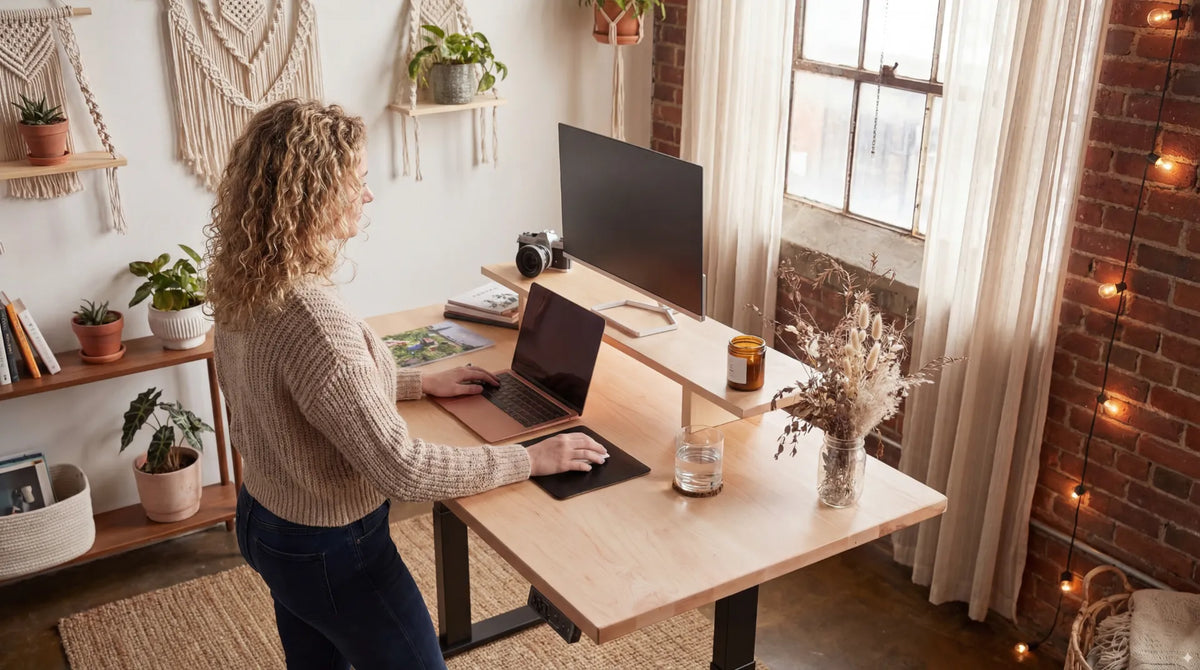
- Monitor stand: raises the display and creates storage below for a keyboard or notebook.
- Monitor arm: frees surface area and lets the display move for different tasks.
- Offset screen: suitable for brief computer reference while writing, but less appropriate for sustained computer work because repeated neck rotation can become uncomfortable.
If computer use remains primary, keep the screen centred and place writing to the side. If you are reviewing a digital source while writing, bring the paper close to the screen rather than turning your body between widely separated zones.
Plan lighting for screens and paper
Paper needs useful task lighting, while screens need glare control. Place a lamp so your writing hand does not cast a strong shadow across the page. A right-handed writer often benefits from light arriving from the left, and a left-handed writer from the right. Adjust this for the actual room and lamp.
Avoid a bright lamp reflecting in the monitor or a window directly behind the screen. The CCOHS overview of lighting survey and solutions recommends managing bright spots, reflections and the orientation of the workstation relative to windows and fixtures. Use matte paper and moderate, adjustable light when possible.
Make sit-stand transitions predictable
When the desktop moves, every object and cable on it moves too. Keep loose papers away from the edge and from gaps around monitor mounts. Route charging cables with enough slack for the highest position but not so much that loops catch on a drawer or frame.
The CCOHS sit-stand desk guidance emphasizes maintaining appropriate screen, keyboard and mouse alignment in both positions. Check the writing zone as well. A notebook that is comfortable while seated may be too far away when standing if you do not move it closer.
A five-minute setup method
- Adjust the chair and desk for your main computer posture.
- Centre the monitor and set a comfortable viewing distance.
- Place the keyboard and mouse within easy reach.
- Open your usual notebook and choose the side that avoids twisting.
- Assign a parking place for the keyboard or notebook during transitions.
- Move occasional supplies to a drawer or reference zone.
- Add task lighting without creating screen glare.
- Test ten minutes of typing and ten minutes of writing.
- Repeat the test while standing if the desk adjusts.
- Change one variable at a time and note what improves comfort.
Common setup mistakes
- Buying a wider desk without checking depth.
- Placing the notebook so far to the side that the torso rotates.
- Using the laptop keyboard for long sessions while the screen is elevated.
- Leaving the mouse behind the notebook and reaching around it.
- Letting decorative objects occupy the active reach zone.
- Moving between sitting and standing without checking cable slack.
- Assuming one arrangement must serve every task without a transition.
Build a flexible desk, not a crowded one
A good desk for computer work and handwriting gives each task enough room at the moment it is performed. Centre the primary task, keep frequently used tools close, create a fast transition and move storage off the active surface. The result can be compact without feeling constrained.
If you are planning a new desk, compare your measurements with Burotic's desk width guide. For persistent discomfort or a workstation used for specialized drawing or writing, seek an assessment from a qualified ergonomics or health professional.


Previous article
Monitor Stand vs. Monitor Arm: Which Is Better for Your Desk?
Next article
Desk Drawer Organization: What to Store and How to Arrange It