





How Much Weight Can a Monitor Arm Hold?

In this article
A monitor arm can hold only the load range stated for that specific arm. Common desk-mounted models span very different capacities, so screen size is not a reliable shortcut. The correct check is the monitor's weight without its removable desktop stand, plus any accessories attached to the moving arm, compared with the arm's minimum and maximum load per screen.
Staying below the maximum is necessary, but it is not the whole test. A screen can also be too light for a gas-spring arm to balance properly. The VESA hole pattern must match, the desk attachment must be compatible, and the screen's shape must allow the plate and screws to seat correctly.
Find the monitor's mounting weight
Look up the exact monitor model on the manufacturer's specification page or manual. Use the weight without the original desktop stand, since that stand is removed when the display is attached to an arm. Do not use shipping weight, packaged weight or the weight of a similar screen size.
Add anything that will move with the display. A VESA adapter, webcam bracket, light bar, small speaker, privacy filter or attached laptop tray can increase the effective load. Cables add little static weight, but tight cables can pull on the arm and make adjustment feel uneven.
For a dual arm, verify whether the published capacity is stated per arm, per monitor or for the complete assembly. A total rating does not automatically mean the load can be divided in any proportion. Follow the manufacturer's exact wording.
Check both the minimum and maximum load
The maximum load protects against overloading the joints, springs and desk attachment. The minimum load matters on spring-assisted models because the spring may push a very light screen upward even at its lowest tension. If the arm lists a range, the monitor and attached accessories should fall inside that range.
Do not choose an arm that merely equals the monitor's published weight with no room for an adapter or accessory. A modest margin makes sense, but buying the highest-capacity arm available is not always better. Heavy-duty springs can be harder to balance with a light display.
Read the specification as a working range
A label such as 4 to 19 lb describes a supported operating range, not a target and not a suggestion that every screen below 19 lb will work. A 3 lb display is outside that example range even though it is below the maximum. For dual models, repeat the calculation for each screen. If the two displays have different weights, each moving arm must be able to balance its own display. Keep the manual available during setup because the adjustment sequence and tension direction vary by design.
Screen size is only a compatibility filter
Manufacturers often list a maximum screen size because a larger display changes reach, rotation clearance and the force created when the screen is extended. Two monitors with the same diagonal can weigh very different amounts. Curved and ultrawide models can also shift the centre of gravity farther from the mounting plate.
Use all published limits together: weight, screen size, VESA pattern, extension and tilt range. If any one limit is exceeded, choose another arm or ask the manufacturer for written confirmation.
Verify the VESA pattern
VESA's Flat Display Mounting Interface standard defines mounting interfaces for flat displays. On many office monitors, four threaded holes form a square on the back. Common patterns include 75 by 75 mm and 100 by 100 mm, but they are not universal.
Measure centre to centre between the holes or read the monitor manual. Check whether the holes are recessed, whether the back is curved, and whether spacers are required. Use only the screw diameter and length specified for the monitor. Screws that are too short may not engage enough thread, while screws that are too long can damage the display.
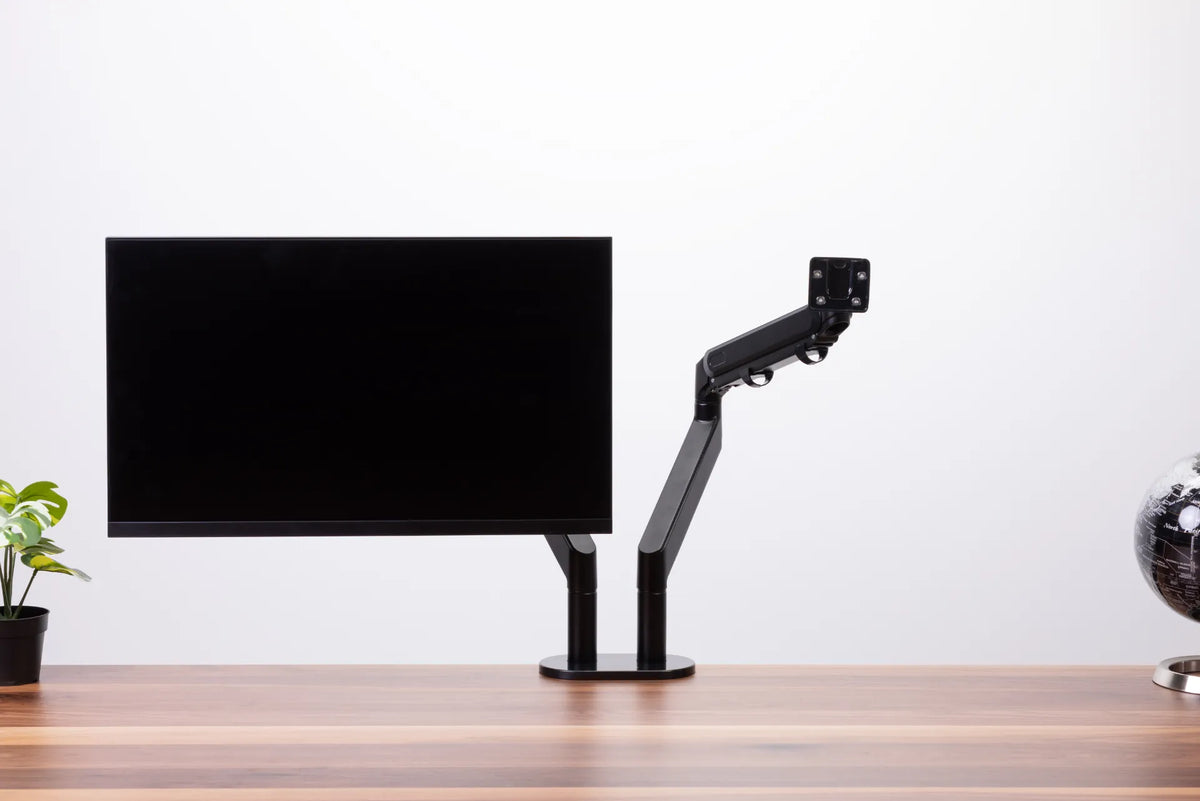
Burotic's current Monitor Arm product page lists compatibility with screens up to 32 inches and 19 lb, with 75 by 75 mm and 100 by 100 mm VESA adapters. Those limits apply to that product. Always recheck the live product page and your monitor specifications before installation.
Confirm that the desk can carry the arm
Monitor weight is transferred through the arm to a concentrated area of the desktop. Check the arm's permitted desk thickness and attachment type. A C-clamp needs a flat, solid area on both the top and underside. A grommet mount needs a suitable hole and enough structural support around it.
A hollow, glass, damaged or strongly bevelled top may require a different solution. Do not assume that adding a pad makes an incompatible desktop safe. Our guide to choosing a monitor arm covers the full attachment checklist.
Also leave enough rear depth for the arm to fold and extend. The article on desk depth for a monitor arm shows how to measure the space behind the screen and near a wall.
What happens when the monitor is too heavy?
An overloaded arm may drift downward, tilt forward, bounce excessively or fail to hold the screen at the chosen height. Tightening the tension beyond the manufacturer's limit is not a safe way to increase capacity. It can damage the adjustment mechanism or hide a mismatch without correcting it.
If an arm drops, support the screen with one hand, lower it to a safe position and verify the model numbers and weight. Check that the tension is adjusted in the direction and sequence shown in the manual. Our troubleshooting guide for a monitor arm that sags or drops explains the distinction between normal adjustment and a load problem.
What happens when the monitor is too light?
A screen below the minimum load may rise on its own or resist staying low. Reducing spring tension may solve the issue only if the monitor remains within the published range. Do not attach improvised weights to the display or arm. Choose a model designed for lighter screens.
How arm position changes the forces
The farther a screen is extended from the mounting post, the more leverage it creates on the joints and desk clamp. A compatible monitor should still be safe throughout the arm's intended range, but a marginal setup may show more movement when fully extended. Keeping the screen closer to the post can improve perceived stability, provided it remains at a comfortable viewing distance.
The Canadian Centre for Occupational Health and Safety recommends placing monitors around arm's length away as a practical starting point, with adjustments for the user and task. Do not sacrifice a comfortable viewing position merely to compensate for an underspecified arm.
A step-by-step capacity check
- Find the exact monitor model and its weight without the desktop stand.
- Add the weight of the VESA adapter and all attached accessories.
- Compare the total with the arm's minimum and maximum load per screen.
- Confirm the screen-size limit and VESA pattern.
- Check the rear shape, screw size and need for spacers.
- Verify desk thickness, material, underside clearance and mounting method.
- Install and tension the arm exactly as directed, supporting the display during adjustment.
The bottom line
There is no universal monitor arm capacity. The safe number is the range published for the exact arm, applied to the monitor without its original stand and with all attached accessories included. Match the load, VESA interface, screen dimensions and desk attachment as one system. If the specifications are missing or the screen falls outside any limit, use a different arm rather than forcing the adjustment.

Previous article
Can You Put a Desk Over a Baseboard Heater?