

How to Plan an L-Shaped Standing Desk Setup That Fits Your Room
Plan an L-shaped standing desk around your room, equipment and workflow with a practical guide to dimensions, orientation, reach zones and cables.

In this article
An L-shaped standing desk can create a generous workstation for multiple monitors, documents, creative tools or two distinct types of work. It can also overwhelm a room if the footprint, orientation and movement zones are not planned before installation.
The most useful L-shaped desk setup is not simply the one with the largest surface. It is the one that places your primary tools directly in front of you, keeps secondary items within sensible reach and leaves enough room for your chair, cables, storage and circulation at both sitting and standing heights.
This guide walks through the decisions that matter before ordering or assembling an L-shaped height-adjustable desk.
Start with the work, not the corner
A room corner may appear to be the natural location for an L-shaped desk, but the shape should first support what you do. List your daily equipment and divide it into primary and secondary work.
Primary work includes the monitor, keyboard, mouse, drawing tablet or other tools used continuously. Secondary work might include paper review, packing, sketching, video calls, reference materials or occasional devices.
An L-shaped surface works especially well when these activities benefit from separate zones. For example:
- computer work on the main surface and documents on the return;
- focused work on one side and video calls on the other;
- professional work on one side and a personal computer or gaming setup on the return;
- design equipment on one surface and administrative tasks on the other.
If all of your equipment fits comfortably on a single straight surface and you rarely change tasks, a rectangular desk may leave more open floor space. Choose the L shape because it improves the workflow, not only because an empty corner is available.
Understand the two parts of an L-shaped desk
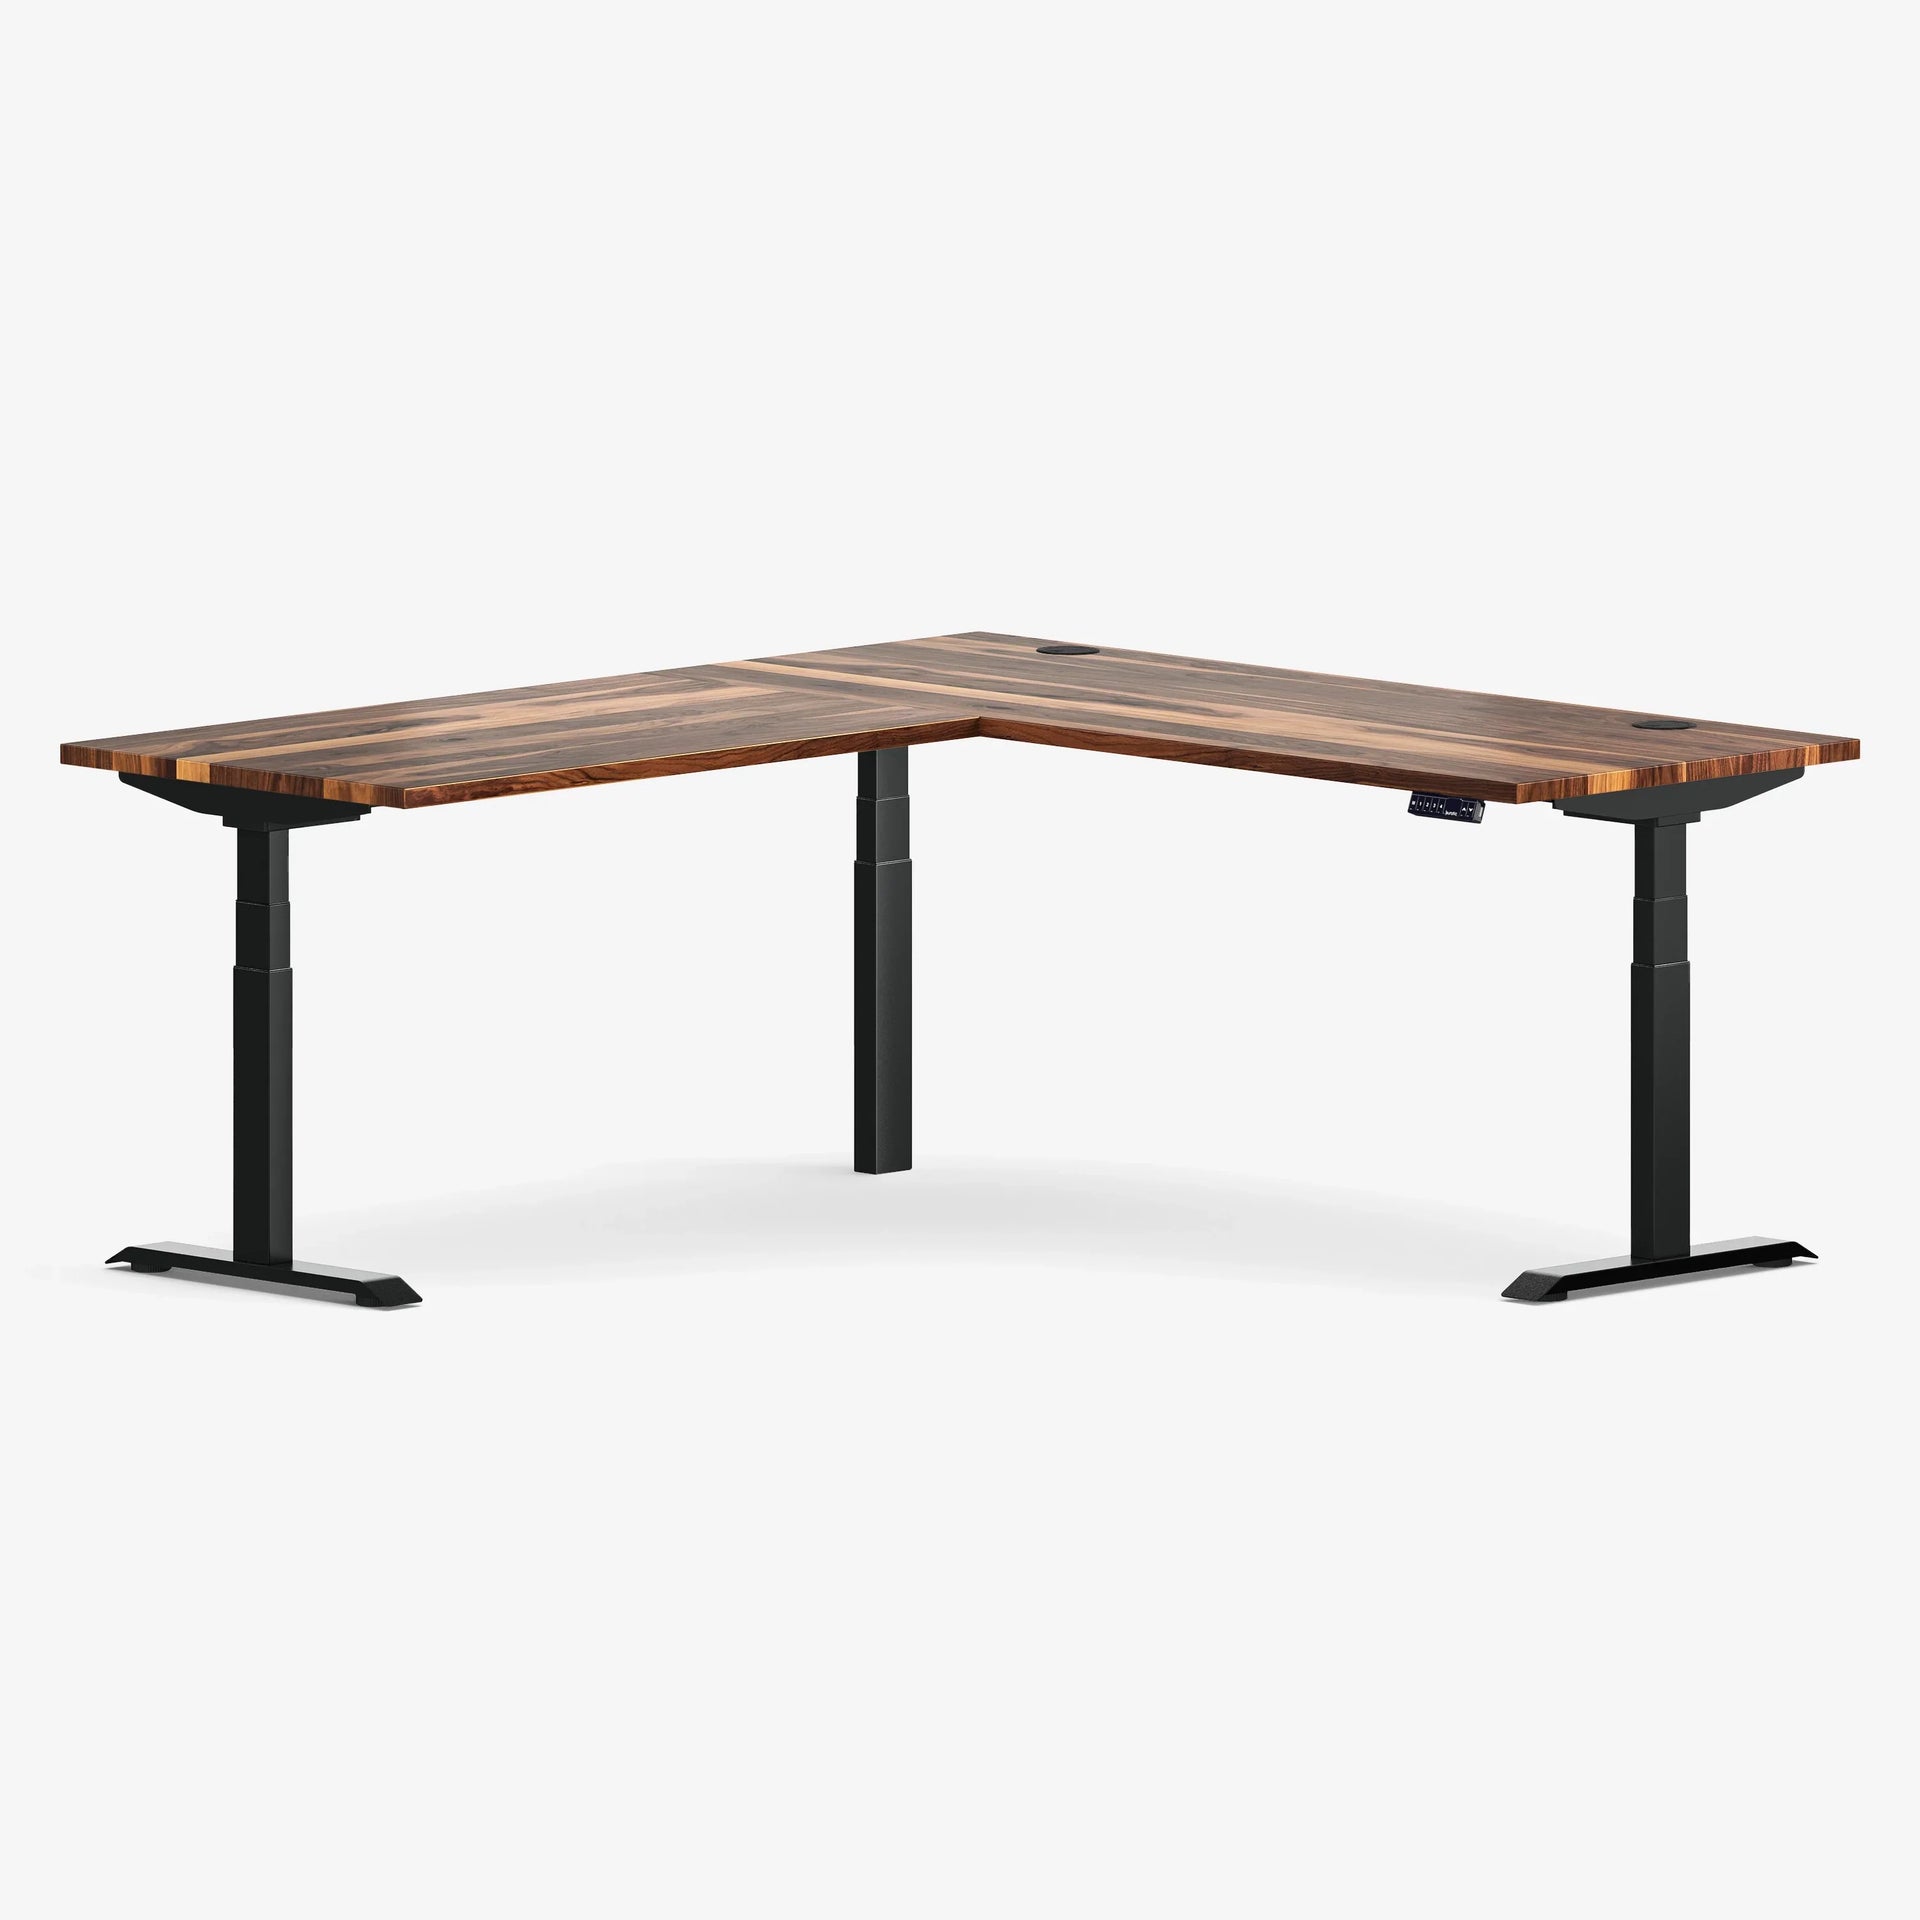
Most L-shaped desks combine a longer main surface with a shorter return that meets it at a right angle. The main surface usually carries the primary computer setup. The return creates a second zone without requiring another independent desk.
Burotic's complete L-shaped Aspire desks use a 30 by 72-inch large top and a 24 by 48-inch small top. These dimensions should be treated as two connected rectangles when planning the room. The return adds useful surface area, but it also occupies wall and floor space that is easy to underestimate from a product photo.
Confirm the required orientation before ordering or assembly. Doorways, windows, radiators, outlets and storage can make one side practical and the other impossible.
Step 1: Measure the entire room
Record the length of both adjoining walls, but do not stop there. Mark the position and swing of the door, closet access, baseboard heaters, floor vents, windows, electrical outlets and network connections.
Also measure any furniture that must remain, including bookcases, filing cabinets and guest chairs. An L-shaped desk may fit against the walls while still blocking a cabinet drawer or narrowing the route through the room.
The Canadian Centre for Occupational Health and Safety notes that office space planning should consider reach, working height, movement of both the person and chair, safety, maintenance access, task sequence, storage and the way furniture is arranged. Those factors are more useful than relying on one universal clearance number.
Step 2: Build a full-size floor template
Use painter's tape to reproduce the exact footprint on the floor. For the Burotic L-shaped configuration, mark one rectangle measuring 30 by 72 inches and a second measuring 24 by 48 inches in the proposed orientation.
Place your chair inside the template and move as you would during a normal workday. Roll backward, stand up, turn toward the return and walk out of the room. Open nearby doors and drawers. This simple test often reveals conflicts that a measuring tape alone misses.
If possible, leave the outline in place for a day. Notice whether it interrupts access to a window, outlet or storage area. A desk can fit mathematically and still feel too large in daily use.
Step 3: Choose the primary working side
Select one straight section as the main ergonomic position. Place the keyboard and primary monitor so you can face them without rotating your torso. The return should support secondary activities rather than forcing you to work in a twisted position for long periods.
The CCOHS describes three reach zones for seated work:
- the primary zone for the most important and frequently used items;
- the secondary zone for items used less often but still within arm's reach;
- the tertiary zone for items used rarely and reached by leaning forward.
Apply the same logic to the L shape. Keep the keyboard, mouse, phone controls and essential documents in the primary zone. Use the return for occasional materials, chargers, reference books or a second task station. The extra surface should reduce reaching, not encourage frequently used items to spread too far away.
Step 4: Plan monitor placement before accessories
Monitor location influences which side should be primary. The main screen should normally sit in front of you. With two monitors used equally, arrange them around your central line of sight. If one screen is secondary, place the primary screen directly ahead and angle the other beside it.
The CCOHS recommends using arm's length as an initial estimate for viewing distance, then adjusting for screen size, resolution, vision and the task. The desk's 30-inch main depth provides room to position many monitor setups, but the stand or mounting hardware affects the usable space.
A monitor arm can free surface area and make screen positioning easier. Before selecting a mounting point, check:
- the clamp location and desktop compatibility;
- whether the arm can move without contacting a wall;
- the monitor's weight and mounting pattern;
- the path of power and display cables;
- whether movement remains clear through the desk's full height range.
Avoid placing a primary monitor deep inside the corner if that position pulls the keyboard away from you or causes the chair to sit awkwardly between the two surfaces. Test the monitor, keyboard and chair as one system.
Step 5: Protect leg and chair clearance
The space below an L-shaped desk is part of the workstation. A drawer, computer tower, cable bundle or filing cabinet can prevent you from approaching the keyboard or turning between work zones.
Keep the primary sitting area clear enough for your legs and chair. The CCOHS recommends arranging the workstation so equipment can be reached without excessive twisting or bending. If you add storage, place it where it does not occupy the space required for your normal seated position.
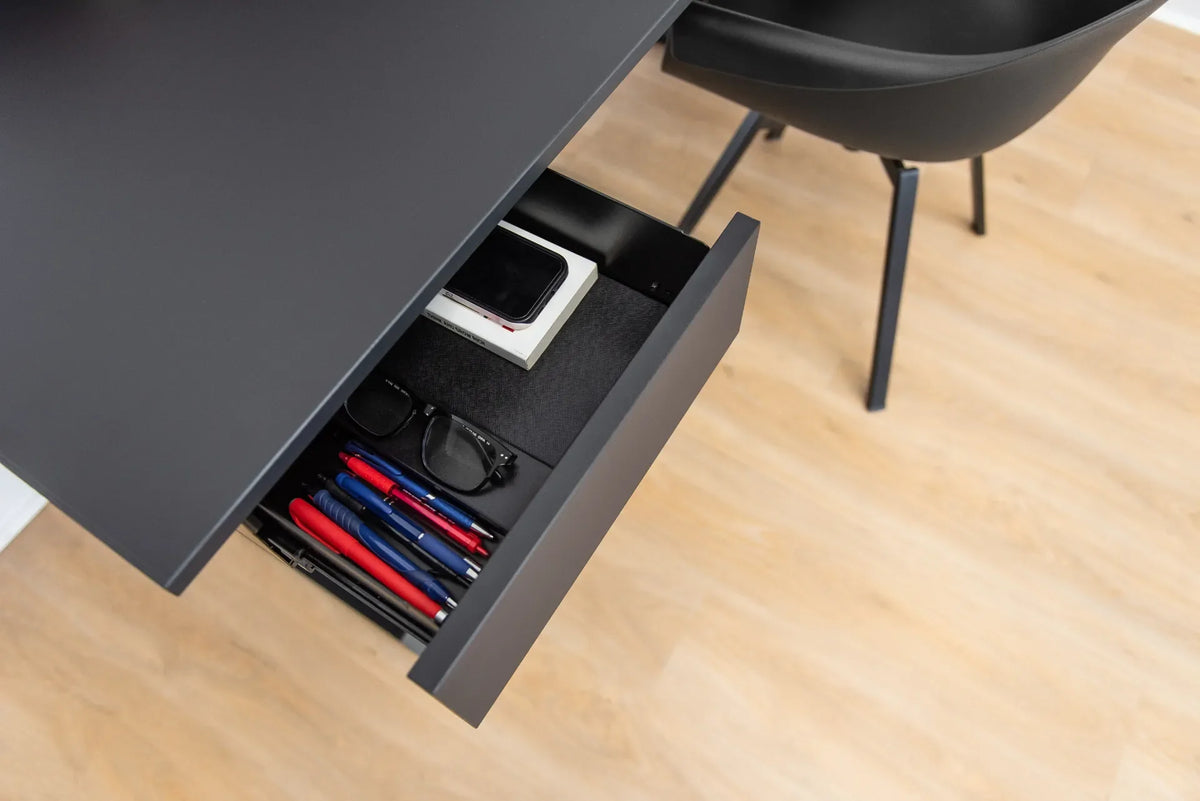
Burotic's Desk Drawer is listed as compatible with Aspire 30 by 60-inch and 30 by 72-inch desks. On an L-shaped configuration, plan it under the large surface and verify that its position will not conflict with the frame, your thighs, your chair arms or the corner connection before installation.
Step 6: Map power and cables
An L-shaped workstation often supports more equipment than a straight desk, so cable planning should happen before assembly is complete. Mark the wall outlet, network connection and location of every device.
Group equipment by the surface it serves. Route connections toward an under-desk tray rather than letting cords descend from both wings. Burotic's Cable Management Solution provides accessible storage for cables that need to be added or removed.
Because the entire desk moves, test every connection at maximum and minimum height. No cord should pull on a port at standing height, and extra slack should not enter the frame at sitting height. Keep cables away from lifting columns, joints and chair paths.
Do not let outlet location dictate an ergonomically poor desk orientation without considering alternatives. If the room needs fixed electrical work, consult a qualified electrician rather than relying on an unsafe chain of extension cords or overloaded power equipment.
Step 7: Check the standing position
Raise the planned work surface to elbow height as an initial ergonomic reference, then adjust for comfort and the task. The keyboard and mouse should remain close enough for relaxed shoulders and elbows near the body.
Standing changes your relationship to the room. A monitor arm may approach a shelf, and a cable bundle may become visible or tight. The raised return may also block a window or interfere with wall-mounted storage that seemed clear at sitting height.
Use the floor template and equipment measurements to evaluate both positions. A standing desk must fit vertically as well as horizontally.
Step 8: Decide between solid wood, laminate and frame-only options
Once the layout is confirmed, choose the surface according to appearance, maintenance preferences and budget.
The L-Shaped Aspire Solid Wood Standing Desk combines the 30 by 72-inch main top and 24 by 48-inch return with natural wood surfaces. Current options listed in Shopify include maple, walnut, cherry, white oak and bamboo.
The L-Shaped Aspire Wood Laminate Standing Desk uses the same listed top dimensions and is currently offered in several colours. Laminate may suit teams or home offices that prioritize simple maintenance and consistent finishes.
For a custom build using compatible surfaces, the L-Shaped Aspire Standing Desk Frame is sold separately. Confirm surface dimensions, weight, fastener placement and structural compatibility before building a frame-only configuration.
Common L-shaped desk planning mistakes
- Measuring only the walls. Chair movement, doors, drawers and walking paths also require space.
- Choosing orientation from a photo. The actual room determines which return direction works.
- Using the corner as the default primary position. The keyboard and monitor should be placed according to posture and reach.
- Spreading daily tools across both wings. Frequently used items should remain in a close primary zone.
- Adding storage after installation. Drawers and cabinets can remove essential leg or chair clearance.
- Ignoring the raised position. Shelves, windows and cables may interfere only at standing height.
- Planning power last. More surface often means more devices and more complicated cable routes.
- Assuming bigger is always better. Surface area has value only when the room and workflow can use it.
A pre-purchase checklist
- Both wall lengths and the full floor area have been measured.
- Doors, windows, vents, heaters and outlets are marked.
- A full-size taped template has been tested with the chair.
- The return orientation is confirmed.
- The primary work activity has a dedicated straight surface.
- Monitor distance and mounting space have been checked.
- Frequently used tools stay within a comfortable reach zone.
- Storage does not block legs, chair movement or the frame.
- Power and data routes work at minimum and maximum height.
- The desk can be delivered through the building and assembled in the room.
Make the extra surface work for you
An L-shaped standing desk earns its footprint when it creates clear work zones without compromising posture or movement. Measure the room as a working environment, not just as two walls. Decide where the primary task belongs, assign the return a specific purpose and test the layout with a full-size template.
With the room, equipment and cable routes planned in advance, the result can provide more usable space while preserving the ergonomic advantages of a height-adjustable workstation.
Sources
- Canadian Centre for Occupational Health and Safety: Space Requirements for Office Work
- Canadian Centre for Occupational Health and Safety: Working in a Sitting Position
- Canadian Centre for Occupational Health and Safety: Positioning the Monitor
- Canadian Centre for Occupational Health and Safety: Keyboard Selection and Use
This article provides general workspace guidance and does not replace an individual ergonomic assessment or professional electrical advice.
Previous article
Standing Desk Cable Management: A Safe, Movement-Ready Setup Guide
Next article
How Long Should You Stand at a Standing Desk? A Practical Transition Plan