

How to Fit Two Monitors on a Small Desk

In this article
Two monitors can make comparison, communication and detailed work easier, but a small desk can quickly become crowded. The solution is not to squeeze every device against the wall. A successful dual-monitor setup starts with the tasks you perform, assigns one screen a clear role, and uses the desk's width, depth and mounting points deliberately.
This guide shows how to fit two monitors on a compact desk without sacrificing a usable keyboard zone or comfortable screen placement. Measure every component before buying hardware. Monitor size alone does not tell you the stand width, total weight or clearance required.
Define how you use the two screens
Before moving equipment, identify whether the screens are used equally or whether one is clearly primary.
- Primary and secondary: face the primary screen directly. Angle the secondary screen inward and place it on the side you naturally turn toward.
- Equal use: centre the pair so the inner bezels meet near your midline. Turn both screens slightly inward.
- Reference screen: a smaller or vertical secondary display can hold chat, documentation or a preview while reducing horizontal width.
- Laptop plus monitor: decide whether the laptop is an active second screen or simply the computer. A stand can raise it, but a separate keyboard and pointing device are usually needed if the laptop screen is elevated.
The CCOHS monitor-positioning guidance explains why this matters: a poorly placed screen can encourage the head and upper body to bend or twist. A two-screen setup should reduce repeated window switching without creating constant neck rotation.
Measure the desk and both monitors
Record usable width, not nominal width
A desk sold as 48 inches wide does not always provide 48 inches of clear mounting space. Subtract shelves, drawers, speakers, lamps and anything clamped to the rear edge. Measure the monitor housings from edge to edge, including curved sections, and note the width of their original feet.
Place paper rectangles or painter's tape on the desk to represent each base. This simple mock-up shows whether the stands leave a centred keyboard zone. If the bases overlap the keyboard or force the mouse to the outer edge, consider a monitor arm, a shelf or a different screen orientation.
Depth determines viewing distance and keyboard room
On a shallow desk, large original monitor stands may push the screens too close and consume the same area needed for the keyboard. Measure from the front edge to the screen plane, not just to the wall. CCOHS advises placing the monitor according to the user's visual needs and tasks, with the screen directly in front for primary work and adjusted to limit awkward head positions.
Our 24 vs. 30-inch desk-depth guide explains the trade-offs among monitor size, arm reach and work surface. A compact depth can work well when mounting hardware moves the screen back without compromising stability.
Choose the space-saving method
Option 1: Keep the original stands
This is the simplest approach when both stands are compact and the desk is deep enough. Staggering the bases slightly can help, but the screen faces should still form a coherent viewing arc. Avoid placing one monitor far behind the other, which changes viewing distance and can create reflections.
Original stands can also be practical on desks whose rear edge cannot accept a clamp. Check whether the stands provide enough height adjustment. If not, a stable riser may help.
Option 2: Use a monitor shelf or stand
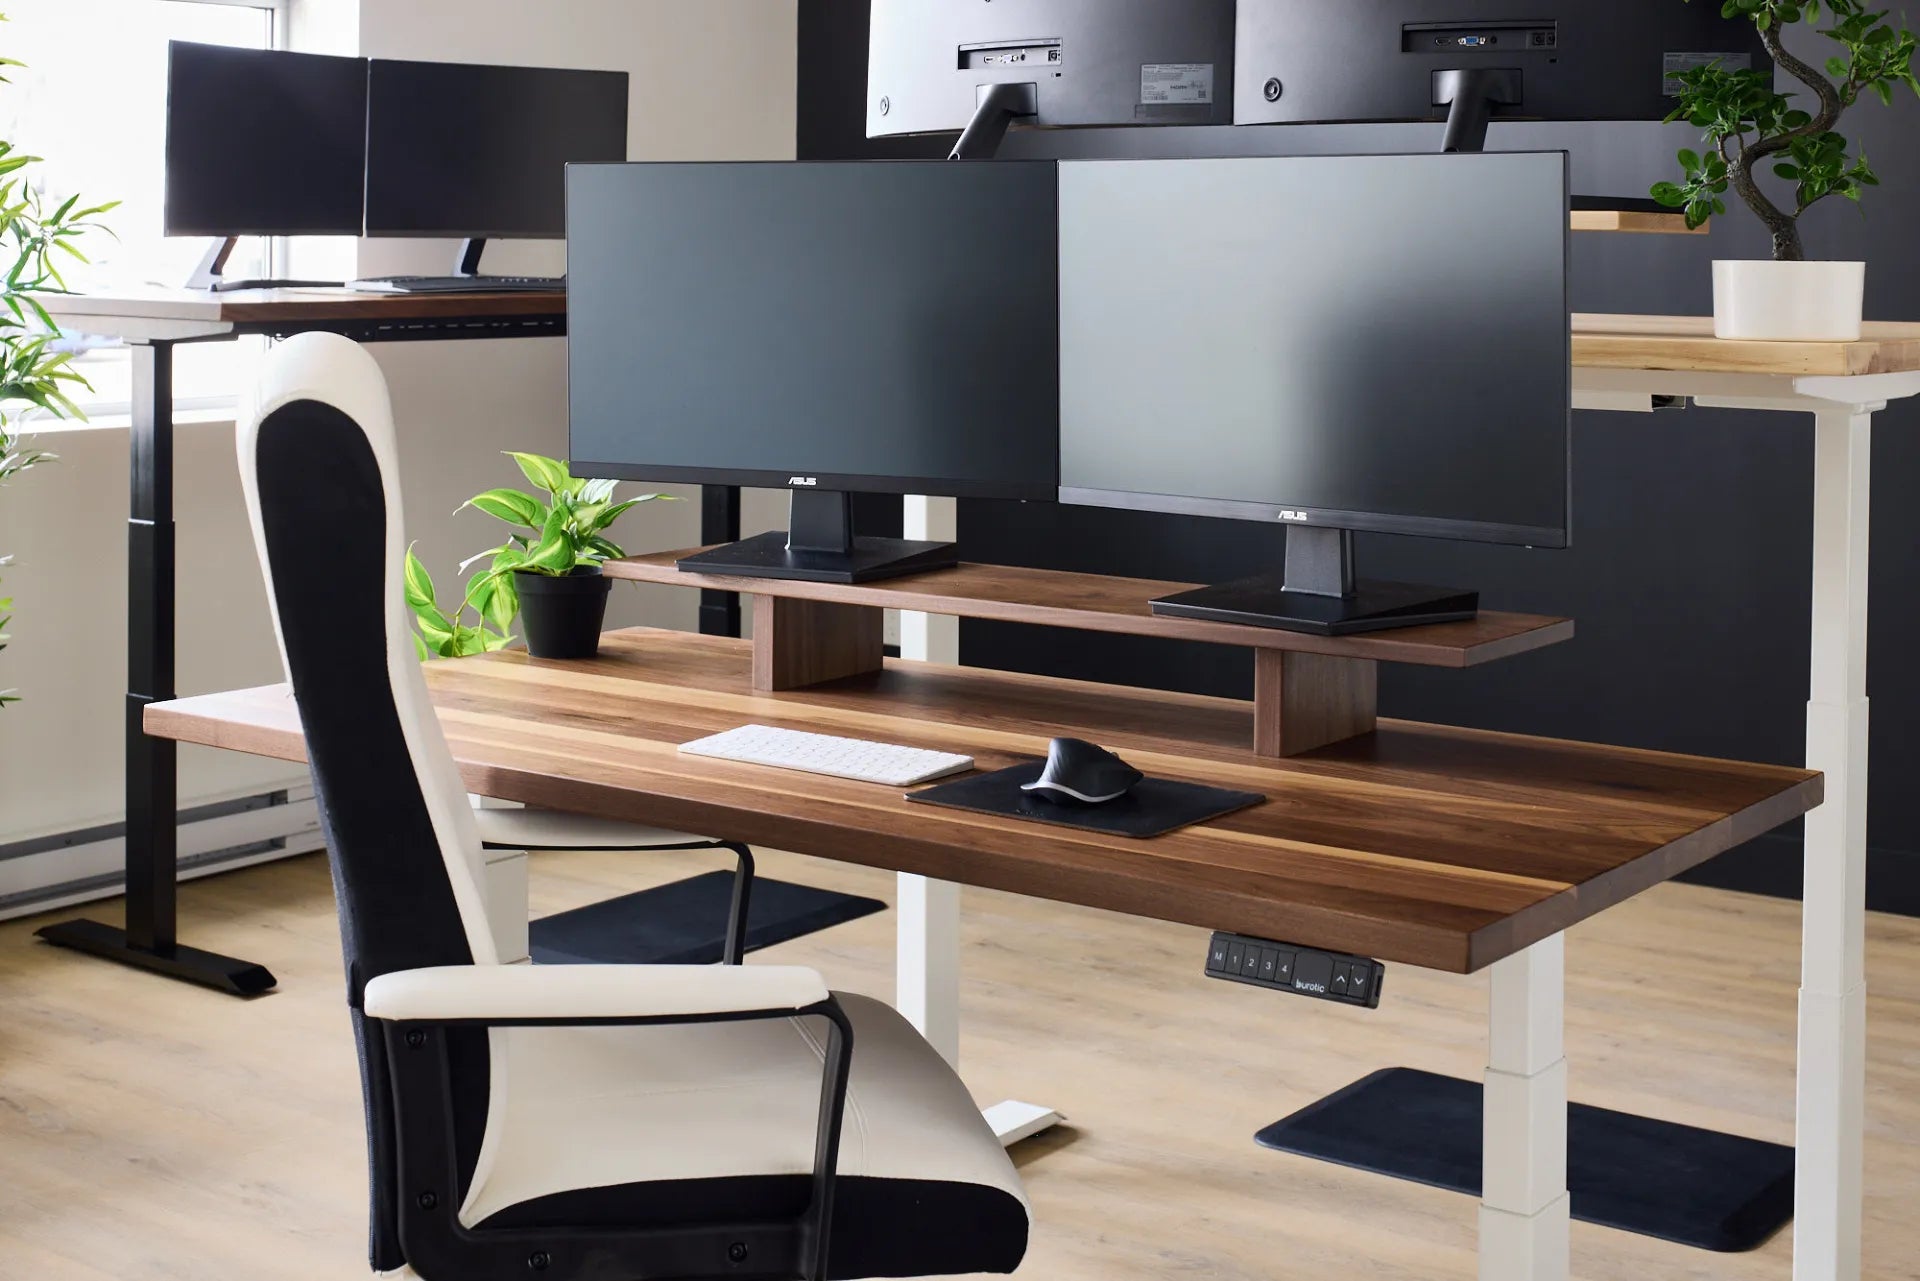
A monitor stand can create a second level for screens while preserving room below for small items. Check its usable width, load limit and leg placement against the monitor feet. The photo accompanying this article shows two screens placed on a wood shelf in a showroom workspace, with the keyboard and mouse zone left open below.
A shelf does not automatically solve screen height. Measure the top surface and the height range of each monitor stand. Your preferred screen position depends on your vision, lenses, posture and task, so treat generic eye-level slogans as a starting point rather than a precise prescription.
Option 3: Mount one or both monitors on arms
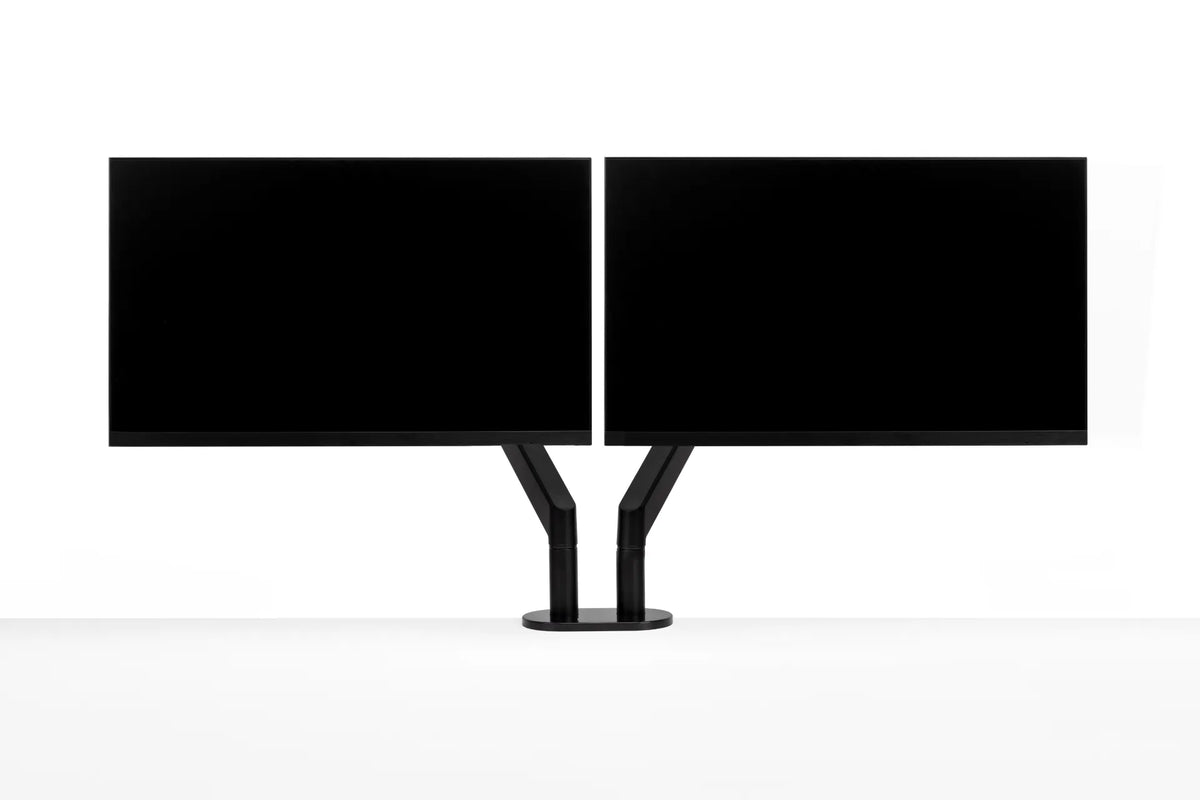
A single or dual monitor arm can recover surface area and make alignment easier. Compatibility comes first. Confirm the following for every screen and desk:
- the VESA mounting pattern;
- the monitor weight without its base;
- the arm's capacity per screen;
- the desk thickness and material;
- the clamp or grommet opening range;
- rear and side clearance through the full motion range;
- the location of frame rails, cable trays and drawers below the desktop.
A dual arm keeps both screens on one mounting point, while two single arms can offer more independent positioning. Neither choice is universally better. A wide curved display, two unequal screens or a desk against a wall can change the answer. Use Burotic's monitor-arm compatibility checklist before selecting hardware.
Build the layout in the right order
- Clear the desk: remove accessories so the actual usable surface and rear edge are visible.
- Place the chair and keyboard: establish the user's midline and comfortable input position first.
- Position the primary screen: put its active area directly in front of the user.
- Add the secondary screen: angle it inward and keep the most-used portion close to the primary.
- Set distance and height: adjust for clear viewing without leaning forward, raising the chin or dropping the head.
- Test real tasks: open the applications used together and observe how often the head must turn.
- Route cables last: preserve enough slack for screen adjustment and sit-stand movement.
If both monitors are equally important, start by centring the seam between them. If one is used for 80 percent of the day, centring the seam can create unnecessary neck rotation. Let actual use determine the geometry.
Use portrait orientation strategically
Turning the secondary screen vertically can reduce total width and suit code, documents, chat or long web pages. Confirm that the monitor, stand or arm supports rotation and that cables remain relaxed. Portrait orientation is less helpful when the secondary task relies on wide timelines, spreadsheets or video.
Mixed orientations also create different top and bottom edges. Align the screen areas around the region you look at most, not necessarily the outer frames. A few minutes of real work will reveal whether the pointer transitions and window placement feel natural.
Plan cables and power for a compact surface
A small desk becomes messy quickly when power bricks and excess cable sit in the active work zone. Route video, USB and power cables together only where practical, keep connectors accessible, and avoid tight bends. Label similar cables before placing them in a tray.
For a height-adjustable desk, test cables at the lowest and highest planned settings. Leave a controlled service loop between the moving desktop and fixed wall outlet. Move the desk slowly while watching every connection. A cable that appears long enough when seated may pull tight at standing height.
Keep clamps away from damaged edges and follow the mounting instructions supplied with the hardware. If the desktop material or internal construction is uncertain, ask the desk or arm manufacturer before clamping.
Protect the keyboard and mouse zone
The point of raising or mounting monitors is to preserve useful working depth. Keep the keyboard close enough that the elbows can stay near the body. The mouse should sit at the same general level and beside the keyboard, not around the monitor base. A compact keyboard can reduce the reach to the mouse, but only if its layout supports your work.
If you also use a notebook, tablet or document, reserve a specific landing zone. Sliding the keyboard aside for handwriting may be more practical than maintaining two crowded zones at all times.
Common dual-monitor mistakes on small desks
- Buying an arm before checking compatibility: screen weight and VESA pattern are only part of the check.
- Mounting both screens symmetrically when one is primary: the layout should reflect actual usage.
- Pushing screens too high to clear clutter: remove or relocate clutter instead of creating a viewing problem.
- Ignoring rear clearance: arm joints and cables need room behind the desk.
- Routing cables tightly: adjustment and desk movement require controlled slack.
- Using screen size as the only measurement: feet, bezels, curvature and arm geometry all affect fit.
Final setup check
Sit in your normal working position and look straight ahead. The primary content should be easy to find without turning. Open your common combination of apps, move windows between screens and work for at least 20 minutes. Then check for leaning, repeated head rotation, glare and mouse reach. Make one adjustment at a time.
A small desk can support two monitors when each screen has a defined role and every mounting decision protects the user's central work zone. Measure first, choose compatible support hardware, and let real tasks guide the final angles.
Sources consulted: Canadian Centre for Occupational Health and Safety, Positioning the Monitor and Office Ergonomics, reviewed August 27, 2026; Government of Canada, The Fundamentals of Ergonomics, reviewed August 27, 2026. Canadian competitor content from EffyDesk and Ergonofis was reviewed on August 27, 2026 to assess current consumer questions and coverage.
Previous article
How to Choose an Office Chair for Programming and Long Coding Sessions
Next article
Where to Put a Desk in a Bedroom or Small Home Office