

How to Choose a Monitor Arm: 8 Compatibility Checks Before You Buy
Check VESA spacing, monitor weight, desktop thickness, clamp clearance and movement before choosing a single or dual monitor arm.

In this article
A monitor arm can improve screen positioning and recover valuable desk space, but only when the arm, monitor and desktop are compatible. Screen size alone is not enough. You also need to check the monitor's weight without its original stand, the VESA mounting pattern, desktop thickness, clamp clearance, wall clearance and the way cables will move.
This guide explains the eight checks that matter most before buying a monitor arm. It also shows how to choose between single and dual models and how to position the screen after installation.
1. Confirm that the monitor has a VESA mount
Start at the back of the monitor. Most monitor arms attach to four threaded holes arranged in a square. This pattern is commonly identified by its horizontal and vertical spacing in millimetres, such as 75 by 75 mm or 100 by 100 mm.
Check the monitor manual or manufacturer specifications rather than estimating from the screen size. Two monitors with the same diagonal measurement can use different mounting patterns. Some displays hide the mounting holes behind the original stand or a removable cover.
If the monitor does not have a standard mounting interface, a manufacturer-approved adapter may be available. Confirm that the adapter is designed for the exact monitor model and that the combined arrangement remains within the arm's weight rating. Avoid universal brackets that grip the edges of a display unless the monitor and bracket manufacturers explicitly support that installation.
2. Use the monitor's weight without its original stand
The arm supports the display panel, not the removable base that normally sits on the desk. Look for the monitor's weight without the stand in the technical specifications. If only shipping weight or total packaged weight is shown, contact the manufacturer before choosing an arm.
Do not select an arm based only on a maximum screen size. A compact professional display can weigh more than a larger basic model. Curved and ultrawide monitors may also place their centre of mass farther from the mounting plate, which can demand more from the tilt joint.
Choose an arm whose supported range includes the actual monitor weight. A gas-spring arm can drift downward if the screen is too heavy, but an extremely light screen can also fall outside the spring's usable range. Staying comfortably inside the stated range is preferable to operating at the limit.
3. Check the screen-size rating
Screen-size limits help indicate whether the arm can provide enough physical clearance. A very wide monitor may collide with the post, a second screen, a wall or the desktop even when its weight is acceptable.
For a dual setup, consider the total width of both displays and the angle between them. Two 27-inch monitors need more horizontal room than a single 32-inch screen. Thick bezels, portrait rotation and curved panels also change the required space.
Measure the monitor's actual width and height, not only its diagonal size. Reproduce the planned screen positions with cardboard or painter's tape if wall clearance is tight.
4. Measure desktop thickness and edge clearance
A C-clamp needs two things: a compatible desktop thickness and a clear area beneath the rear edge. Measure the actual surface with a ruler or calliper. Do not rely on a nominal furniture description.
Then inspect the underside. A frame rail, cable tray, drawer, bevelled edge or reinforcement bar can prevent the lower clamp plate from sitting flat. A desktop can be within the arm's thickness range and still be incompatible because the clamp has nowhere to go.
The current Burotic Monitor Arm uses a C-clamp and lists compatibility with desktop thicknesses from 0.39 to 2.75 inches. It includes rubber pads intended to protect the desktop. Confirm the current specifications and inspect the intended mounting area before ordering.
For a solid wood surface, the clamp should bear on a flat, structurally sound area. Do not place it over a live edge, decorative profile, joint, crack or unsupported extension. Tighten according to the arm instructions. Excessive force is not a substitute for proper compatibility.
5. Choose the right mounting position
The easiest place to attach an arm is not always the best place to view the monitor. Work backward from the desired screen position.
The Canadian Centre for Occupational Health and Safety recommends using approximately arm's length as an initial viewing-distance estimate, then adjusting for screen size, resolution, vision and the task. The monitor should normally sit directly in front of the user, with the viewing area at or below horizontal eye level.
Place the clamp where the arm can reach that position without being fully stretched. An arm extended to its maximum reach places more leverage on the mount and may feel less stable when the desk moves.
Also check the rear movement envelope. Many articulated arms swing behind the desktop when the screen is pulled closer. A desk placed tightly against a wall may need to move forward, or the arm may need to be mounted slightly off-centre.
If desktop depth is part of the challenge, review Burotic's 24-inch versus 30-inch desk depth guide before finalizing the screen layout.
6. Decide between a single and dual monitor arm
Choose a single arm when:
- you use one monitor;
- two screens need very different positions;
- you may replace one monitor with a different size later;
- you want to distribute mounting points across the desktop;
- independent adjustment is the main priority.
Choose a dual arm when:
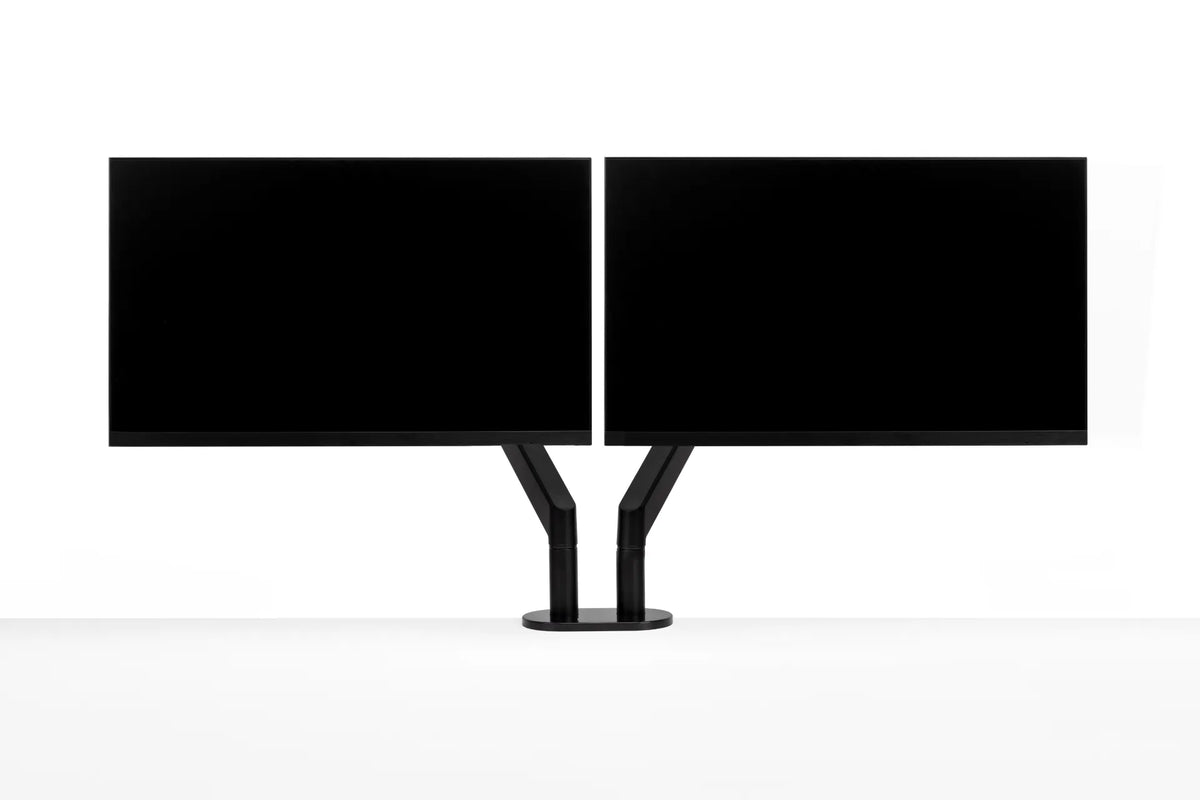
- two compatible monitors are used together;
- you want one central mounting point;
- the screens have similar dimensions and working heights;
- the desktop and clamp location can support the combined setup;
- you have confirmed that both displays can reach the desired positions.
A dual arm can create a clean installation, but it does not guarantee that two monitors will align perfectly. Differences in case dimensions, VESA-hole height and screen weight can affect alignment. Compare the rear mounting location on both monitors before purchase.
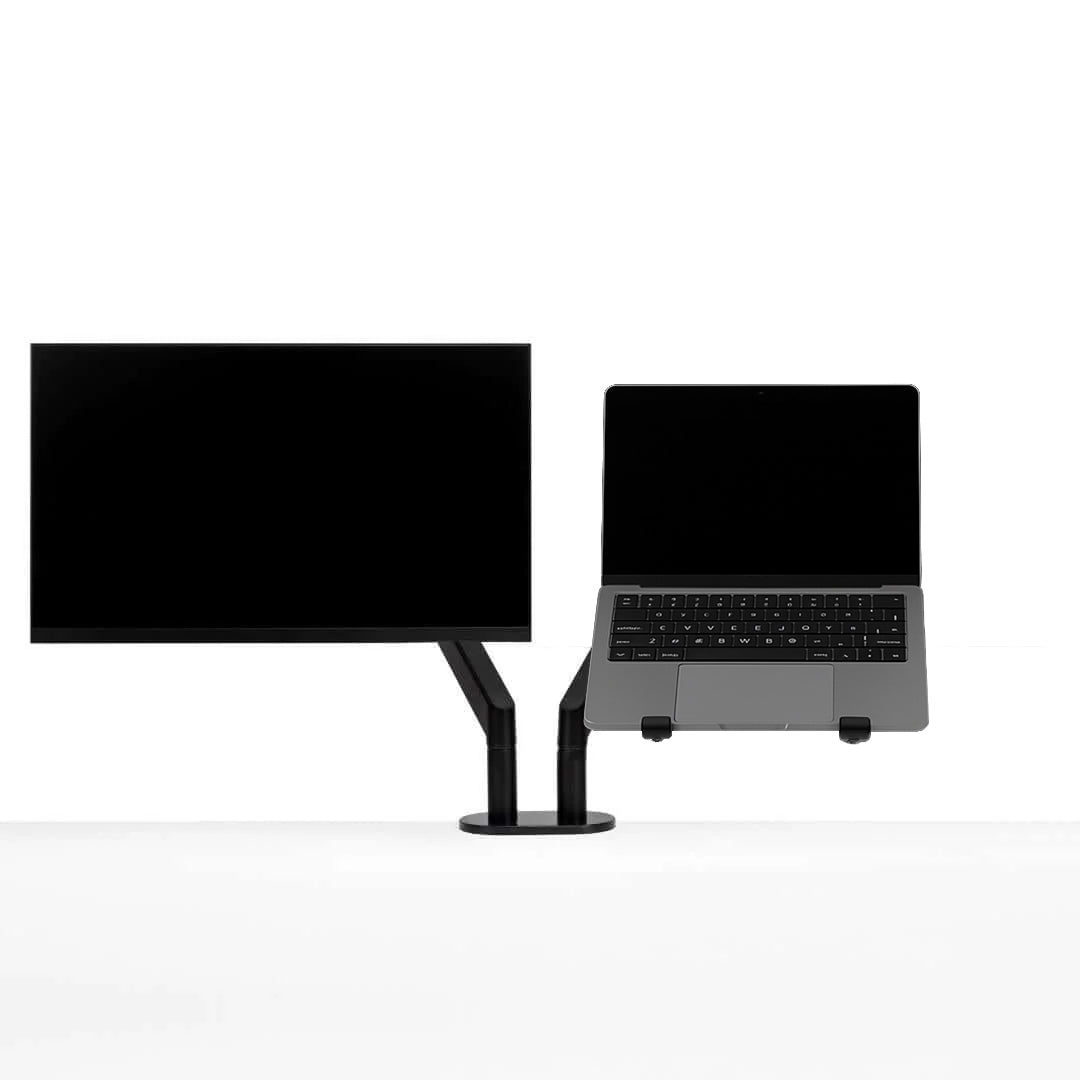
Burotic currently offers single and dual versions in black or white, with an optional laptop stand. The product page lists compatibility with VESA 75 by 75 mm and 100 by 100 mm monitors measuring 32 inches or less and weighing 19 lb or less. Confirm the specification for the selected configuration, especially when mounting two different displays.
7. Account for rotation, tilt and daily movement
Think about what you actually adjust. A programmer may rotate one display vertically. A designer may pull a screen closer for detailed work. A shared workstation may need frequent height changes. A mostly fixed accounting setup may require less movement.
The Burotic arm currently lists 360-degree rotation and a tilt range from negative 60 to positive 90 degrees. Those figures describe the mechanism, but the usable range depends on the monitor dimensions, cable length and nearby walls or objects.
Test portrait rotation against the desktop. A tall screen may contact the surface when the arm is lowered. With two displays, check whether one can rotate without striking the other.
On a standing desk, the arm and screen travel with the desktop. The mount should remain stable during height adjustment, and its path should stay clear of shelves, walls and lighting.
8. Plan cable length and routing
A monitor arm changes the cable path. Power and video cables must travel from the screen, through or along the arm, then toward the computer, dock or cable tray.
Leave enough local slack at each joint for tilt, rotation and extension. Do not pull connectors sideways or bend cables sharply near the monitor. At the same time, avoid large loose loops that can catch when the arm or desk moves.
Integrated cable clips help guide wires, but they do not make a short cable longer. Move the arm through every intended position before closing clips or applying final ties.
For a complete moving-desk plan, use Burotic's standing desk cable management guide. It explains how to separate the moving desktop zone from fixed wall connections and how to test cables at minimum and maximum height.
How to set the monitor after installation
Mount compatibility is only the first half of the job. The final screen position should support the user and the task.
- Adjust the chair and keyboard first. Keep shoulders relaxed, elbows close to the body and wrists in line with the forearms.
- Place the primary screen directly ahead. Avoid working with the head turned for long periods.
- Start around arm's length away. Adjust distance so text can be read without leaning forward.
- Set the screen at a comfortable vertical level. The CCOHS notes that a monitor placed too high can create more discomfort than one positioned slightly lower.
- Angle the screen to control glare. Screen placement should not force an awkward head position to avoid reflections.
- Test sitting and standing positions. Make small adjustments if viewing distance or height changes with posture.
People who wear progressive lenses may prefer the screen lower than a generic eye-level rule suggests. Individual vision, screen size and task demands matter more than copying a fixed measurement from an online chart.
Special cases to check
Ultrawide and curved monitors
Use the actual panel weight and mounting location. Curvature can shift the centre of mass forward, while extra width increases the chance of contact with a wall or second display.
Monitors with recessed VESA holes
A recessed mounting area may require manufacturer-approved spacers or specific screws. Use only hardware that engages the threads correctly without contacting internal components.
Thin or hollow desktops
Do not assume that a clamp is safe simply because it can tighten. Confirm the desktop construction and the arm manufacturer's requirements. A reinforcement plate may spread the load when explicitly supported, but it cannot make a weak or damaged surface structurally suitable.
Desks with rear bevels or live edges
The clamp plates need flat contact. Choose another location or a different mounting method when the edge profile prevents full engagement.
Desks against a wall
Measure the arm's rear sweep. The monitor may need more wall clearance than its original stand, particularly when pulled toward the user.
Common monitor arm buying mistakes
- Checking screen size but not weight.
- Using packaged weight instead of panel weight.
- Assuming every monitor has the same VESA pattern.
- Measuring desktop thickness but ignoring the frame underneath.
- Forgetting the arm's movement behind the desk.
- Choosing a dual arm without comparing both monitors.
- Routing cables before testing the full range of motion.
- Overtightening a clamp on an unsuitable surface.
- Expecting the monitor arm to correct a desk or chair that is poorly adjusted.
Compatibility checklist before ordering
- Monitor model and panel-only weight are confirmed.
- VESA pattern matches the arm.
- Screen size is within the stated limit.
- Desktop thickness fits the clamp range.
- The underside is clear of rails, drawers and reinforcement bars.
- The mounting area is flat and structurally sound.
- The arm has enough wall and side clearance.
- Single or dual configuration matches the workflow.
- Cables are long enough for the planned movement.
- The final screen position supports a comfortable viewing distance and angle.
Choose by compatibility, then by features
The best monitor arm is not the model with the longest feature list. It is the one that safely matches the monitor, desktop and space while allowing the screen to reach the position you need.
Check VESA spacing, panel weight, desktop thickness and underside clearance first. Then compare movement, colour, single or dual configuration and cable routing. This order prevents an attractive accessory from becoming an installation problem.
If you are building a complete workstation, the Burotic Monitor Arm can be paired with an Aspire Solid Wood Standing Desk or another compatible, structurally sound desktop after all specifications have been confirmed.
Sources
- Canadian Centre for Occupational Health and Safety: Positioning the Monitor
- Canadian Centre for Occupational Health and Safety: Keyboard Selection and Use
- OSHA Computer Workstations: Monitors
- OSHA Computer Workstation Evaluation Checklist
This article provides general setup information. Always follow the monitor and arm manufacturers' installation instructions and stated compatibility limits.

Previous article
Standing Desk Height Guide for Short and Tall Users
Next article
Office Chair vs. Gaming Chair: What Matters for Working From Home?