

How to Install a Clamp-On Power Bar Without Damaging Your Desk

In this article
A clamp-on power bar can bring outlets within reach without drilling into the desktop. The installation is simple, but the details matter. An overtightened clamp can mark a soft surface, a poorly chosen position can interfere with your chair or monitor, and a cable without enough slack can pull when a standing desk moves.
The safest approach is to inspect the product and desk first, choose a clear mounting zone, protect the contact points and tighten only enough to prevent movement. Electrical safety still comes before convenience. Use a certified product, respect its rating, follow the manufacturer's instructions and stop if the desk edge or clamp is not compatible.
Before you install the power bar
Confirm that the product is intended to be clamped
Do not improvise a clamp on a power bar that was not designed for one. Use the supplied mounting hardware and instructions. The active Burotic Power Bar is offered in on-desk and under-desk variants, so choose the version that matches the intended position rather than adapting one mounting style into another.
Look for a recognized Canadian certification mark
Health Canada notes that electrical extension cords and power bars sold in Canada must be certified to an applicable Canadian safety standard by an accredited certification body and carry its recognized mark. Check the label on the actual unit. A familiar brand name or online listing is not a substitute for the mark.
Check the desk edge
Measure the desktop thickness and compare it with the clamp's stated range. Inspect the underside for a support rail, metal frame, bevel, drawer or cable tray. The clamp pads need flat, solid contact. Avoid a hollow edge, loose veneer, sharply rounded profile or damaged section unless the manufacturer specifically confirms compatibility.
Inspect the clamp and cable
Make sure the pressure pad turns freely, the protective surfaces are clean and the cord has no cuts, crushed areas or exposed conductors. Do not install a damaged unit. Unplug it before mounting so you are not working around energized outlets.
Choose the mounting location
The best location is reachable without becoming a collision point. Common options include the side edge near the back of the desk or the front corner outside the main forearm area. Consider which plugs you access regularly and which should remain connected. Large adapters need enough clearance so they do not block neighbouring outlets or strike the wall.
Keep the unit away from drinks and from locations where liquid could run toward the receptacles. Do not place it under a moving component or where knees, chair arms or drawers can hit it. On a sit-stand desk, test the full travel path before committing to the position. The cord must reach the wall outlet at both the lowest and highest settings without stretching.
Protect the desktop surface
Clean dust and grit from both sides of the edge. Small particles trapped under a pad can scratch a finished surface when pressure is applied. If the clamp includes protective pads, confirm that they are present, aligned and free of debris.
Do not add a thick, compressible material unless the instructions allow it. Foam that collapses over time can loosen the clamp. If a thin removable barrier is appropriate for the finish, it should not reduce the clamp's grip or hide damage. For solid wood, remember that finishes vary. For laminate, avoid clamping over a chipped or lifting seam. When uncertain, ask the desk or accessory manufacturer.
Step-by-step installation
- Unplug and clear the area. Remove devices, drinks and loose objects near the mounting point.
- Open the clamp. Create enough space to slide it over the desktop without scraping either surface.
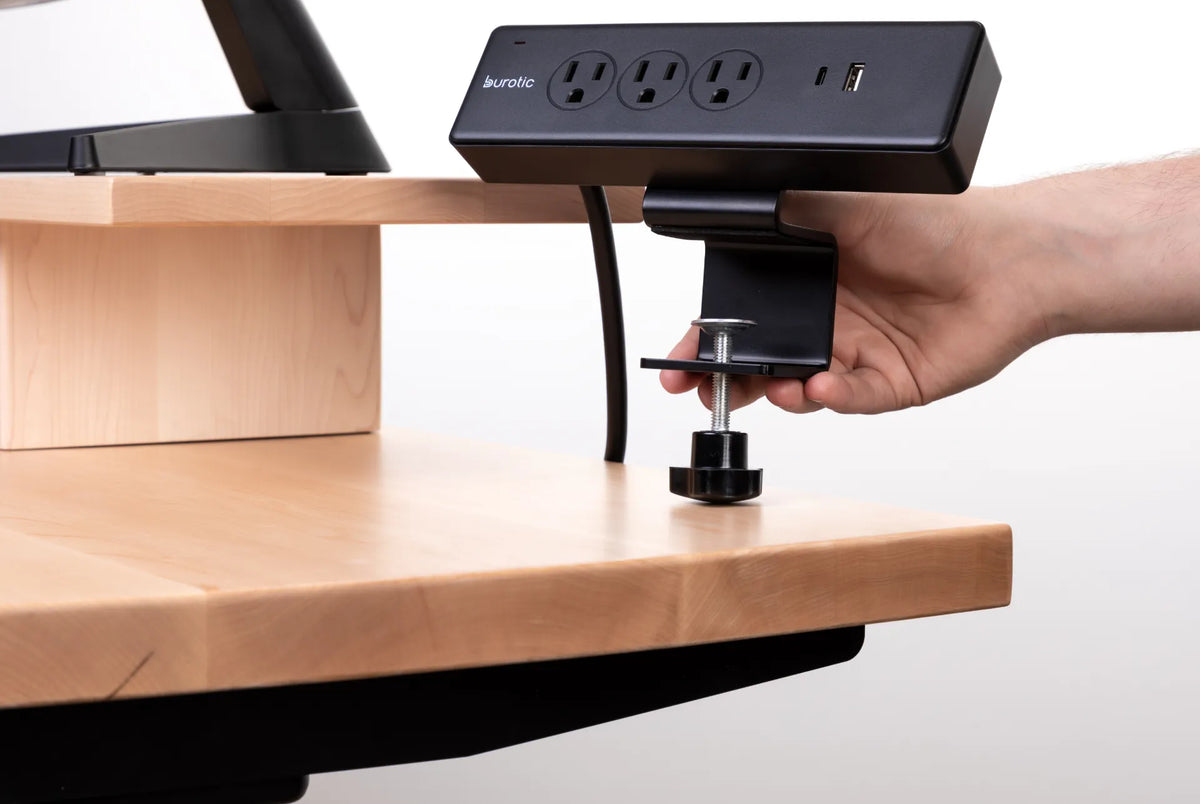
- Seat the power bar squarely. Keep the upper body level and make sure the pressure pad lands fully on the underside.
- Hand-tighten gradually. Turn the knob until both contact surfaces meet the desk, then continue in small increments.
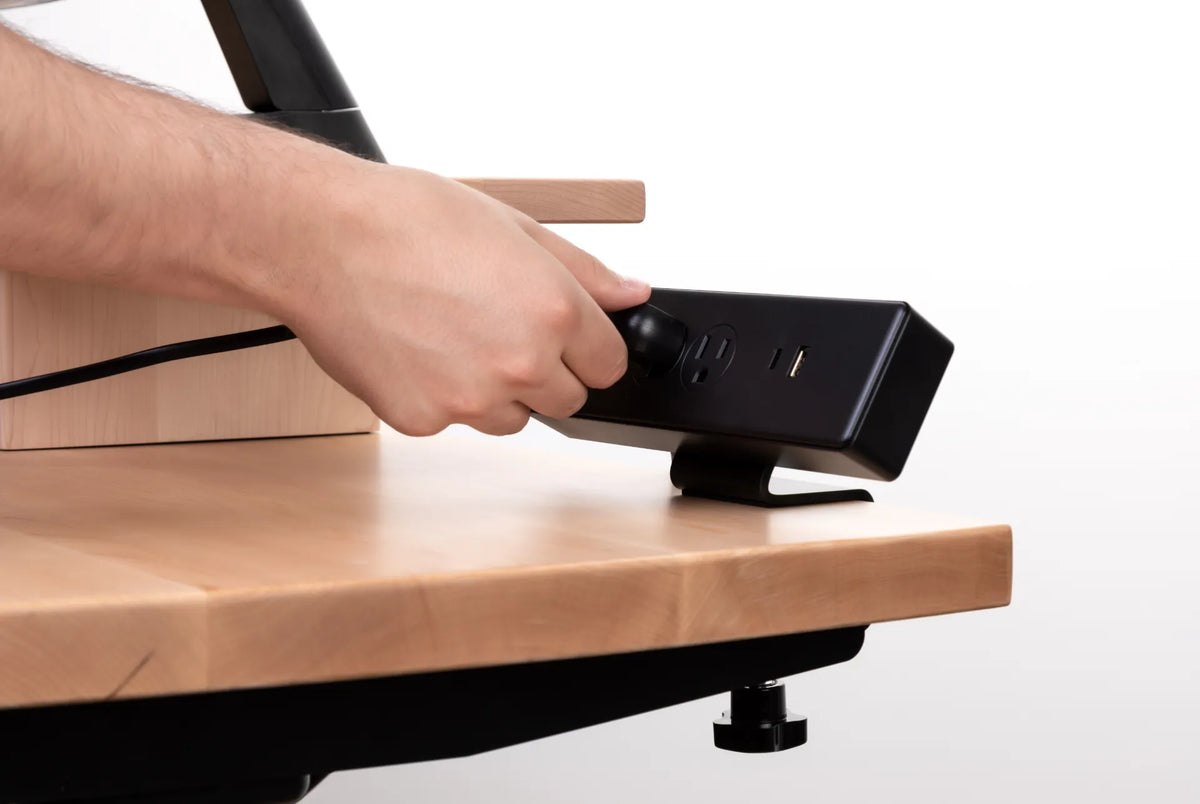
- Test for movement. Apply a gentle push from several directions. The unit should not rotate or slide during normal plug insertion.
- Stop before overtightening. More force is not automatically safer. Stop when the unit is stable and follow any torque or tightening guidance from the manufacturer.
- Route the cord. Keep it away from pinch points, sharp edges and moving legs.
- Cycle a standing desk. Raise and lower the desk while watching every cable before connecting valuable equipment.
How tight should the clamp be?
Tight enough that the power bar stays in position when you insert or remove a plug, but not so tight that the desktop compresses, dents or the finish changes. Hand pressure is generally easier to control than using tools, unless the instructions specifically call for a tool and a defined torque.
Check the clamp after the first day and periodically afterward. Wood can respond to seasonal humidity, protective pads can settle and repeated plug insertion can work a loose mount. A quick stability check is better than adding excessive force at installation.
Cable planning for a standing desk
A clamp-on bar moves with the desktop, but the cord still connects to a fixed wall outlet. Leave a controlled service loop that accommodates the desk's full vertical travel. Too little slack can pull on the plug or bar. Too much loose cable can catch on feet, drawers or frame parts.
Secure the cable to approved management points without crushing it. Keep the transition from moving desktop to fixed wall smooth and visible. Never route the cord through a place where the desk frame can shear or pinch it. For a complete movement-ready layout, use the desk power bar setup guide and the troubleshooting article on cables that pull when a standing desk moves.
Electrical safety checks
The Electrical Safety Authority warns that misuse of extension cords, power bars and multi-tap devices has contributed to electrical fires and fatalities in Ontario. Select the appropriate device for the purpose and use it only as intended. Do not exceed the marked electrical rating. High-load appliances may be unsuitable even when a plug physically fits.
Do not connect one power bar to another. Do not cover the unit or cord with rugs or materials that trap heat. Keep the reset switch and indicator lights visible when possible. Replace a unit that becomes hot, smells unusual, crackles, shows discolouration or has loose receptacles. If the wall outlet is damaged or there are not enough permanent outlets for the equipment, consult a qualified electrician.
Common installation mistakes
- Clamping over a bevel, seam or unsupported hollow edge.
- Tightening until the desktop dents instead of stopping when stable.
- Mounting where a chair arm, knee or drawer strikes the unit.
- Forgetting the full height range of an adjustable desk.
- Letting heavy adapters pull sideways on the receptacles.
- Placing drinks above or beside exposed outlets.
- Daisy-chaining power bars or exceeding the marked rating.
- Hiding damage under a pad instead of choosing a sound mounting point.
Clamp-on versus under-desk mounting
A clamp-on unit is easy to reach and remove. It works well for devices that are plugged and unplugged regularly, and it avoids drilled holes. The tradeoff is visibility and the need for a clear, compatible desk edge. An under-desk unit can look cleaner and stay out of the hand area, but access may be less convenient and installation may require dedicated mounting points.
Choose based on the desk construction and workflow, not appearance alone. If you frequently connect a laptop charger, a clamp-on position near the side may be practical. If the connections remain fixed, an under-desk position can keep the surface clearer. The broader guide to clamp-mounted desk accessories explains edge fit and placement checks for multiple accessory types.
Final verification
- The clamp contacts flat, undamaged surfaces.
- The desktop shows no compression, cracking or finish change.
- The unit does not slide during normal plug use.
- Outlets and switches remain clear and dry.
- The cord is uncrushed and free of sharp bends.
- A standing desk can travel fully without tension or pinching.
- The load stays within the product's marked rating.
Bottom line
Installing a clamp-on power bar without damaging the desk comes down to compatibility, clean contact surfaces and controlled tightening. Use the intended hardware, protect the finish without weakening the grip, and place the unit where it stays reachable without becoming a collision point.
Finish by testing cable movement and electrical safety, not just the clamp. A secure mount is only one part of a dependable power setup. If the desk edge, electrical load or wall outlet raises any doubt, pause and confirm the requirements with the manufacturer or a qualified electrician.

Previous article
Do You Need an External Keyboard and Mouse With a Laptop?