





Clamp-Mounted Desk Accessories: Fit, Placement and Desktop Protection

In this article
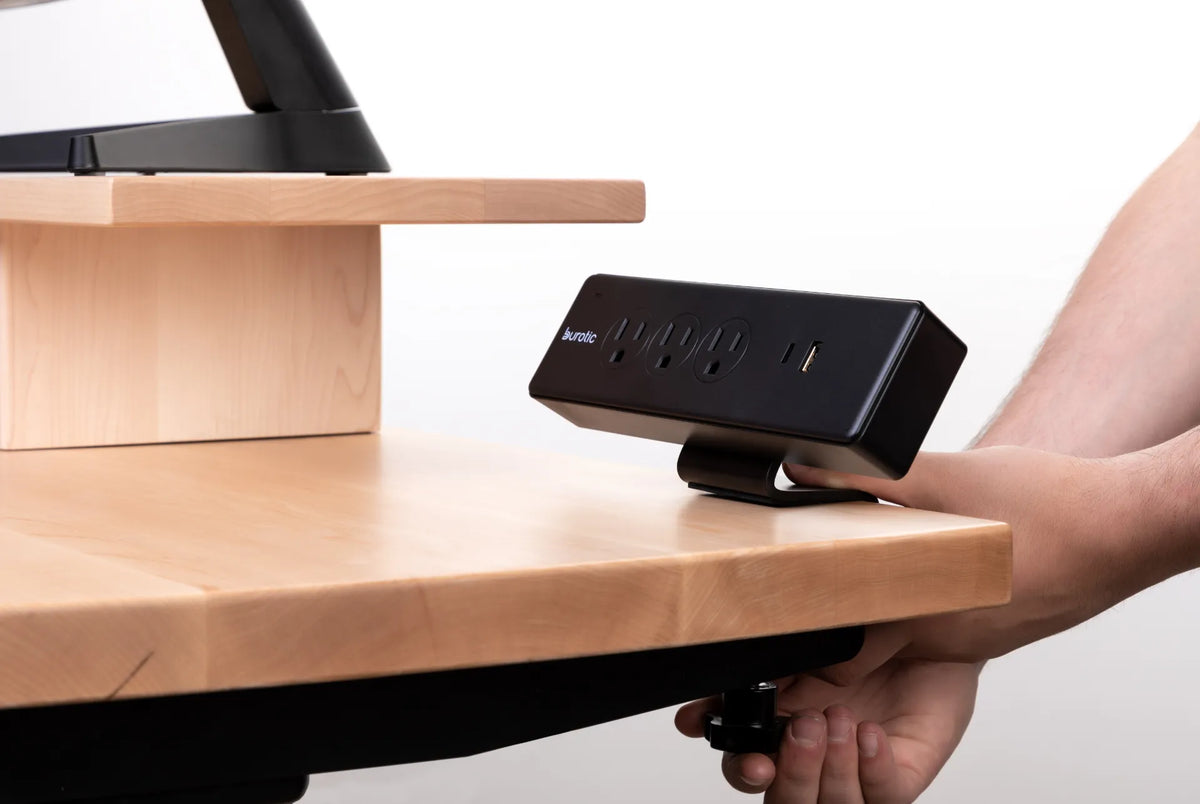
Clamp-mounted accessories can clear valuable desk space without requiring permanent holes. Monitor arms, power bars, cable trays, lamps and headphone hooks all use the same basic idea: a fixed upper contact and a lower pressure point grip the desktop edge. The convenience does not make every clamp compatible with every desk.
A safe installation starts with five checks: desktop thickness, usable edge shape, load, surface protection and the full movement path. This guide helps you evaluate those conditions before tightening anything. Always follow the accessory and desk manufacturers' instructions when they are more specific.
Why clamp compatibility is more than thickness
Product listings often give a minimum and maximum desktop thickness. That range matters, but it does not describe the entire fit. A desktop can be within the stated range and still have a bevel, support rail, cable tray, drawer, frame crosspiece or decorative apron that prevents the lower clamp plate from sitting flat.
Inspect the top and underside of the intended location. The clamp needs stable, parallel contact surfaces unless its instructions state otherwise. Avoid mounting over a joint, damaged edge, loose veneer or a section that flexes under hand pressure. Our guide to standing desk top thickness explains how material, span and edge design affect accessory planning.
Measure the actual clamping path
Use a ruler or caliper to measure the full thickness the clamp must span. Include any permanently attached pad or edge profile that sits inside the clamp. Then compare that number with the manufacturer’s compatible range. Do not assume that a thick-looking wood edge represents the thickness of the entire top.
Measure how far the clamp reaches under the desk. A lower screw or plate may extend several centimetres inward and collide with the frame, a cable tray or a drawer. Also measure the flat depth available on the top surface. Some clamps have a large upper foot that cannot sit securely beside a monitor stand or raised shelf.
If a clamp does not open wide enough or the pressure pad lands partly off the surface, choose another location or a compatible mounting method. Do not remove structural parts, substitute random hardware or leave a clamp engaged by only a small corner.
Match the accessory load to the desktop and location
The accessory’s rated load is only one part of the equation. A monitor arm creates leverage as the screen moves away from the clamp. A lamp or power bar usually creates less leverage, but frequent plugging and unplugging adds repeated force. A cable tray carries a distributed load that can change as adapters are added.
Follow the accessory’s load limit and the desk manufacturer’s guidance. Consider the combined weight of the device, mount, cables and anything a user may press or pull. Keep heavy clamps away from visibly damaged sections and unsupported corner extensions. If the desktop material is uncertain, ask the manufacturer rather than testing it with valuable equipment.
For a monitor, verify the mounting pattern, screen weight and arm range before installation. Our monitor arm compatibility checklist covers those additional checks.
Protect the desktop surface
Clean the contact area first. Dust, grit or a small metal shaving can become trapped and mark the surface under pressure. Use only the protective pads supplied or approved for the clamp. A random soft layer may compress over time and let the mount loosen, while a hard improvised spacer may concentrate force.
Place the upper and lower pads fully on flat surfaces. Tighten gradually while keeping the accessory square to the edge. Stop when the mount is secure according to its instructions. Excessive force is not a substitute for correct fit and can dent a soft surface or damage an edge.
After the first day of use, inspect the contact points and confirm that the clamp has not shifted. Recheck periodically, especially after moving a monitor arm, plugging devices into a mounted power bar or transporting the desk.
Choose a location that supports the task
Monitor arms
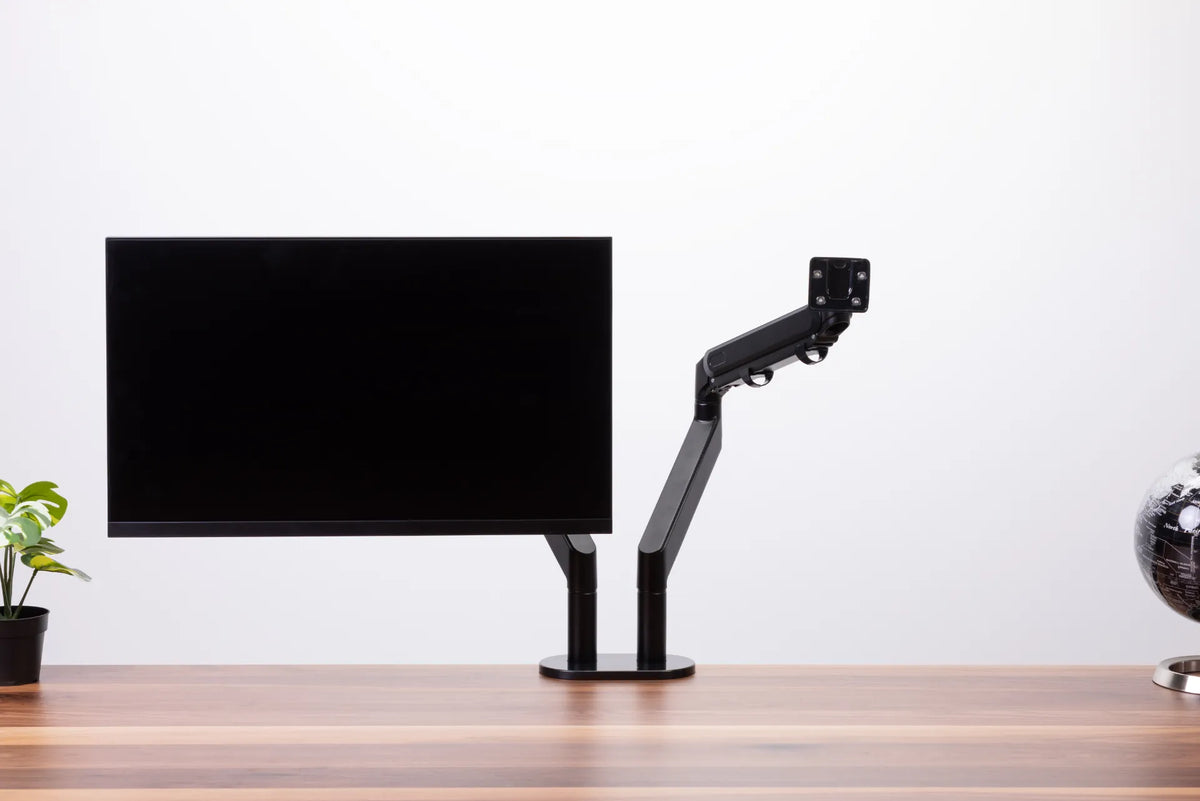
The back edge is common, but the best point depends on the arm's geometry, wall clearance and the desired screen position. A clamp placed directly behind the intended screen centre may force an articulated arm to fold awkwardly. Mock up the screen position before tightening the base.
Power bars
Choose a point that is easy to reach without putting liquid, loose paper or moving joints near the outlets. Allow plugs to enter and leave without sharp cable bends. The user should not need to crawl under the desk for routine access, but the bar should not create a collision point at the desktop edge.
Lamps, hooks and small shelves
Keep their controls and loads inside the supported area. A headphone hook should not hang where a chair or knee catches it. A lamp arm needs room to rotate without striking a monitor. A small shelf must remain stable when the desk starts and stops.
Check conflicts under the desk
Turn off and unplug equipment before working near cables or power accessories. Look beneath the proposed location with a light. Mark the frame, controls, factory holes and cable routes. Make sure the lower clamp screw can be tightened without crushing a wire or blocking a controller.
If you are combining clamps with a drawer, leave enough legroom and access for maintenance. The planning method in our under-desk drawer installation guide is useful for mapping the underside before adding hardware.
Do not treat the front edge as free space. A front-mounted accessory may interfere with forearms, chair arms or the standing desk controller. Side mounting can work, but it may increase the desk’s overall width and create a snag point in a narrow walkway.
Plan for a height-adjustable desk
Everything clamped to a standing desk becomes part of its moving mass and envelope. Test the intended location at the lowest and highest desk positions before final installation. Check walls, shelves, windows, chairs and storage. An accessory that is clear at one height can collide at another.
Route cables with a controlled service loop. Cords attached to a monitor arm or power bar must reach every working height without pulling, dragging or entering a joint. Do not wrap a power cord tightly around an arm. Keep the wall connection fixed and let the planned loop absorb vertical movement.
After installation, move the desk slowly while observing the accessory and every cable. Stop if the desktop tilts, a clamp shifts or a cord becomes taut. Resolve the cause before normal use.
Clamp mount or drilled mount?
A clamp is usually preferable when you rent, want to preserve the top or expect to reposition the accessory. A grommet or drilled mount can offer a cleaner position away from an edge, but it requires a suitable hole and confidence in the desktop construction. Drilling is permanent and can affect a finish or warranty.
Do not drill unless the desk and accessory instructions explicitly support it and you know what is inside the top. Some materials contain hollow sections, embedded hardware or thin skins that require a different method. When in doubt, use an approved clamp or ask the manufacturer.
Installation sequence
- Read both the desk and accessory instructions.
- Measure desktop thickness and the flat contact areas.
- Inspect the edge, underside, frame and cable route.
- Confirm the accessory load and required reach.
- Clean the contact surfaces.
- Install the supplied protective pads and hardware.
- Tighten evenly to the specified secure fit.
- Load the accessory gradually.
- Test the full desk movement and cable slack.
- Reinspect after initial use.
Warning signs to correct immediately
- The clamp plate contacts only part of the desktop.
- The edge bends, cracks or makes a new sound.
- The mount rotates despite normal tightening.
- A protective pad squeezes out or tears.
- The lower screw touches a frame part or cable.
- A cord pulls tight at any desk height.
- The accessory enters a walkway or leg area.
Clamp-mounted accessories work best when the mount, desktop and location are treated as one system. Measure more than thickness, protect both contact surfaces, respect load limits and test the desk’s full movement. A few minutes of planning can preserve the desktop and make the accessory more useful every day.
Sources
- WIRED: clamp-mounted desk accessories, March 17, 2026
- Health Canada: electrical extension cords and power bars

Previous article
Standing Desk Safety Around Children and Pets
Next article
Standing Desk Safety Around Children and Pets