

How to Install an Under-Desk Drawer Without Losing Legroom

In this article
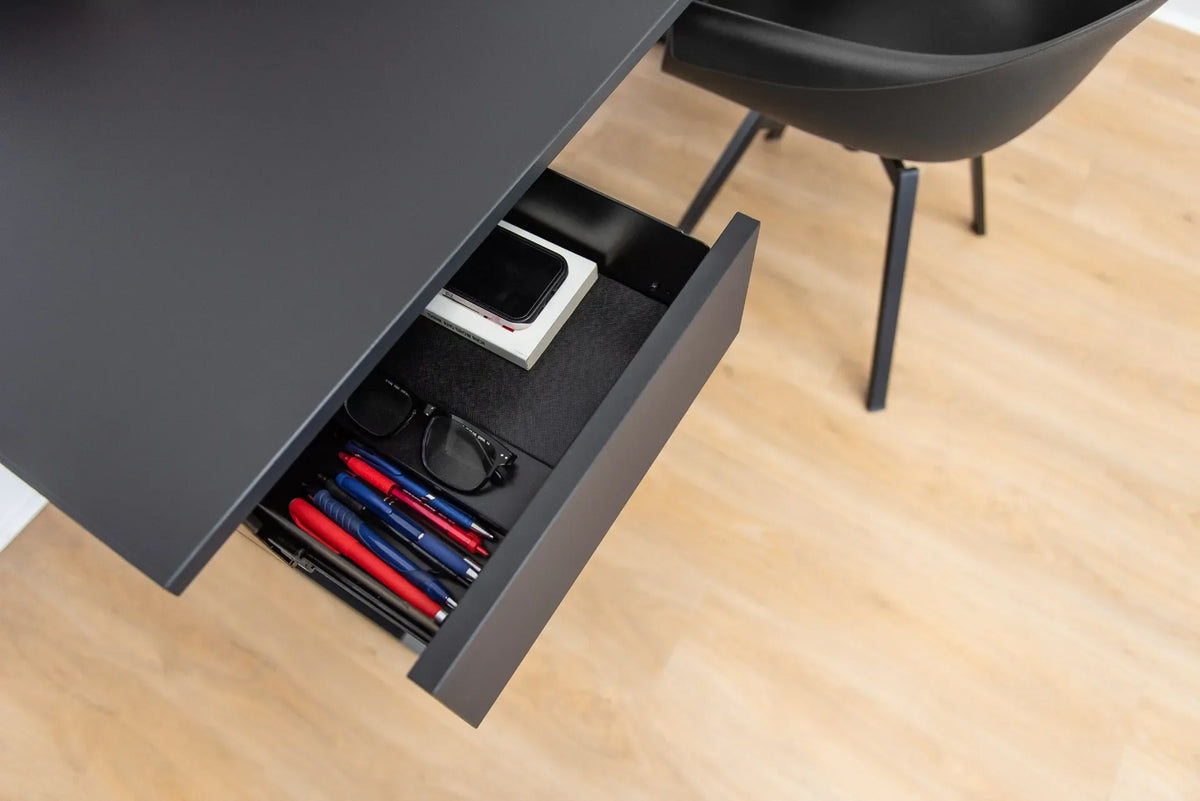
An under-desk drawer can put daily tools within easy reach, but the wrong placement can turn useful storage into a knee obstacle. On a standing desk, the decision is more demanding because the drawer, desktop, controller and cables all move together while the chair and body remain below.
This guide explains how to plan and install a compatible drawer without sacrificing practical legroom. Always follow the desk and drawer instructions. Confirm the desktop material, fastener length and load limits before drilling. If the product or surface requirements are uncertain, use a qualified installer.
Quick answer: test the drawer position before making holes
Choose a side that keeps the drawer outside your normal knee and thigh zone. Check the chair, armrests, desk controller, frame crossbars, lifting columns and cables. Tape a cardboard template under the desktop at the proposed location, then sit, stand, swivel and open the drawer through the full desk height range.
Only mark holes after the template test succeeds. Use the hardware and drilling method specified by the manufacturer. A drawer that fits physically is not automatically suitable for every desktop, especially a thin panel, glass surface or top containing channels and embedded components.
Start with the product instructions
Read both manuals before measuring. The drawer instructions should state the mounting pattern, required fasteners, minimum desktop thickness and maximum load. The desk instructions may identify no-drill zones, frame rails, control boxes, cables or structural areas that must remain clear.
Do not replace specified screws with longer ones because they seem more secure. A screw that is too long can break through the top. A screw that is too short may not hold the intended load. Do not drill into glass or an unsupported hollow area. If the manufacturer does not approve the combination, select another storage option.
Map the space below the desktop
Look under the desk at seated height with good lighting. Identify the front edge, frame rail, columns, control box, controller cable, power cable and any cable tray. Measure the open zones rather than assuming the underside is empty.
Next, use the desk at standing height and inspect how cables hang. The drawer should not pinch a cable when closed or catch a loop when opened. The controller-placement guide explains why reach, chair clearance and wire routing need to be planned together.
Protect the central knee zone
The middle of the desk often looks convenient because it is directly in front of the user. It is also the most valuable space for thighs and knees. A drawer mounted too low or too centrally can force the chair backward, raise the shoulders as the desk is lifted, or make the user sit off-centre.
Place the drawer toward the left or right side, outside the normal path of the dominant knee, while keeping it reachable. The correct side depends on chair width, body size, hand preference and equipment layout. Review the desk legroom guide before committing to the location.
Check chair and armrest movement
Roll the chair fully under the desk and turn it slightly in both directions. Adjustable armrests can collide with a drawer even when the knees clear. Test entering and leaving the workstation, reclining normally and raising the chair to the highest useful setting.
A collision at one chair height indicates the layout is not finished. Move the drawer farther outward, select a shallower model or choose freestanding storage. Do not solve the problem by permanently lowering the chair if that makes the keyboard too high.
Make a full-size cardboard template
Cut cardboard to the drawer's external width and depth. Add the handle projection and the space needed for full opening. Tape the template under the desktop with removable tape that is suitable for the finish. Mark the proposed screw locations on the template, not on the desk.
Test the mock-up for at least a normal work session. Reach for it without looking, open it with the chair in place and check that papers or a laptop do not shift above the proposed fasteners. This inexpensive step catches more layout problems than measuring the drawer alone.
Confirm desktop thickness and fastener depth
Measure the actual desktop thickness at the mounting zone. Do not rely only on a nominal product description because edge profiles and internal construction can vary. Compare the measured thickness with the specified screw length, bracket thickness and required pilot-hole depth.
Put a visible stop on the drill bit if the instructions require pilot holes. Hold the drill perpendicular to the surface and use the specified bit size. Stop immediately if the material behaves unexpectedly. For solid wood, laminate, composite and bamboo, follow the exact guidance for that material rather than applying one method to every top.
Keep structural and electrical components clear
A standing desk frame transfers load through rails, brackets and fasteners. The drawer must not overlap frame hardware or prevent future tightening. Keep its screws away from the controller, control box, power connections and cable channels.
Disconnect power before working near electrical components, as directed by the manufacturer. Secure cables only after the drawer is mounted, then leave enough slack for desk movement. Never trap a cord between the drawer bracket and desktop.
Use a careful installation sequence
- Empty the desktop and lower it to a comfortable assembly height.
- Disconnect power according to the desk instructions.
- Confirm the final position with the cardboard template.
- Check the underside and top surface around every proposed hole.
- Mark holes through the approved mounting plate.
- Drill pilot holes only if the instructions require them.
- Install the brackets with the specified fasteners.
- Attach and align the drawer, then test opening and closing.
- Reconnect power and test the full height range slowly.
- Reload the drawer gradually within its rated capacity.
Support the drawer during installation so the first screw is not carrying the entire weight. Tighten evenly and stop if the bracket distorts or the screw spins without holding.
Test at every useful desk height
After installation, sit at the keyboard with feet supported and the chair in its normal position. Open and close the drawer. Then stand, raise the desk and repeat. Watch the controller cable, power loop and any storage below.
Move the desk to its lowest safe setting and confirm the drawer does not hit a mobile pedestal, chair arm or personal item. A standing desk accessory must work across the full useful range, not only at the installation height.
Load the drawer by frequency and weight
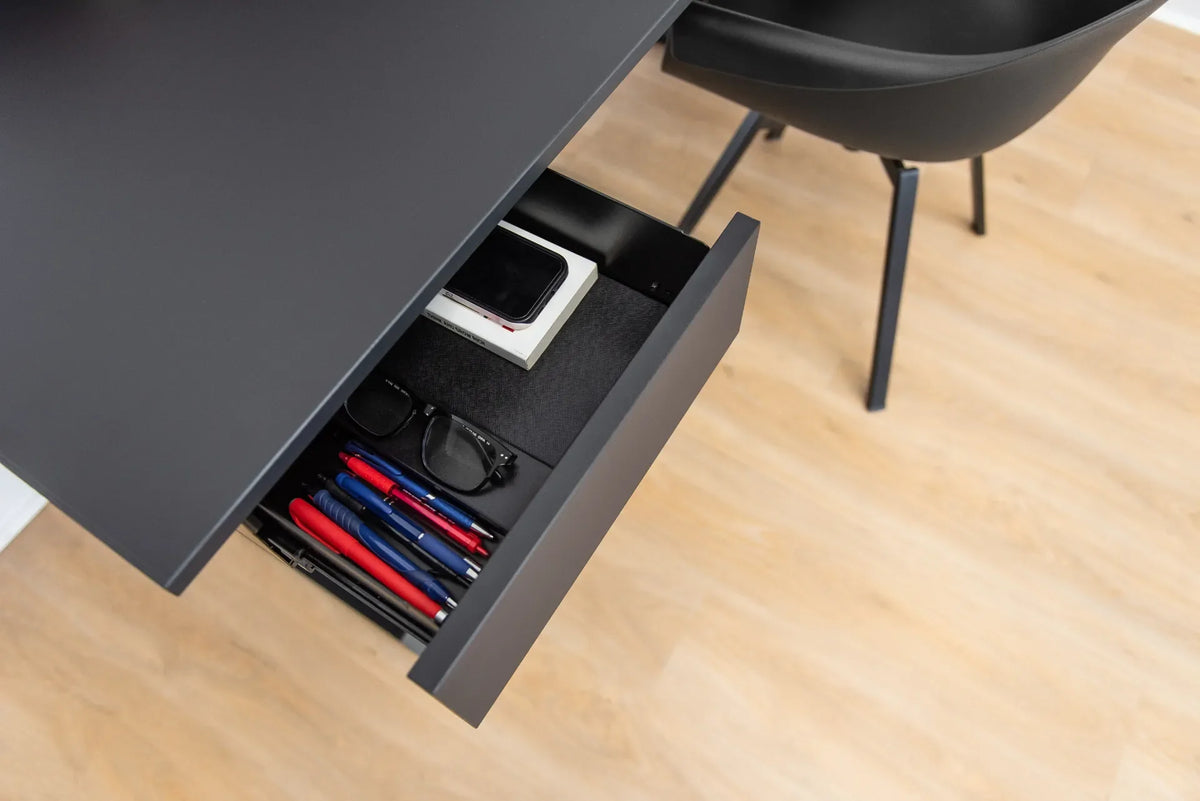
Keep frequently used, lightweight items near the front: pens, a small notebook, glasses or adapters. Put heavier items only where the product permits and keep the total load within its stated rating. Avoid storing liquids, loose batteries or objects that can jam the slides.
Distribute weight rather than concentrating it at one corner. Close the drawer before raising or lowering the desk. The drawer versus filing cabinet guide can help decide whether documents and heavier supplies belong in separate freestanding storage.
When not to install an under-desk drawer
Choose another solution if the desktop is incompatible, the frame occupies the only safe mounting zone, the drawer blocks the knees, or the lease and workplace rules prohibit drilling. A mobile cabinet, desktop organizer or nearby shelf may preserve more flexibility.
Also reconsider the drawer if multiple people share the desk. A position that clears one user may obstruct another. In a shared workstation, adjustable or movable storage can be more practical than a fixed accessory.
Maintenance and periodic checks
Inspect the fasteners after the first few weeks and periodically afterward, following the manufacturer's schedule. Look for loosening, slide resistance, unusual noise or contact with cables. Remove excess weight before correcting alignment.
Clean the drawer with a method compatible with its finish. Do not lubricate slides unless the instructions specify the product and location. If a fastener no longer holds, stop using the drawer until the mounting surface is assessed.
Common installation mistakes
- Mounting the drawer in the centre without a knee-clearance test.
- Measuring the drawer box but not the handle or opening path.
- Using longer screws than specified.
- Drilling before checking the frame and cables below.
- Installing over a thin or unsupported desktop section.
- Testing only at seated height.
- Overloading the drawer after a successful light-load test.
- Letting the chair arm hit the drawer on every turn.
Final recommendation
An under-desk drawer should add access without changing how you sit or stand. Map the underside, protect the central knee zone, make a full-size template and test the chair through normal movement before drilling. Verify the top material and fasteners, keep electrical and structural parts clear, and check the full height range after installation.
The active Burotic Desk Drawer is designed to complement the Aspire desk collection. Confirm the current variant, mounting requirements, desktop compatibility and instructions on the product page before installation. If the required clearances are unavailable, choose freestanding storage rather than forcing the fit.
Sources: CCOHS, Space Requirements for Office Work; CCOHS, Sit/Stand Desk; Ergonofis, standing desk buying guide; Ergonofis, under-desk drawer product information, consulted September 30, 2026.

Previous article
Standing Desk Setup for Renters: A No-Drill Home Office Guide
Next article
Standing Desk Setup for Renters: A No-Drill Home Office Guide