

How Much Legroom Do You Need Under a Desk?

In this article
Comfortable desk legroom is not one universal number. It is the clear volume that lets you sit close enough to your work, change foot position, move the chair and stand up without striking a drawer, controller, crossbar or cable. Body size, chair dimensions, footwear, task and desktop height all change what feels usable.
The practical approach is to measure the person and the complete workstation together. Start with the chair correctly adjusted, then check vertical clearance over the thighs, depth in front of the knees, width for natural leg movement and open space for the feet. Repeat the test at every seated height you expect to use.
Quick answer: measure usable space, not the outside of the desk
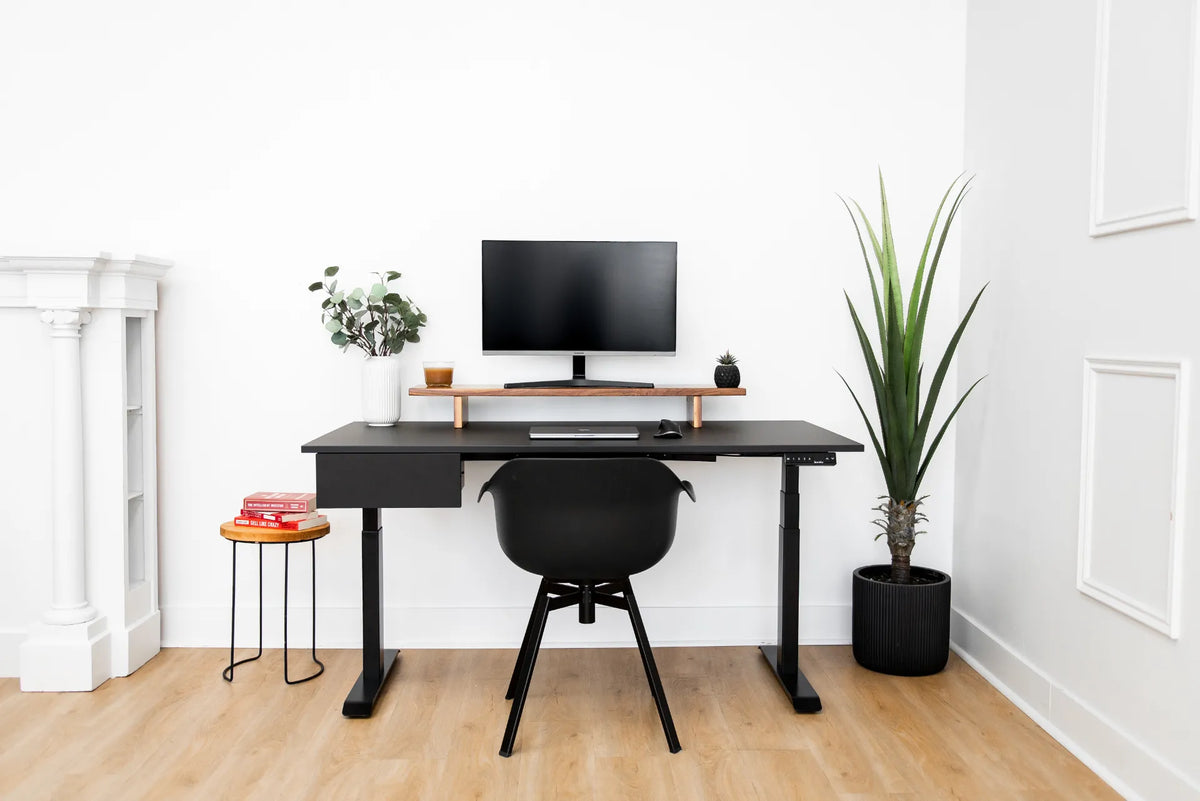
Desk width and height do not reveal the space available underneath. Legs, support rails, drawers, cable trays and controls can reduce the opening. Measure the narrowest usable width, the lowest obstruction and the depth from the front edge to the first obstacle. Then compare those dimensions with the seated user and chair.
The Canadian Centre for Occupational Health and Safety, or CCOHS, explains that office space should account for body dimensions, reach, movement, furniture and equipment. It does not prescribe one layout for every person. That principle is especially important under a desk, where a small obstruction can affect the whole sitting position.
What counts as desk legroom?
Legroom includes more than the place where the knees fit. Think of it as a three-dimensional envelope with four parts:
- Thigh clearance: the vertical gap between the seat or thighs and the lowest object under the desktop.
- Knee clearance: the forward depth that lets you move close to the work surface without contacting a panel or rail.
- Foot clearance: the floor area that allows the feet to rest flat, move forward and change position.
- Movement width: the side-to-side space needed to turn the chair, open the knees naturally and stand up.
A desk can look spacious while failing one of these tests. A shallow drawer may leave the knees free but reduce thigh clearance. A modesty panel may allow the chair to enter but prevent the feet from moving forward. A cable bundle may occupy the exact place used by one foot.
Set the chair before measuring the desk
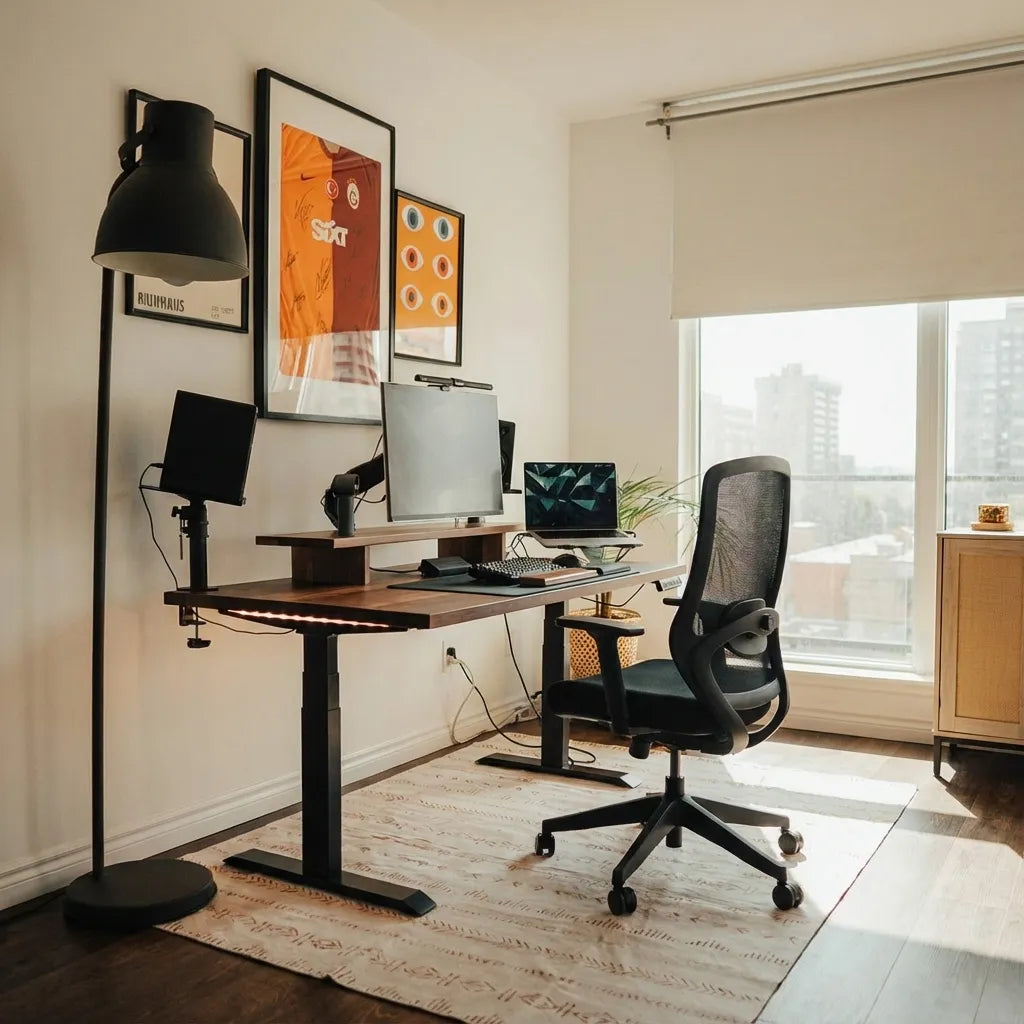
Adjust seat height so the feet are supported and the thighs are comfortable. Position the backrest, seat depth and armrests for normal work. If the feet do not reach the floor, include the intended footrest in the test. Measuring an empty desk without the chair creates an incomplete result.
Roll the chair forward until the keyboard and mouse are within comfortable reach. The shoulders should stay relaxed and the elbows should not be forced far ahead of the body. If the knees hit the desk before the hands reach the input devices, the workstation is asking the user to lean forward.
Check vertical thigh clearance
Find the lowest point under the front working area. It may be the desktop itself, a support rail, drawer, keyboard tray or controller. Measure from the floor to that point, then compare it with the top of the thighs while seated. Leave enough space for clothing, normal movement and small posture changes.
Do not raise a fixed desk automatically to create clearance. A surface that is too high can lift the shoulders or require the chair to rise until the feet lose support. The furniture must work as a system. An adjustable desk makes it easier to coordinate desktop height with the seated user, but attached hardware still sets the actual lower boundary.
Measure knee and foot depth
Sit square to the desk and note how far the knees extend under the top. Check whether a rear rail, panel, wall or storage unit limits that position. Then slide the feet slightly forward and back. A useful setup allows more than one foot position instead of locking the lower legs into a single angle.
Keep computer towers, boxes and loose supplies out of the main foot zone. Items placed there gradually can turn adequate legroom into a cramped workstation. If equipment must live below the surface, assign it a side location that does not block the normal path of either leg.
Allow width for movement
The clear opening should support the actual way the person enters, turns and leaves the desk. Test the chair at the centre and slightly to each side. Rotate the seat, spread the feet into a stable stance and stand up. Desk legs, filing cabinets and nearby walls should not force a twisting exit.
Chair armrests also matter. They may fit under the surface at one height and collide with a drawer or controller at another. If the arms are adjustable, test the settings you plan to use rather than removing them for the measurement.
Plan drawers, controls and cable trays
Keep daily storage out of the thigh zone
An under-desk drawer is convenient only when it preserves a comfortable sitting position. Place it to one side when possible and test the chair before drilling. The comparison of an under-desk drawer and filing cabinet can help decide whether compact storage belongs on the moving desktop or beside the workstation.
Protect the controller without creating an obstacle
A height controller usually sits under the front edge. It should be reachable without becoming the lowest object above the thigh or a target for the chair arm. The guide to standing desk controller placement explains how to test hand reach, cable routing and chair clearance before installation.
Route cables away from feet
Secure cables so they do not hang into the knee area or loop around a foot. A tray can help, but its depth and position must be included in the measurement. On a standing desk, the whole route must remain controlled at the lowest and highest positions.
Test a standing desk through its full range
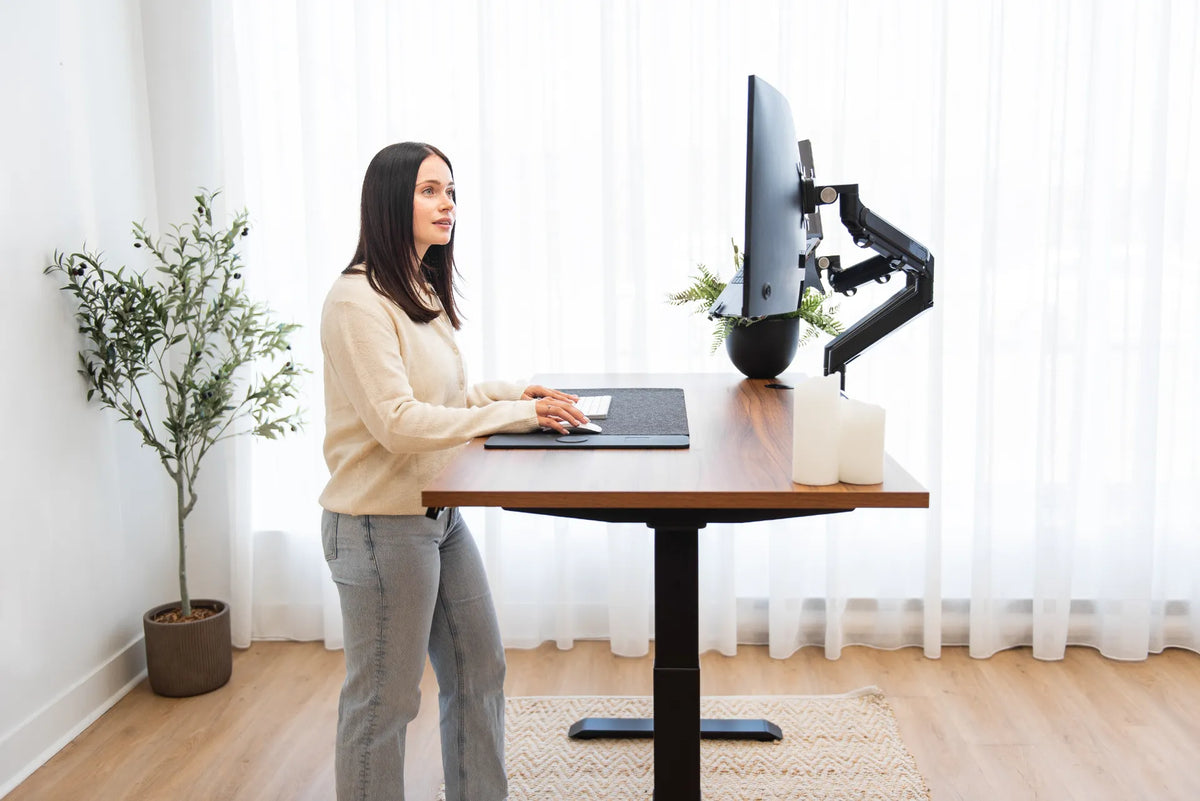
Begin at the lowest seated position you may use. Move the chair fully in, place both feet comfortably and check thighs, knees, armrests and controller. Raise the desk to the normal seated setting and repeat. Then move to standing height and confirm that the chair can be parked without blocking the desk's travel.
Watch all attached parts while the desk moves. A drawer may clear the thighs but contact an armrest during height adjustment. A cable tray may approach a filing cabinet. Use the standing desk clearance checklist to inspect the moving envelope around and below the workstation.
Buying checklist for desk legroom
- Adjust the intended chair and measure the seated thigh, knee and foot positions.
- Record the desk's clear opening, not only its outside width and height.
- Identify the lowest rail, drawer, tray or controller under the work area.
- Test chair arms at the positions you will actually use.
- Reserve an open path for both feet and remove floor storage.
- Check how you enter, turn and stand up from the chair.
- For an adjustable desk, repeat every check at minimum, seated and standing heights.
- Confirm that accessories and cables remain clear during the full movement.
Common mistakes
Using desktop height as the legroom measurement
The lowest underside object determines clearance. A drawer or rail can change the answer substantially.
Measuring without the real chair
Seat height, armrests, casters and seat depth affect how the user approaches the desk.
Filling the foot zone with storage
Boxes and equipment remove the ability to change position and may create trip or cable hazards.
Solving clearance by raising the desk too high
Extra height can transfer the problem to the shoulders and arms. Coordinate desk, chair and foot support.
Checking only one height
Attached parts and nearby furniture interact differently as an adjustable desk moves.
Final recommendation
Choose desk legroom by testing the complete occupied workstation. You should be able to sit close to the work, keep the feet supported, vary leg position and leave the chair without hitting hardware. Measure the narrowest and lowest usable points, not the clean outline shown in a product photo.
For a current Burotic option, review the dimensions and configurations on the Aspire Premium Laminate Standing Desk page, then compare them with your chair and body measurements. Product dimensions are a starting point; the final test is the space that remains after every accessory is installed.
Sources: CCOHS, Space Requirements for Office Work; CCOHS, Purchasing Ergonomic Office Furniture.
Previous article
Standing Desk Setup for Paperwork and Document Review
Next article
How to Use a Balance Stool at a Standing Desk