

Standing Desk Setup for Paperwork and Document Review

In this article
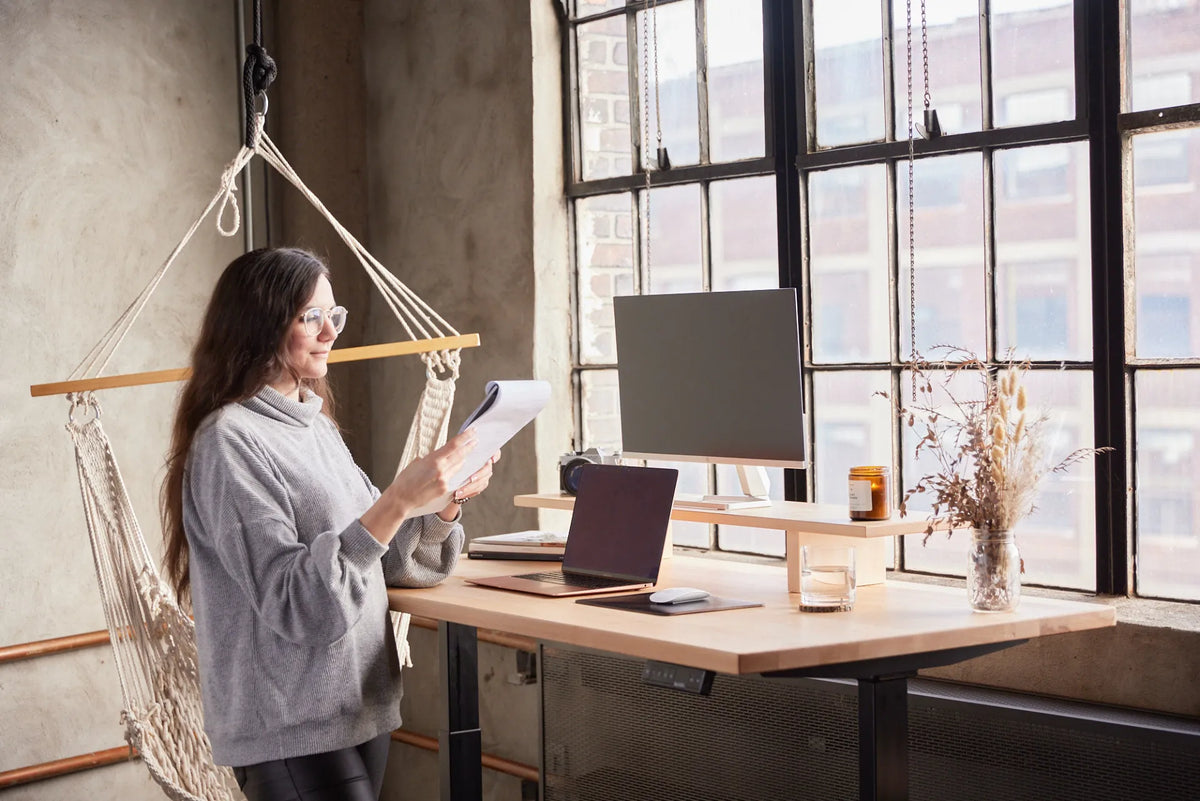
A standing desk for paperwork should support three different actions: reading, comparing and writing. Those actions do not always need the same surface height or document angle as keyboard work. A good setup makes the active page easy to see, gives the forearms support when annotating and keeps reference material within a short, deliberate reach.
Start by identifying the dominant task. Someone reviewing contracts may read more than they write. A bookkeeper may compare paper with a screen. A designer may spread out large sheets. Set the desk for the main task, then create simple transitions for the others instead of forcing one position to do everything.
Quick answer: separate reading, writing and screen zones
Place the active document directly in front of you. Keep the screen slightly to one side if paper is the primary task, or keep the screen centred and place the page beside it when digital work dominates. Use a document holder when repeated comparison makes you look far down and back up.
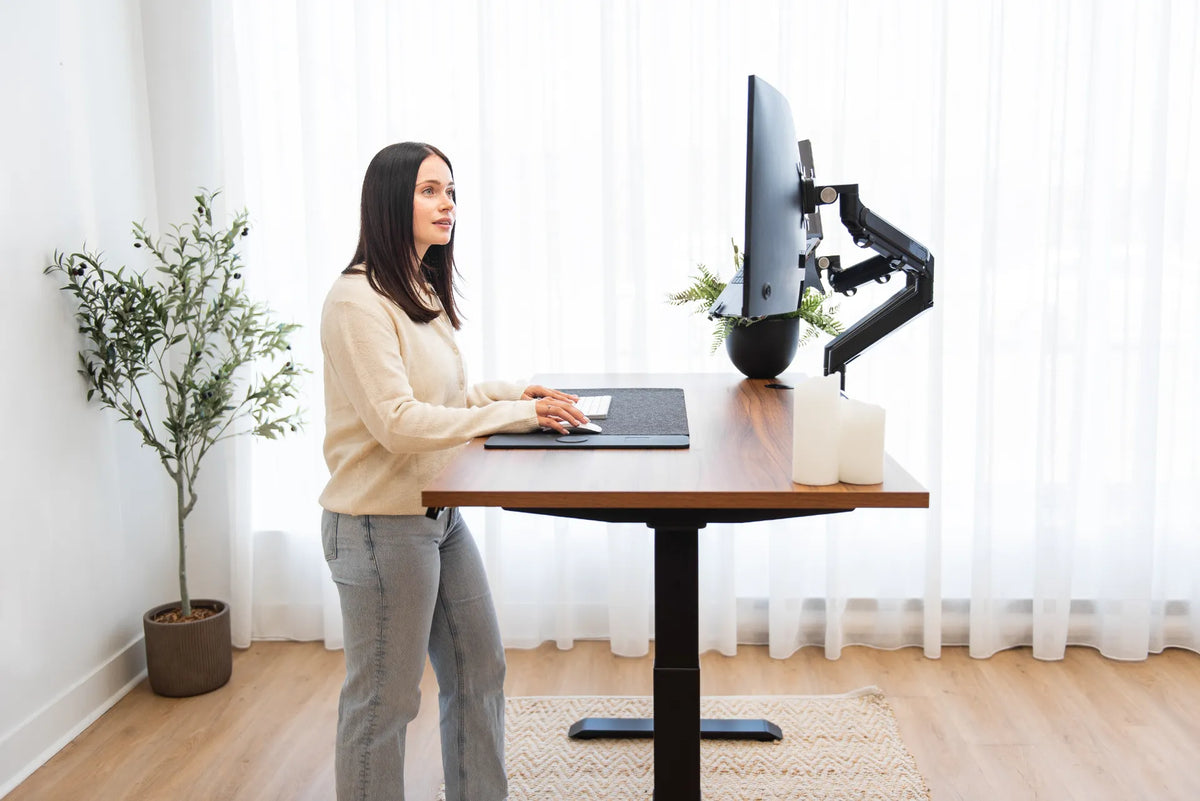
Set the desktop close to elbow height, then fine-tune it for the task. Reading a supported document may work with the surface a little below the elbows. Writing usually needs enough room for the forearms to rest without lifting the shoulders. Treat any centimetre value as a starting point and adjust to the person, paper size and viewing needs.
Choose the main paperwork task
Reading and reviewing
For sustained reading, reduce the distance between the page and the natural line of sight. A sloped document holder can bring text up without requiring the neck to remain bent. Keep the holder stable, large enough for the document and outside the keyboard path when you are not using it.
Writing and annotating
For handwriting, the forearm needs a supported path and the wrist needs room to move. Keep the page close enough that the upper arm stays near the body. The recent guide to standing desk height for handwriting provides a detailed method for setting the surface, paper angle and forearm support.
Comparing paper with a screen
Put the document and display close enough that the eyes travel a short distance. If both are used equally, a holder beside the screen can reduce repeated head movement. If the paper contains sensitive information, consider what is visible behind and beside the desk.
Set standing height for the actual task
The CCOHS workstation guidance notes that precision standing work such as reading may use a surface approximately 5 to 10 cm below elbow height as a starting point. This is not a prescription for every body or task. Page angle, print size, vision, footwear and forearm support can change the final setting.
Stand with weight distributed comfortably and shoulders relaxed. Bring the desktop up until you can reach the paper without bending at the waist. Lower it if the shoulders rise or the wrists are forced upward. If the page remains hard to see, improve its angle, lighting or text size rather than bringing the head closer for long periods.
Create a clear document workflow
Divide the desk into an input zone, an active zone and an output zone. Unread or unprocessed documents enter on one side. The page being reviewed stays in front. Completed documents move to the other side or into a labelled tray. This simple direction prevents piles from taking over the central work area.
Keep only the current batch on the moving desktop. Heavy binders and archive boxes add weight and can shift during adjustment. Store them on stable shelving within a reasonable reach, but outside the desk's vertical travel path. Use smaller batches when a project contains many files.
Use a document holder strategically
A holder is useful when you frequently alternate between paper and screen or read for long periods. CCOHS notes that a document holder can bring paper toward monitor level. Position it so the page does not block the display, ventilation openings or controls. Confirm that the base will not slide when you mark a page.
A horizontal copy stand between the keyboard and monitor may suit typing from paper. A side holder can work for comparison. A sloped board may be better for reading and light annotation. Choose the tool for the task rather than adding a holder that reduces useful surface area.
Plan lighting for paper and screens
Paper reflects light differently from a monitor. Place the desk and task lamp so the page is bright enough without a strong reflection or shadow from your hand. Right-handed writers often benefit when task light arrives from the left; left-handed writers may prefer the opposite. Screen glare still needs to be checked from the working position.
The CCOHS lighting survey guidance recommends looking for glare, shadows, contrast and task-specific needs. Adjust blinds and lamp position through the day. Do not compensate for poor lighting by leaning closer to the page.
Coordinate the screen and monitor stand
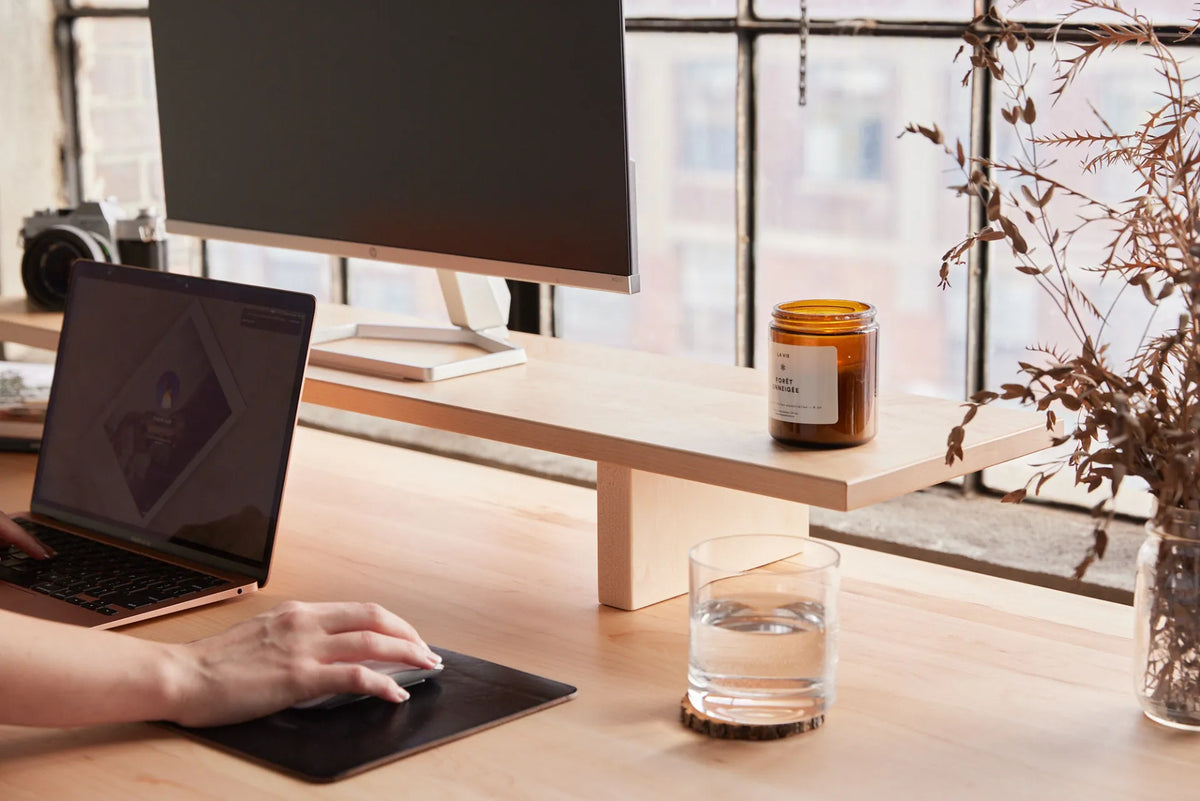
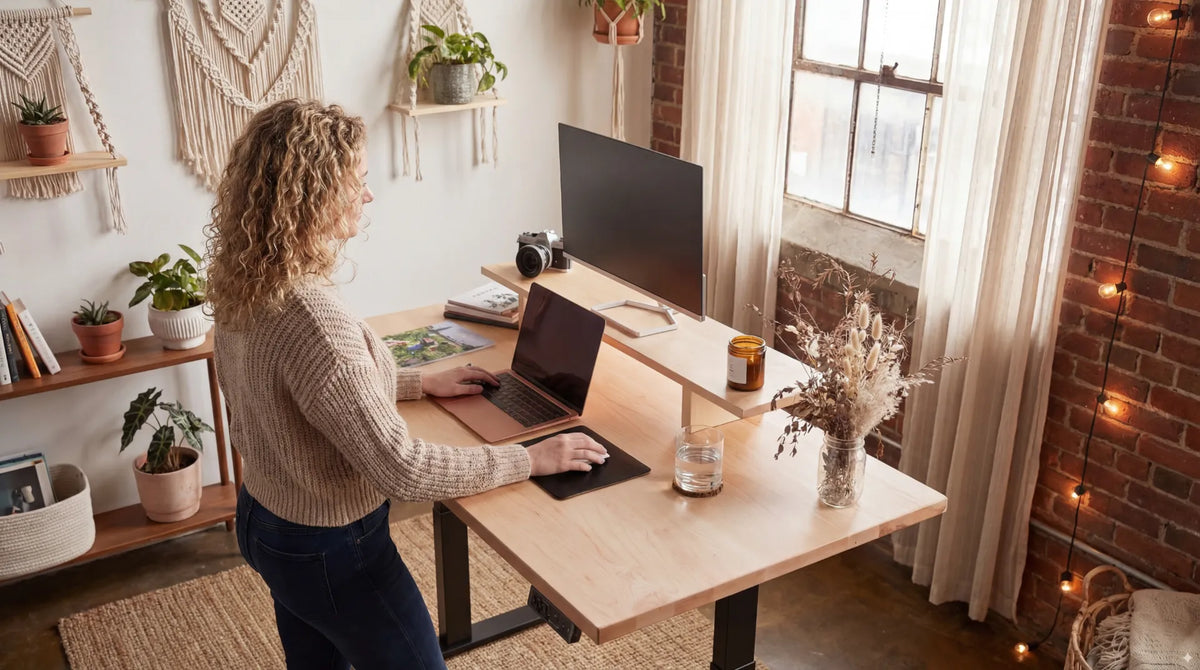
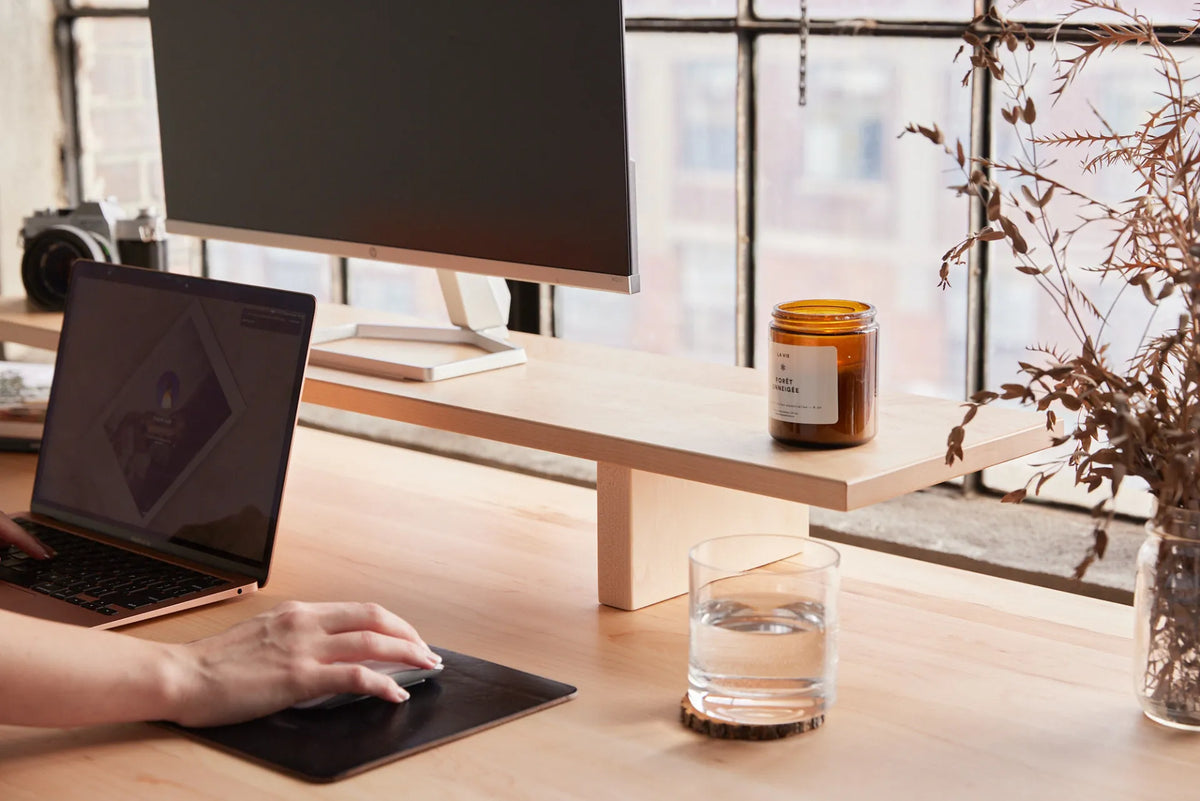
A monitor stand can free a shallow storage area beneath the display and place the screen at a useful height, but paper should not be pushed so far forward that the user reaches. Keep the active page within the forearm's comfortable zone. Store inactive folders under a stand only if they do not block its support or make the screen unstable.
The current Burotic Monitor Stand page provides verified product dimensions and materials. Compare them with the paper size, screen base and usable desk depth before adding one. A stand is not a substitute for an adjustable monitor when frequent height changes are needed.
Keep laptop and keyboard transitions simple
If the laptop is used for occasional lookup, park it to one side and keep its cables out of the paper path. If it is a primary computer, use the screen and input devices in a position that supports normal computer work, then move the document into a nearby holder. Avoid reaching over loose pages to use the keyboard.
The guide to a desk setup for computer work and writing explains how to switch between input devices and an open paper zone. The same principle applies here: move the tools, not the body, when the task changes.
Manage paper on a moving desk
Remove loose sheets from the front and rear edges before changing height. A light paperweight or low-profile tray can control pages, but it must not become a falling object. Do not place binders across the split between a moving desktop and fixed shelf.
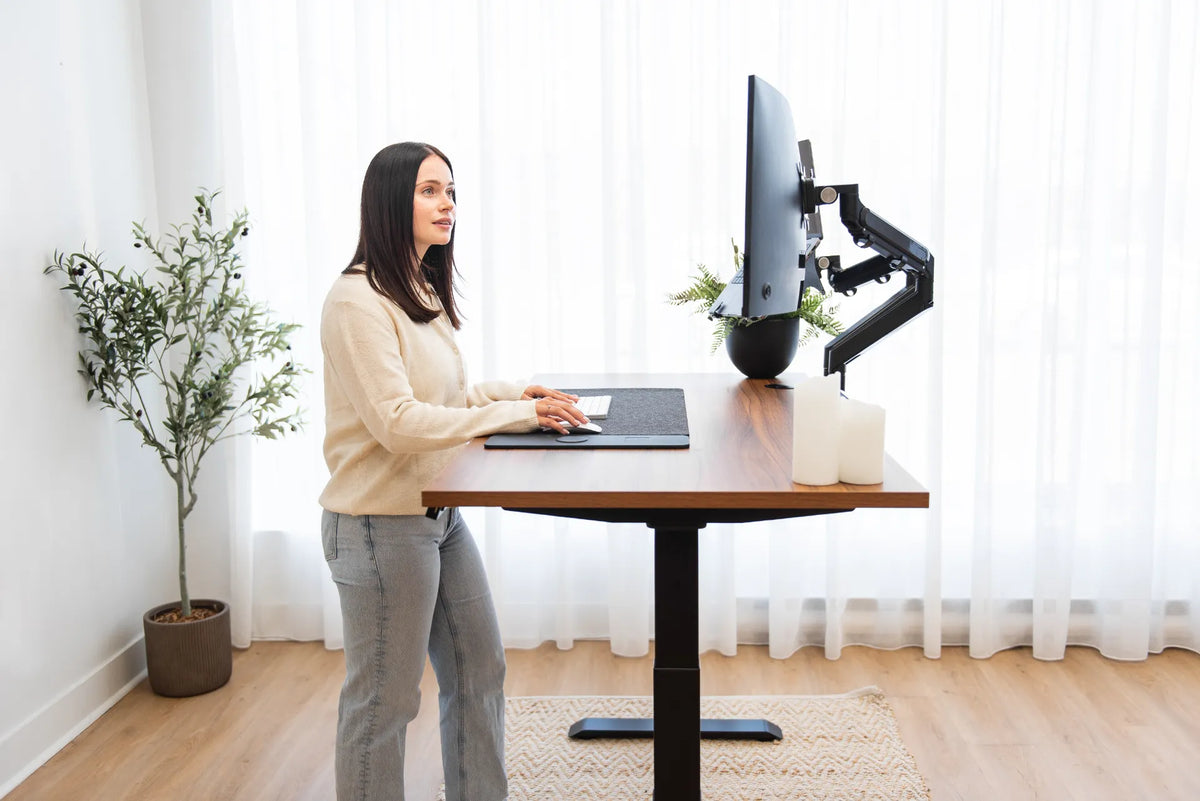
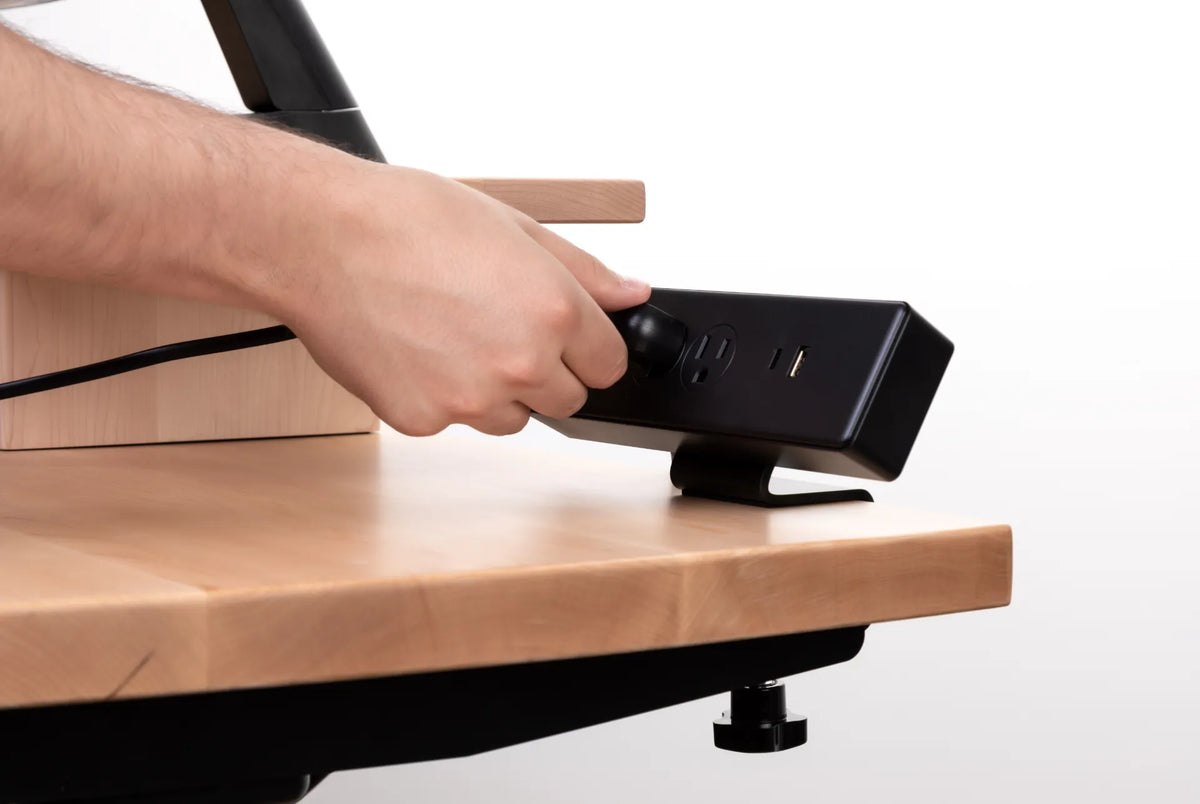
Before the first adjustment, trace the full vertical envelope. Check window latches, shelves, hanging lamps and wall art. Secure cables and keep document trays away from the controller. The Aspire Custom Solid Wood Standing Desk is one active Burotic option for a configurable work surface; verify its current dimensions before choosing a size for large documents.
Alternate positions instead of standing still
A standing desk makes posture changes easier, but it does not make prolonged standing necessary. Move between sitting, standing and short walking breaks. Change position before discomfort builds. Use a chair or stool that can be moved safely out of the desk's path.
These recommendations are general ergonomic guidance, not medical treatment. Persistent pain, numbness, weakness or vision difficulty deserves assessment by an appropriate health professional.
Paperwork setup checklist
- Identify whether reading, writing or paper-screen comparison is the main task.
- Place the active document directly in front of the body.
- Set desktop height with relaxed shoulders and supported forearms.
- Use a stable document holder when it reduces repeated downward viewing.
- Create input, active and completed-document zones.
- Position task lighting to limit shadows and glare.
- Keep loose pages, binders and trays away from moving edges.
- Test the full desk range with every shelf, cable and accessory in place.
- Alternate sitting, standing and movement during longer review sessions.
Common mistakes
Using keyboard height for every paper task
Reading and annotation may benefit from a different height or document angle.
Building large stacks in the active zone
Work in batches and move completed pages out of the central area.
Putting the document too far away
A clear desk is not useful if the page requires constant reaching and leaning.
Ignoring lighting changes
Window light and reflections shift during the day. Reposition the lamp or blinds as needed.
Adjusting height with loose pages at the edge
Clear and secure the surface before every movement.
Final recommendation
Build the workstation around the dominant document task. Keep the active page in front, choose a height and angle that preserve relaxed shoulders, and use a holder when it shortens the visual path. Organize paper into a simple left-to-right or right-to-left workflow so the moving surface stays manageable.
Test the setup by reviewing a real batch for 20 to 30 minutes, then refine height, lighting and reach. A practical paperwork desk should let you read, mark and compare without repeatedly leaning, twisting or reorganizing the whole surface.
Sources: CCOHS, Workstations; CCOHS, Lighting Ergonomics Survey and Solutions.
Previous article
Where Should You Put a Drink on Your Desk? A Spill-Safe Setup
Next article
Where Should You Put a Drink on Your Desk? A Spill-Safe Setup