




How to Organize a Desk Shelf Without Crowding Your Workspace

In this article
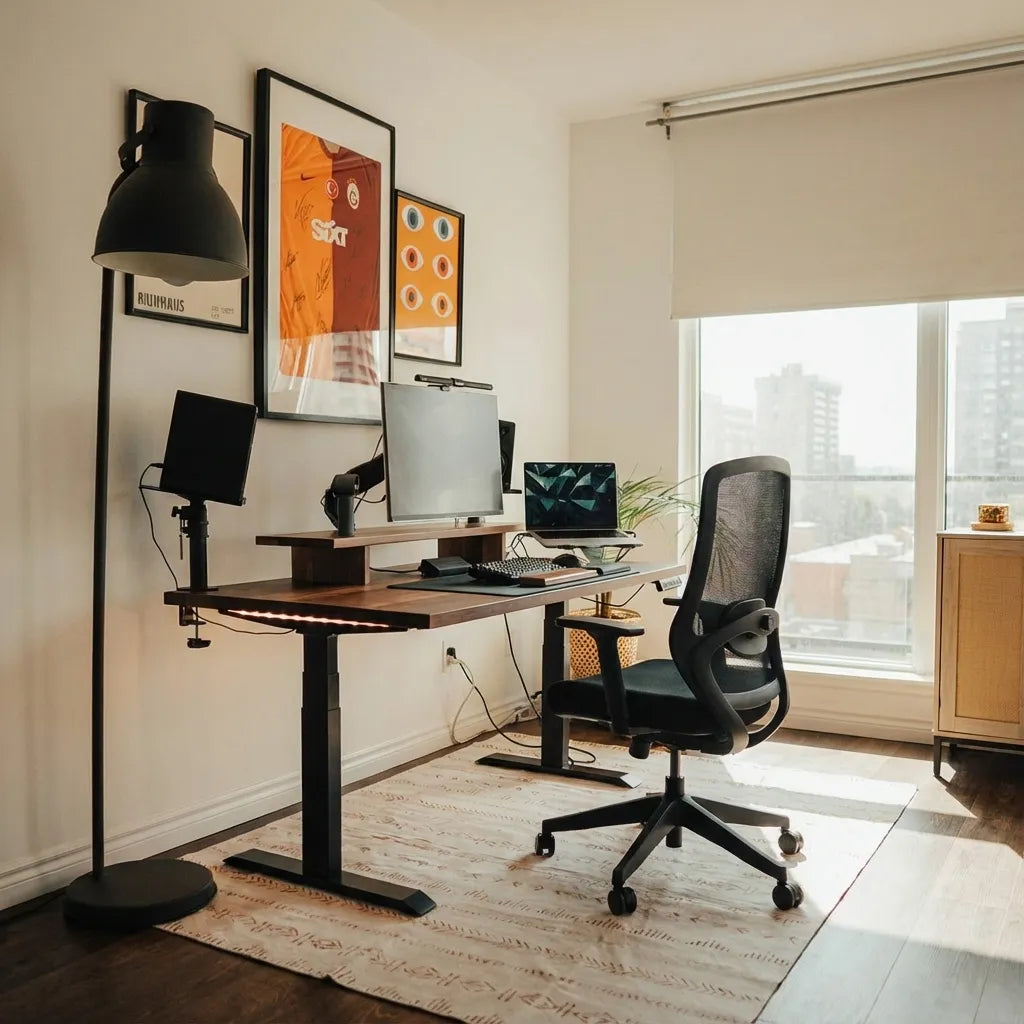
A desk shelf can make a workstation feel larger, but only when every level has a clear job. Used well, it raises a monitor, creates a parking space for a keyboard or notebook and keeps small tools visible. Used poorly, it becomes a second surface for cups, cables and objects that have no permanent home.
The goal of desk shelf organization is not to hide everything. It is to keep the work surface open while preserving comfortable screen position, easy access and a safe path for a standing desk to move. Start with ergonomics, then assign storage by frequency of use.
Quick answer: organize from the screen outward
Place the screen first, because its height and distance affect the whole workstation. Keep only light, stable items on the shelf beside it. Use the open area underneath for objects that must disappear temporarily, such as a compact keyboard, notebook or laptop. Put daily tools within easy reach, occasional items farther away and anything heavy or cable-bound on the main desktop.
A shelf should create one useful vertical layer, not a pile. If an item blocks the screen, crowds the mouse or must be moved every time the desk changes height, it probably belongs elsewhere.
Confirm that the shelf fits the desk
Measure the shelf width, depth and height as well as the usable desktop. Leave enough depth in front for the keyboard, mouse and forearms. A shelf that looks slim can still push a screen too close if the desk is shallow.
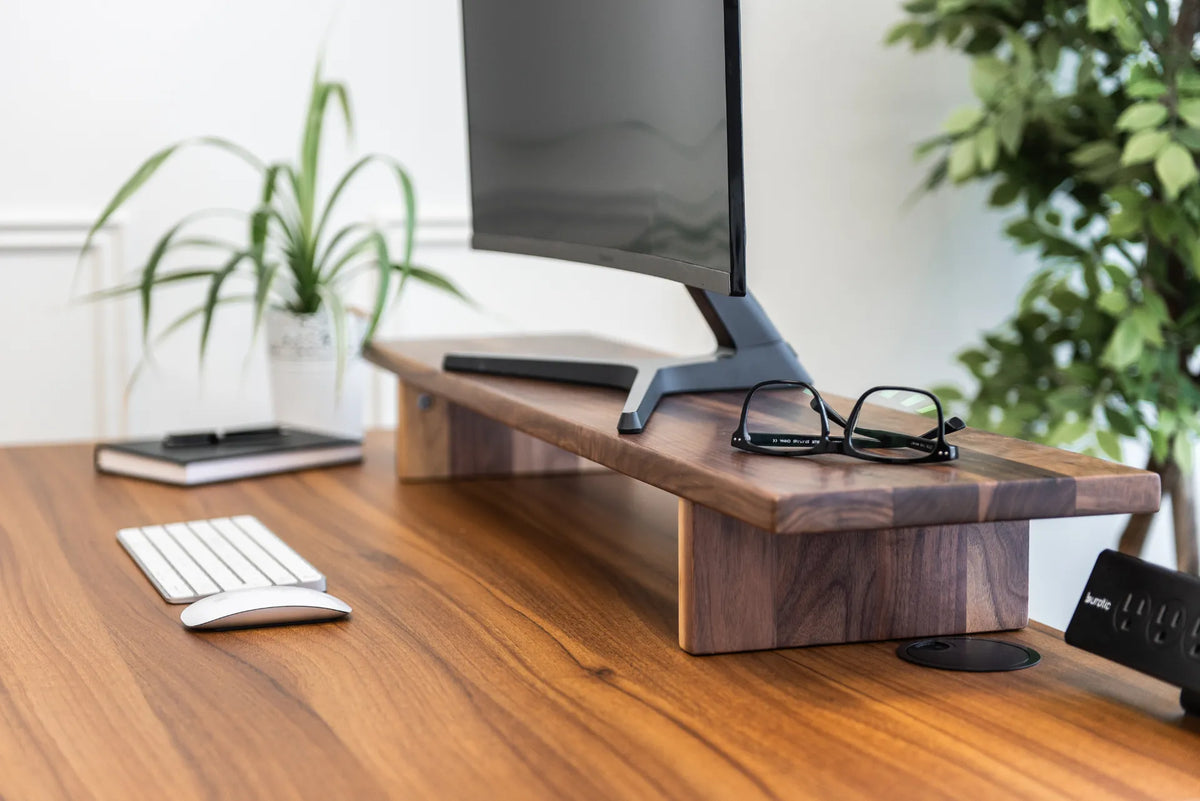
Check the shelf manufacturer's load limit and the weight of the screen with its original base. Confirm that every foot rests fully on the desktop and that no part overlaps a curved edge, grommet or seam. The active Burotic Monitor Stand is one current option to compare with the measured desktop and equipment.
If the desk moves, include the shelf, screen and stored objects in the total moving load. Stability matters more than filling every centimetre.
Set monitor height before adding storage
The Canadian Centre for Occupational Health and Safety recommends placing the main monitor directly in front of the user, at a comfortable viewing distance, with the screen in a visual zone that does not require repeated neck bending. Individual vision, screen size and corrective lenses affect the final position.
Set the chair and desk height for the hands first. Then use the shelf to bring the screen into a comfortable range. If the shelf makes the display too high, do not accept the compromise just to gain storage. A lower stand or an adjustable arm may be more suitable. The monitor stand height guide explains a simple measuring process.
Give each level a purpose
Top level: screen and a few stable items
The top of the shelf should remain visually quiet. Centre the primary screen or position it according to your multi-screen plan. A small plant, webcam or pair of glasses can fit beside it when the object is stable and does not cover controls, vents or the viewing area.
Avoid balancing drinks, loose paper or heavy equipment near an edge. A standing desk accelerates and stops as it moves, so an object that is stable on a fixed desk may shift during height changes.
Under the shelf: temporary parking
The opening below the shelf works best as a temporary parking zone. Slide a compact keyboard underneath when writing by hand, store a closed notebook between tasks or park a laptop only if ventilation and cable clearance remain adequate. Do not force objects into a tight gap.
Keep the opening easy to clear. If it becomes permanent storage for stacked paper, the shelf no longer creates usable space.
Front zone: active work
The area in front of the shelf belongs to the keyboard, mouse and current task. Keep enough room to bring the input devices close so the upper arms can remain relaxed. The mouse should sit beside the keyboard, not beyond decorative objects or storage trays. Review the mouse position guide if reach feels excessive.
Organize by frequency, not category alone
Daily items deserve the easiest locations. A pen used every hour may belong in a small tray at the side. Spare cables, archived notes and packaging do not. Move weekly or monthly supplies to a drawer, cabinet or labelled box away from the active surface.
A practical three-zone test is:
- Immediate zone: keyboard, mouse and the one tool used for the current task.
- Reach zone: glasses, notebook, charging cable or headset used several times a day.
- Storage zone: backups, reference material and supplies used occasionally.
When an object repeatedly migrates into the immediate zone, give it a deliberate home. When it remains untouched for a week, move it out.
Plan cables before the final arrangement
A shelf can hide cables from view while making them harder to inspect. Route the screen cable and power lead along a clear path without sharp bends or pressure from the shelf. Leave enough service slack to move the screen slightly and enough vertical slack for the desk's full height range.
Do not coil excess cable around a shelf leg or trap a connector beneath the base. Use removable ties or clips that can be reopened. Raise and lower the desk slowly while watching every cable. The standing desk cable guide provides a full movement test.
Keep the shelf clear of desk controls
A monitor shelf should not block a controller, power rail, grommet or clamp. Leave access to memory buttons and keep cables away from moving columns. If an on-desk power bar is used, its outlets and switches should remain visible and reachable without reaching behind the screen.
Before final placement, check the underside of the desktop for frame rails, cable trays and fasteners. A future monitor arm or accessory clamp may need that same edge.
Account for sitting and standing
The shelf moves with the desktop, so the screen height relative to the keyboard stays constant. That is useful, but the entire setup still needs testing in both positions. Sit normally, then stand on the surface or mat you actually use. Confirm that the screen remains comfortable, the keyboard stays close and nothing shifts.
CCOHS advises varying posture rather than treating standing as a full-day position. A tidy shelf can make transitions easier because fewer objects need to be moved. Save height presets only after the final shelf and equipment are in place.
Choose shelf storage that stays stable
Low trays are usually safer than tall containers. Soft-lined dishes can prevent glasses or small devices from sliding. Avoid adhesive products that may damage a wood or laminate finish, and follow the desktop manufacturer's care instructions before adding pads or tapes.
Keep liquids on the main desktop away from electronics, not above them on the shelf. If a plant is included, use a stable pot and a saucer, then move it before watering.
Common desk shelf mistakes
- Buying by appearance without measuring desk depth.
- Using storage space even when the screen becomes too high.
- Stacking paper until the shelf opening is unusable.
- Placing frequently used tools behind the monitor.
- Trapping power and display cables beneath the shelf.
- Loading the top with unstable decor before testing desk movement.
A ten-minute reset routine
- Remove everything except the screen, keyboard and mouse.
- Set chair, desk and screen positions.
- Return only items used daily.
- Assign one parking space below the shelf.
- Route and test cables through the full desk travel.
- Move occasional supplies to dedicated storage.
Repeat the reset when new equipment arrives. The shelf should adapt to the work, not become a museum of old accessories.
Final recommendation
Organize a desk shelf around screen comfort and task flow. Keep the top stable and sparse, the opening below easy to clear and the front zone reserved for active work. Measure first, route cables visibly and test the entire setup at sitting and standing heights. If the shelf cannot improve storage without harming screen position, choose a different support method.
Sources: CCOHS, Monitor Positioning; CCOHS, Sit/Stand Desk; current Canadian desk-shelf and monitor-riser pages from Ergonofis, Desky and Progressive Desk, consulted September 29, 2026.



Previous article
How to Set Up a Standing Desk in a Corner
Next article
How to Flatten a Desk Pad and Keep It From Sliding