

How to Position a Mouse at Your Desk: Reach, Height and Grip

In this article
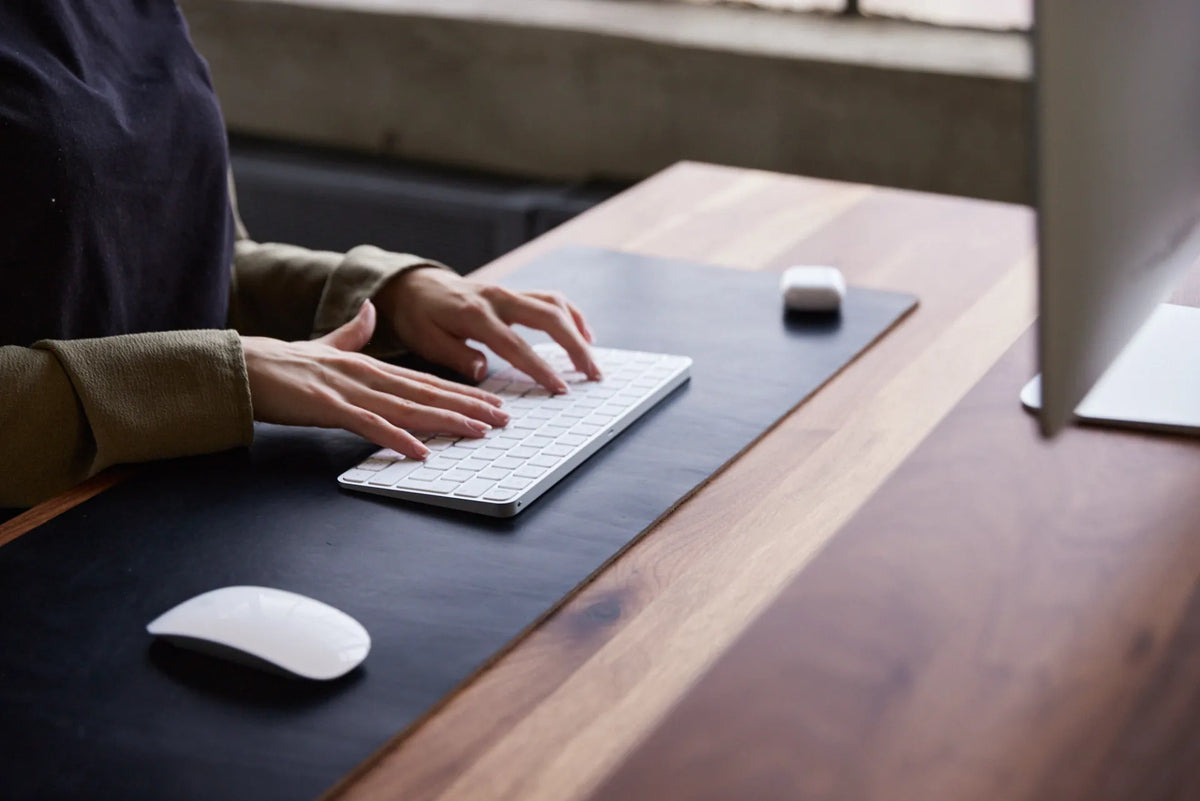
The best mouse position at a desk is close to the keyboard, at roughly the same working height and inside the easy reach of the forearm. Your upper arm should be able to remain near your side while the hand moves the pointer. If you have to reach forward, lift the shoulder or hold the elbow away from the body, the mouse is probably too far away, too high or displaced by a wide keyboard.
This guide explains how to test the complete setup rather than chasing one universal measurement. Body proportions, keyboard width, desk height, chair position and the type of pointing device all matter. General ergonomic guidance cannot diagnose pain or replace advice from a qualified health professional.
Quick answer: keep the mouse in your easy reach zone
Sit or stand in your normal working position with your shoulders relaxed. Let the upper arms hang comfortably and bend the elbows so the hands reach the work surface without leaning. Place the mouse beside the main typing keys, not automatically beside the far edge of the keyboard. The wrist should continue the general line of the forearm instead of staying bent sharply up, down or sideways.
The Canadian Centre for Occupational Health and Safety, or CCOHS, states that there is no single correct spot for every person. The goal is to avoid excessive leaning and reaching. Its guidance on computer mouse placement also notes that a shorter keyboard can create space for the mouse closer to the body.
Set the desk and chair before fine-tuning the mouse
While seated
Adjust the chair so the feet are supported and the back feels stable. Bring the chair close enough to the desk that the elbows can remain near the torso. Then set the work surface, chair or keyboard level so the forearms approach the input devices without raised shoulders. If raising the chair leaves the feet unsupported, use an appropriate foot support rather than letting the legs hang.
While standing
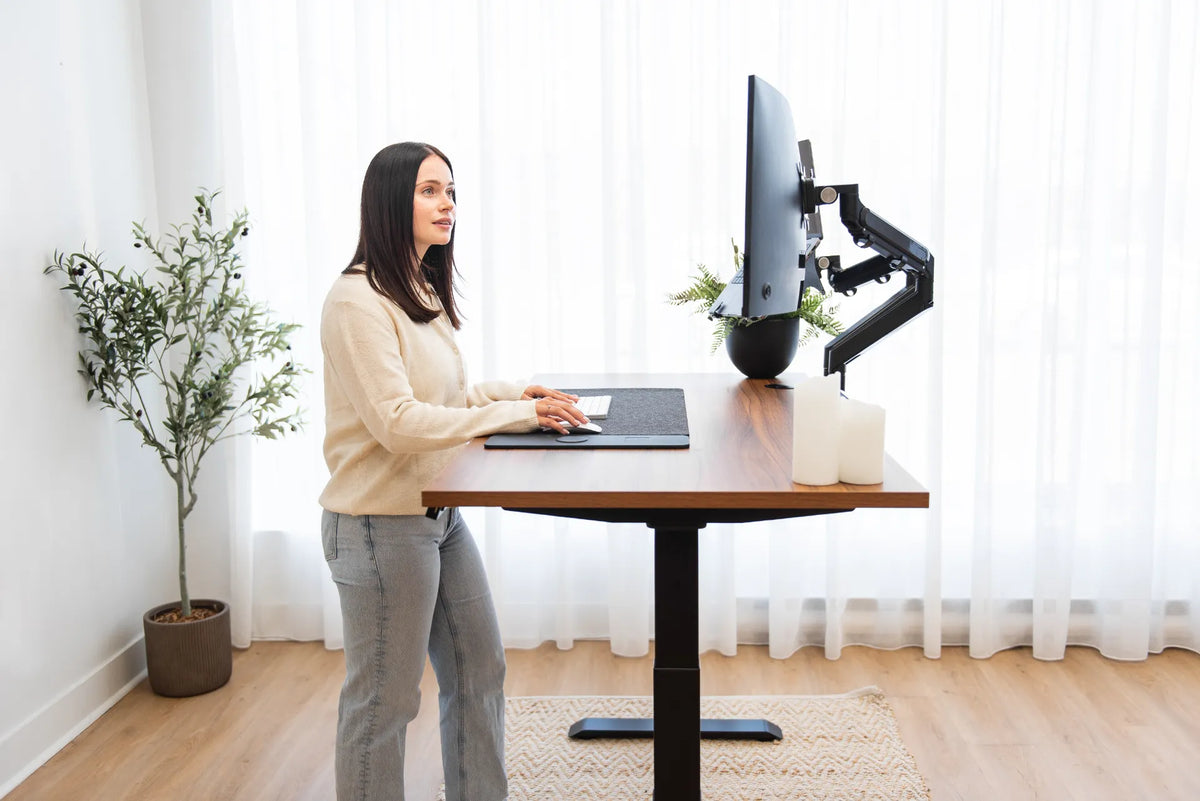
Stand close to the desk with weight distributed comfortably and shoulders relaxed. Move the desktop until the keyboard and mouse are near elbow level. Recheck the mouse after changing footwear or adding a standing mat because either can change your relationship to the surface. The same saved desk height may not work in every situation.
An adjustable desk makes it easier to coordinate the surface with the user. The purpose is not to hit a formula. It is to create a repeatable position where the keyboard and mouse can remain close in both modes. Compare current options for a Burotic custom standing desk only after measuring your sitting and standing requirements.
Centre the typing area, not the keyboard case
A full-size keyboard usually places a numeric keypad to the right of the letter keys. If the entire keyboard is centred on the desk, the letter keys may sit left of the body and the mouse may move farther right. That arrangement can increase sideways reach for a right-handed mouse user.
First align the letter keys you use most with your torso and primary screen. Then bring the mouse alongside them. If the numeric keypad pushes the mouse beyond easy reach, consider whether you use it often enough to justify the width. A compact keyboard or separate keypad can be useful, but the decision should follow the work. Our guide to compact and full-size keyboards compares those tradeoffs.
Match mouse height to the keyboard
The mouse and keyboard generally work best on the same stable level. A mouse on a higher shelf may lift the shoulder or bend the wrist. A lower platform can create the opposite bend. If a platform is necessary, test its height with real work and check whether forearm support is available without creating a hard pressure point.
Desk mats and mouse pads change the surface by only a small amount, but their edges, texture and size can affect movement. Keep the full range of normal pointer travel on one consistent surface. Do not place the mouse partly on a thick pad and partly on the bare desktop. The comparison of a desk pad and mouse pad can help if surface area is the main issue.
Choose a mouse that fits the hand and task
Placement cannot compensate for a device that is clearly too small, too large or difficult to operate. CCOHS recommends selecting a mouse that supports a neutral hand and wrist position, fits the hand and uses buttons that respond without excessive force. Traditional, vertical, trackball and central pointing devices change how the hand and arm move. No category is automatically best for everyone.
Try the device during the tasks that occupy the day. Precision design work, spreadsheets, general browsing and gaming can involve different movement patterns. A new shape can also require an adjustment period. Change one variable at a time so you can tell whether the improvement comes from the device, the position or the software settings.
Use a light grip and move from more than the wrist
Rest the hand on the mouse without squeezing it. Keep the fingers comfortably curved and the thumb supported rather than pinching the sides. For larger pointer movements, let the forearm and elbow participate instead of anchoring the wrist and repeating every motion through a small joint range.
Avoid pressing the wrist against a sharp desktop edge. A palm support may be useful during pauses, but it should not force the wrist upward while the mouse moves. The broader keyboard and hand placement guide explains how the input devices, forearms and work surface function as one setup.
Adjust pointer settings before making more desk space
If crossing the screen requires repeated long sweeps, review pointer speed and acceleration settings. Increase sensitivity gradually, then test accurate selection, scrolling and dragging. The setting should reduce unnecessary travel without making the pointer difficult to control. High-resolution or multiple displays may require a different balance from a single small screen.
Shortcuts can also reduce mouse demand. Keyboard commands, programmable buttons and application-specific navigation may help when they are easy to remember and do not create a new repetitive pattern. The objective is variety and efficiency, not replacing every mouse action with another fixed movement.
Recheck the mouse in a laptop setup
A laptop used alone can place the keyboard and trackpad close together, but the screen is usually lower than an external display. Raising the laptop improves the screen position while making its built-in input devices harder to reach. For longer sessions, an external keyboard and mouse let the screen and hands be positioned independently.
Keep both external devices in front of the screen used most. Do not leave the mouse beside a raised laptop while the keyboard sits lower and farther forward. The laptop and monitor setup guide provides a complete sequence for coordinating screens and input devices.
Test the setup with real work
- Choose your normal sitting or standing position and relax the shoulders.
- Centre the primary typing keys with your torso and screen.
- Place the mouse beside those keys, close enough that the elbow stays near the body.
- Check that the mouse and keyboard are on a similar stable level.
- Move the pointer to all corners of the screen without leaning or lifting the shoulder.
- Type for several minutes, then switch to the mouse and watch whether it has drifted away.
- Repeat the test after changing from sitting to standing.
Small pieces of removable tape can mark a useful home position for the keyboard and mouse while you build the habit. The marks are a reminder, not a requirement to stay still. Natural movement and short posture changes remain useful.
Common mouse-position problems
The mouse keeps moving farther away
Clear a defined area beside the keyboard and remove objects that occupy it. A pad with enough width can create a visible home zone. If a wide keyboard is the cause, reassess the number pad rather than repeatedly pulling the mouse back.
The shoulder rises while working
The desk or mouse platform may be too high, or the chair may be too low. Reset the chair and surface together. Do not solve a height problem by leaning to one side.
The wrist bends toward the little finger
The mouse may be too far to the side or the device shape may not fit the hand. Bring it closer and align it with the forearm. If the bend remains, trial another device shape rather than forcing the hand to adapt.
The forearm rests on a hard edge
Move closer, adjust the device position or use a suitable edge treatment that does not destabilize the mouse. Avoid thick improvised padding that changes the working height unpredictably.
When to seek individual help
Persistent pain, numbness, weakness, swelling or symptoms that interrupt normal work should not be managed only through internet setup advice. Stop or modify the aggravating task and speak with a qualified health professional. A trained ergonomics professional can also observe the real workstation, work demands and movement patterns.
Final recommendation
Start with reach, not a fashionable mouse shape. Place the mouse close to the primary typing keys, at a similar height and in line with a relaxed forearm. Then adjust the keyboard width, pointer settings and device fit so the shoulder does not have to compensate.
Recheck the arrangement in both sitting and standing positions and after any monitor or laptop change. A good mouse position should make ordinary pointing feel uneventful: no searching for the device, no repeated lean and no need to hold one rigid pose.
Sources: CCOHS, Computer Mouse Location; CCOHS, Computer Mouse Selection and Use; Western University, Workstation Setup.
Previous article
How High Should a Monitor Stand Be? A Practical Setup Guide
Next article
Standing Desk Setup for Students: Study, Screens and Small Spaces