

How High Should a Monitor Stand Be? A Practical Setup Guide

In this article
A monitor stand should be high enough to bring the screen into a comfortable viewing zone, but not so high that you tilt your head back. There is no single correct stand height in inches because the required lift depends on the user's seated or standing eye level, the monitor's own dimensions, the location of its display panel and the desk height. The useful number is the difference between where the screen is now and where it should be for you.
For many users, the top of the visible screen belongs around eye level or slightly below it. The CCOHS notes that a monitor placed too high can cause more discomfort than one that is a little low. Corrective lenses, monitor size and viewing tasks can all change the target. Treat published measurements as starting points and confirm the result through posture and comfort.
Set the desk and chair before the monitor stand
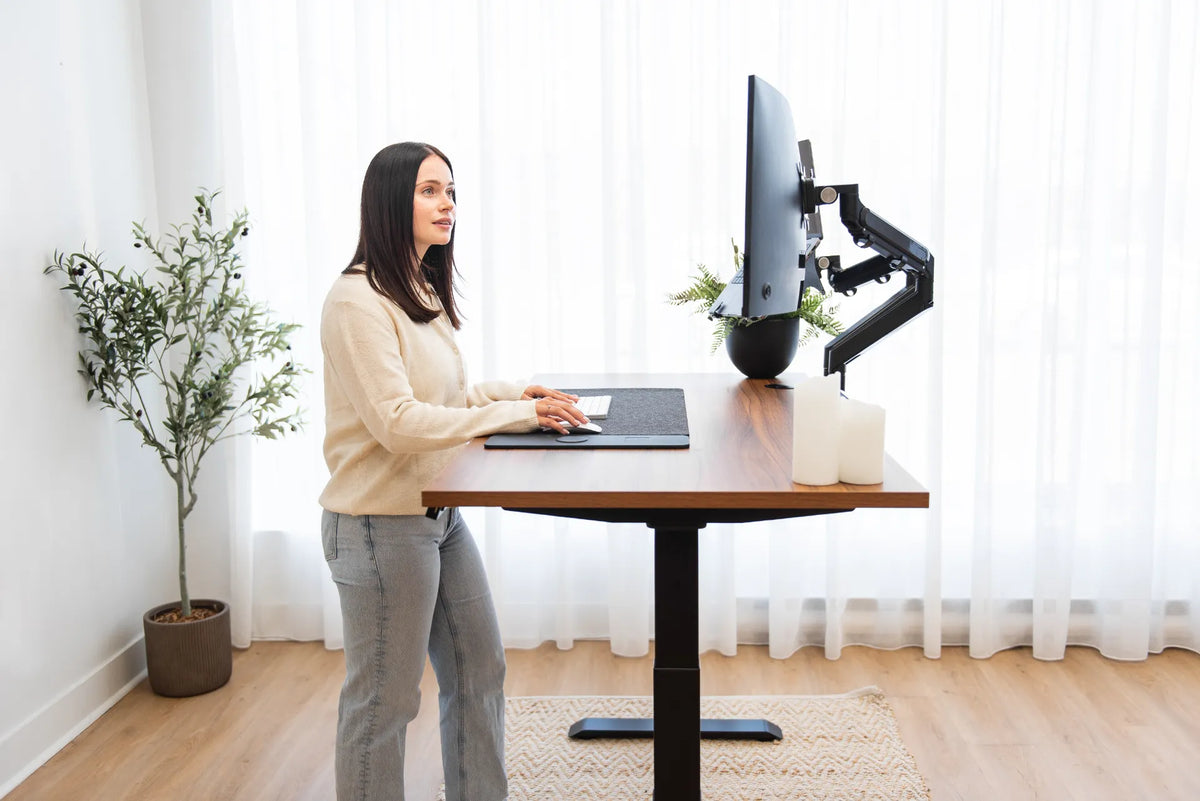
Screen height is the last part of a chain. First set the chair so the feet are supported and the upper arms can remain relaxed. Then set the work surface so the keyboard and mouse allow straight wrists, relaxed shoulders and elbows near the body. On a standing desk, set the desktop near standing elbow height before adjusting the screen.
If the keyboard is too high, raising the monitor alone will not fix the workstation. You may end with a better eye line but still shrug the shoulders. Establish the input-device height first, then use a stand or arm to separate screen height from keyboard height.
Find your target viewing zone
Sit or stand in the posture you actually use. Look straight ahead without lifting the chin. Your horizontal eye line should normally meet the top area of the display, with most screen content below it. CCOHS guidance describes an in-line sight between horizontal and about 30 degrees below horizontal for a sit-stand setup. The exact position can be lower for users of bifocals or progressive lenses.
Do not force your back against the chair or sit unusually tall for the measurement. Work for several minutes, settle into a sustainable posture and have another person mark your eye height, or use a mirror and removable tape. Measure from the desktop to that mark.
Measure how much lift you actually need
Measure from the desktop to the top edge of the visible screen in its current position. Subtract that number from your target eye-line height. The result is the approximate lift required. For example, if your eye line is 47 inches above the floor, the desk is 29 inches high and the top of the screen is currently 14 inches above the desktop, the target top height above the desktop is 18 inches. The setup needs about four inches of additional lift.
This is a practical estimate, not a medical prescription. Monitor bezels and built-in stands vary. Measure the visible panel rather than the decorative top of an unusually thick enclosure. If the screen can tilt, perform the measurement with the tilt you expect to use.
Match the stand to the monitor, not only the room
Check the stand's surface dimensions, load rating and intended use against the monitor manufacturer's specifications. The monitor's original foot should sit completely on the support, with room for its shape and any swivel movement. Do not let part of the foot hang over an edge. Keep the centre of mass over the stand rather than near a front or side corner.
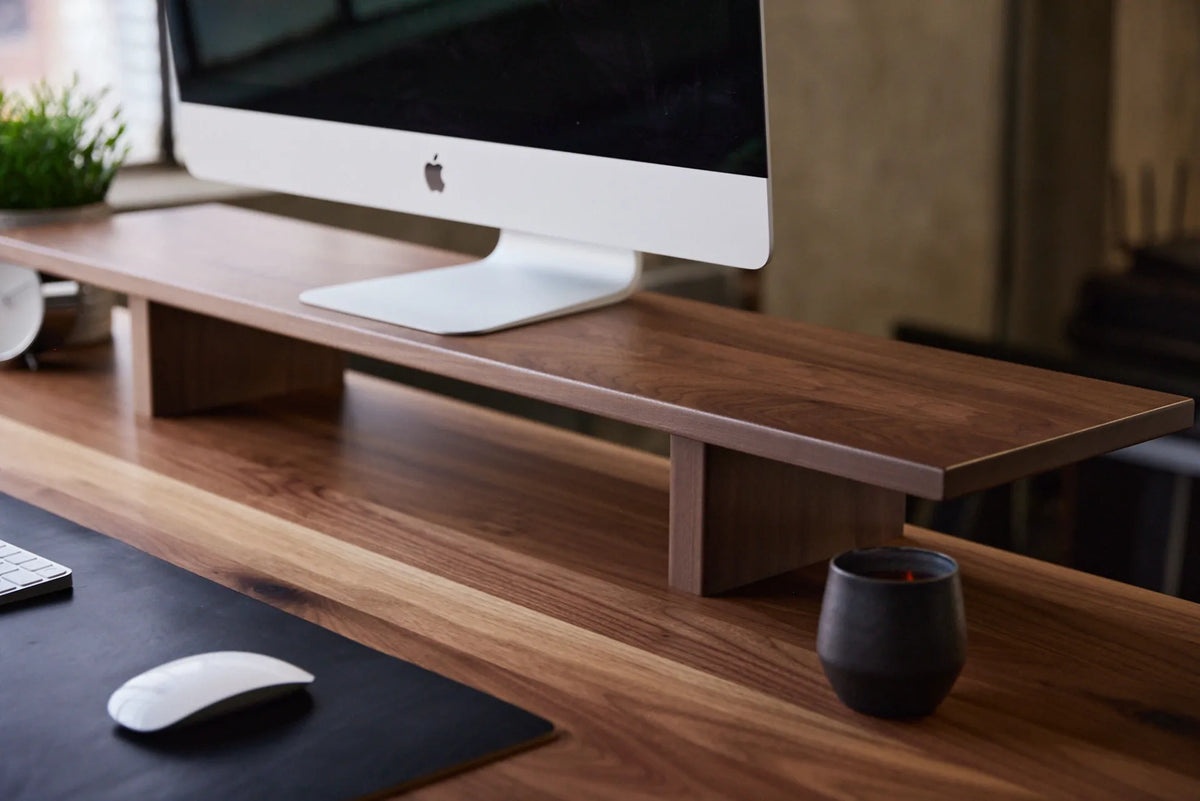
The Burotic Monitor Stand is offered as a matching shelf that elevates screens and adds usable space beneath them. Its current product listing includes several material finishes. Confirm the selected dimensions, supported equipment and current specifications on the product page before ordering.
Check viewing distance at the same time
Raising a monitor can subtly change distance, especially if the screen is tilted or the stand is deeper than the original monitor foot. CCOHS says an arm's length is a useful general estimate, with individual adjustment so text remains readable without leaning forward or straining the eyes. Increasing font and interface scaling is usually better than pulling a large screen too close only to read small text.
Use our monitor distance guide to check size, text and depth together. Height and distance should be tested as one system: a screen may look correct vertically but still encourage the head to move forward because it is too far away.
Test the height with a temporary riser
Before buying a fixed-height stand, simulate the lift with a stable, flat object large enough to support the complete monitor foot. Use the temporary setup only for measurement and supervised testing, not as a permanent stack. Work for at least 20 to 30 minutes on typical tasks, including reading near the top and bottom of the screen.
Watch for three signs that the screen is too high: the chin rises, the eyes feel drawn upward or the neck rests in extension. Signs that it may be too low include persistent downward head tilt, slumping or looking over the top of corrective lenses in an awkward way. Small changes can matter, so test in modest increments.
Fixed stand or monitor arm?
A stand is simple, visually clean and creates storage below the screen. It works well when one fixed lift suits the user and the monitor's original base is stable. A monitor arm offers more adjustment in height, depth and orientation, which can be useful for multiple users, portrait mode or frequent posture changes.
Our monitor stand versus monitor arm guide compares those options in detail. A fixed stand should not be chosen simply because its advertised height sounds ergonomic. Choose it when its actual lift matches the measured gap in your setup.
Using a monitor stand on a height-adjustable desk
A stand moves with the desktop, so the screen-to-keyboard relationship stays constant when the desk rises. That is convenient, but the posture itself can change between sitting and standing. Many people stand slightly closer to the desk or hold the head differently. Save your sitting and standing desk heights first, then check the screen at both positions.
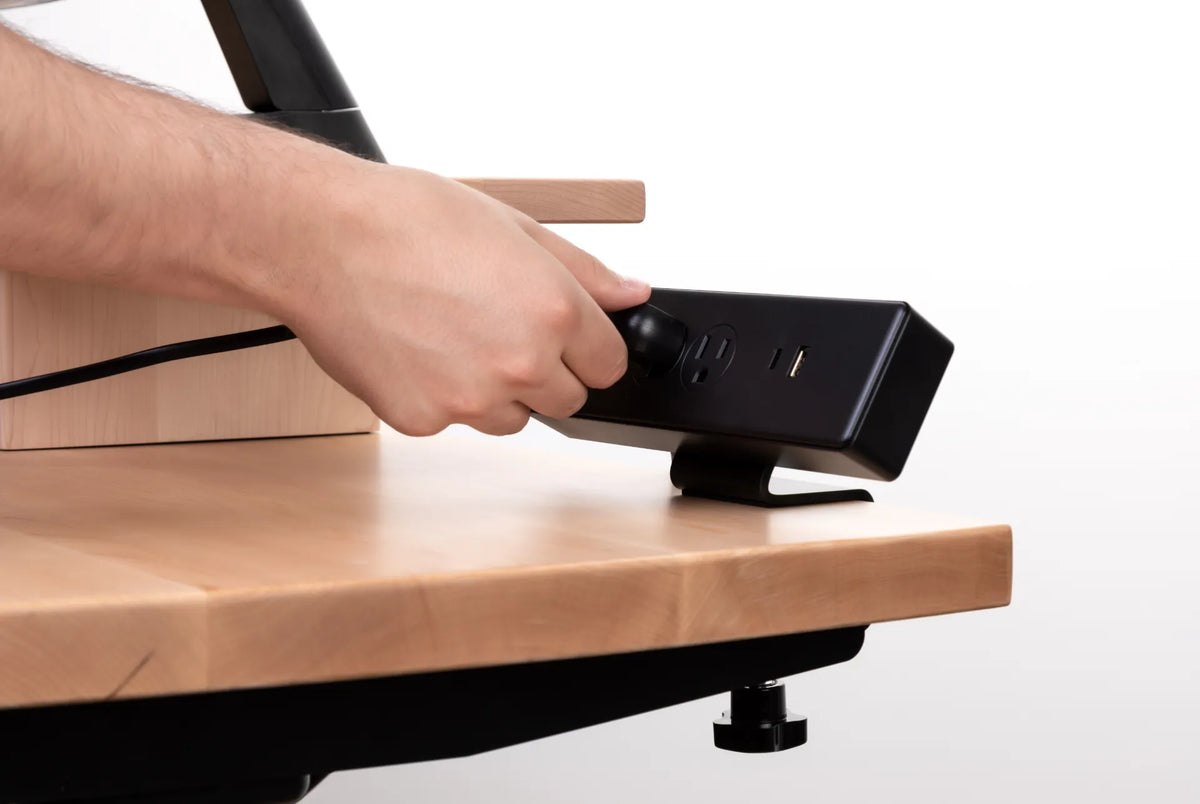
Raise and lower the desk through its full range while watching monitor and power cables. A stand may create a path beneath the screen, but that space should not become a place where cables are pinched. Make sure the monitor remains stable when the desk starts and stops.
Special cases that need a different target
Progressive or bifocal lenses
Users who look through a lower lens zone for screen work may need the monitor below the standard eye-level starting point. Raising it too much can lead to chin elevation. The monitor setup guide for progressive lenses explains how to coordinate screen position, text size and lens zones.
Very large displays
The top of a large screen may sit above eye level even when its centre is comfortable. Focus on the area you use most, the head position and the viewing distance rather than forcing the entire top edge to a generic rule.
Multiple monitors
Keep frequently used screens at similar heights and avoid a large vertical step that makes the eyes and head travel repeatedly. If one monitor is primary, centre it in front of the body. A stand must be wide and strong enough for the complete configuration.
Final setup checklist
- Set chair, feet, desk, keyboard and mouse before screen height.
- Measure the target eye line in a natural working posture.
- Measure the visible screen, not only the outer enclosure.
- Calculate the lift instead of guessing from a product photo.
- Keep the full monitor foot supported and centred.
- Retest viewing distance and text size after raising the screen.
- Check both sitting and standing positions.
- Use a lower target when corrective lenses require it.
Final recommendation
The right monitor stand height is the smallest stable lift that places the screen in your comfortable viewing zone after the desk and keyboard have been set correctly. Start with the top area of the screen near eye level, then adjust downward if your lenses, display size or comfort call for it. Avoid lifting the screen by habit or matching someone else's measurement.
A short measurement and temporary test can prevent an attractive but unsuitable purchase. Once the height, distance and support surface all work together, the monitor should be readable without raising the chin, leaning forward or repeatedly changing posture.
Sources: CCOHS, Positioning the Monitor; CCOHS, Sit/Stand Desk; Progressive Desk Canada, monitor height guide; Desky Canada, monitor stand overview.
Previous article
Under-Desk Drawer vs. Filing Cabinet: Which Storage Fits Your Workspace?
Next article
Under-Desk Drawer vs. Filing Cabinet: Which Storage Fits Your Workspace?