


Minimalist Desk Setup Guide for Focused Work

In this article
A minimalist desk setup is not an empty desk. It is a workstation where every visible item earns its place, every cable has a route and the screen, keyboard and mouse still fit the user. The goal is to reduce friction and distraction without removing the equipment needed for comfortable, accurate work.
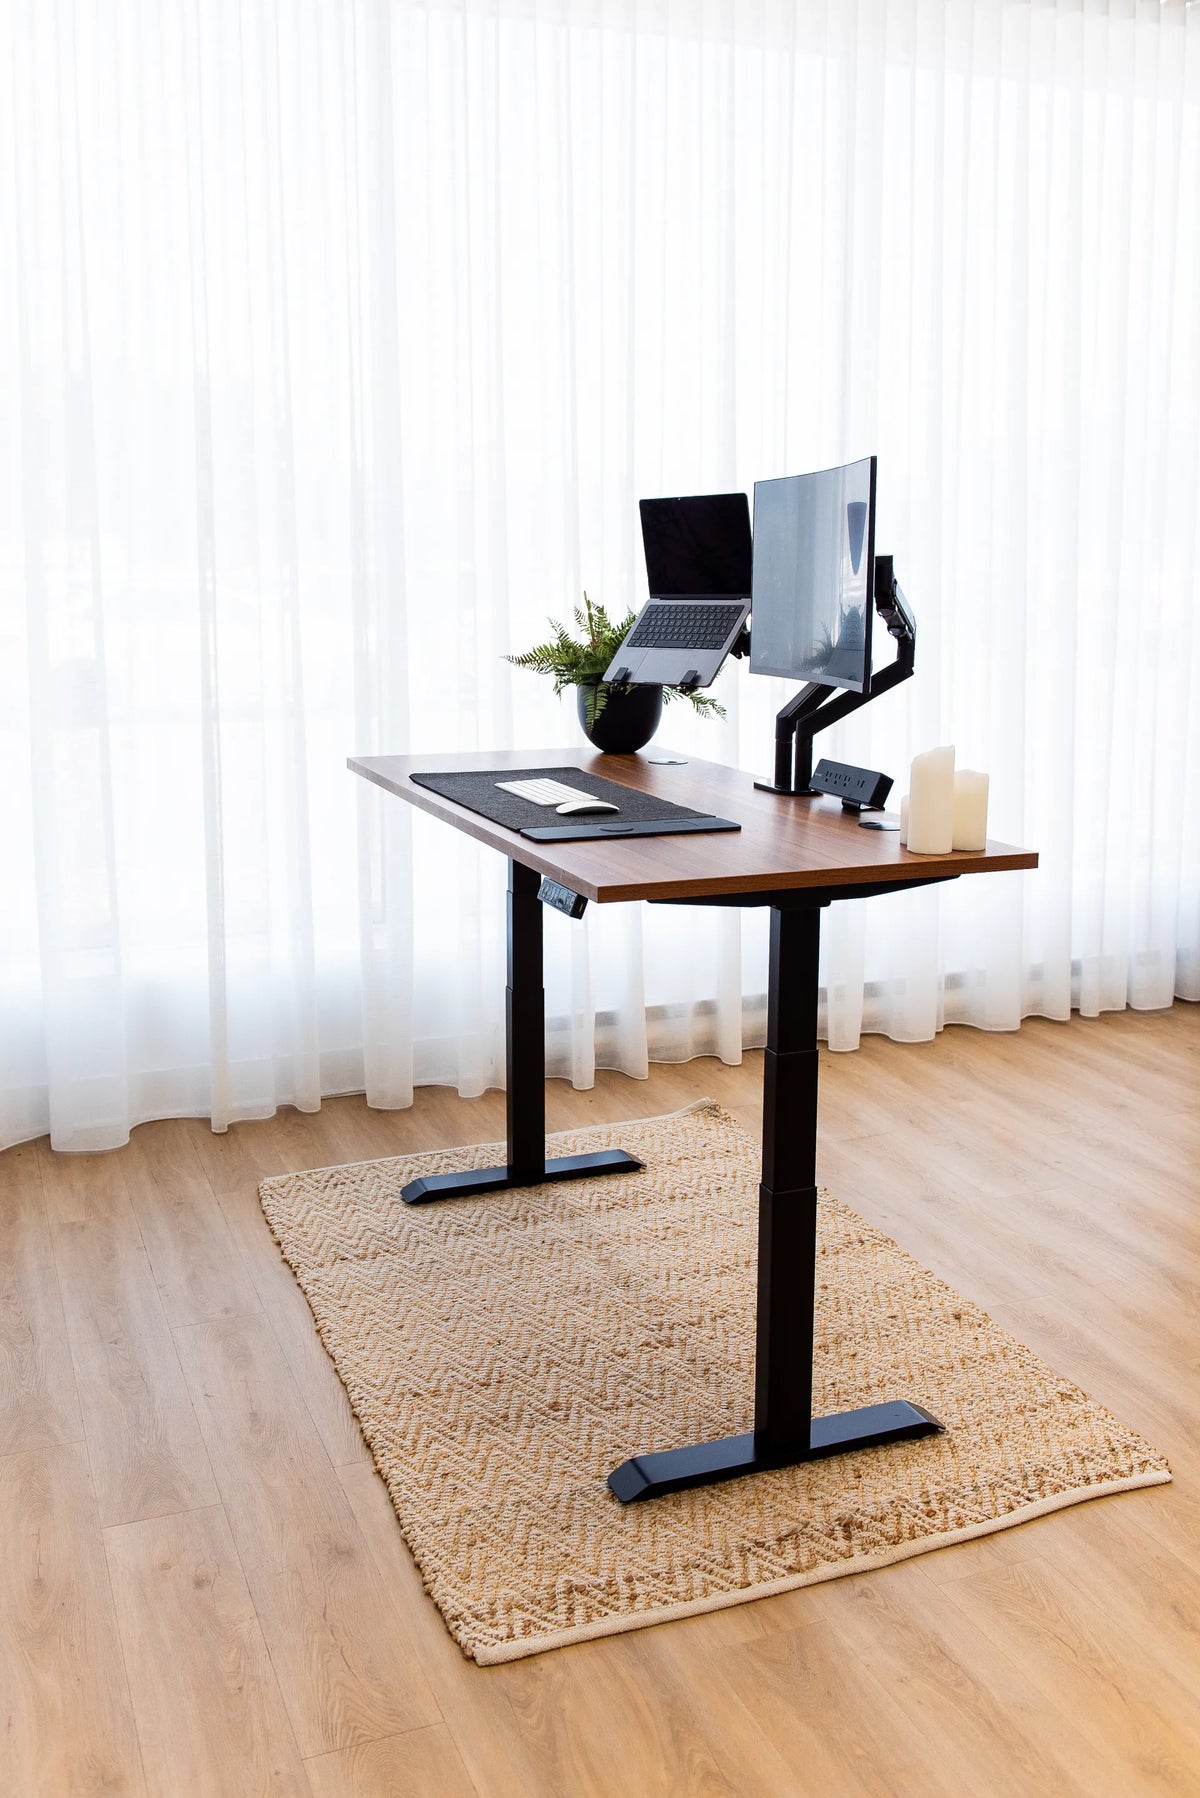
This guide shows how to build a minimalist desk setup for a Canadian home office, from the first measurements to daily reset habits. It uses ergonomics as a constraint, not an afterthought. A clean photograph may inspire the look, but your task, body dimensions, room and equipment should determine the final layout.
Quick answer: what belongs on a minimalist desk?
Keep the devices and tools used every day within easy reach. For many computer users, that means one primary screen or laptop, a keyboard, a mouse, a notebook and one practical personal item. Move occasional tools into a drawer, cabinet or labelled container. Route permanent cables below the surface and keep only frequently handled charging connections accessible.
Minimalism works when it shortens decisions. You should know where to put a document, where to charge a phone and how to clear the surface at the end of the day. If removing an item forces awkward posture or repeated searching, the setup has become sparse rather than useful.
Begin with the work, not the aesthetic
List the tasks that occupy most of your week. Video meetings, design, accounting, writing and customer service have different equipment needs. Record what must stay connected, what appears only for certain tasks and what does not belong in the work zone at all.
Then define the primary activity zone. The screen and input devices should be centred on the task you perform most. Reference material can occupy a secondary zone. Charging, storage and personal objects belong at the edges unless they are used continuously.
Choose one visual anchor
A minimalist workstation feels intentional when one element anchors the composition. That might be a solid wood surface, a black desktop, a monitor on a wood stand or a single plant. Avoid making every accessory compete for attention. Repeat one or two finishes and let the necessary equipment remain visually quiet.
The setup does not need to be monochrome. A limited palette simply makes it easier to replace or add equipment without creating visual noise. Start with the desk and largest device, then choose accessories that support them.
Measure the usable surface
Desk width and depth are not the same as usable workspace. A monitor stand, arm clamp, laptop, speakers and cable grommets can reduce the area available to the hands. Measure the clear rectangle remaining after permanent equipment is placed.
Depth matters because it affects screen distance and keyboard position. CCOHS recommends placing the monitor at a comfortable viewing distance and avoiding a setup that requires the head to move repeatedly. If the desktop is shallow, a compatible monitor arm can recover depth. If it is deep, a stand can create organized storage below the screen.
Burotic's guide to 24-inch and 30-inch desk depth can help translate equipment needs into a surface choice. Measure the room and the devices before selecting a desk based only on a staged photo.
Build the ergonomic core first
Place the screen for the primary task
Centre a single main monitor in front of you. If the laptop is the main screen, raise it only if you can use a separate keyboard and mouse. If a second screen is used occasionally, angle it beside the main display and turn the chair or body rather than twisting the neck for long periods.
The top of the visible screen is often placed around eye level or slightly below, but individual vision needs, corrective lenses and screen size can change the best position. Use CCOHS monitor guidance and adjust based on comfortable, clear viewing. Do not sacrifice screen placement merely to achieve symmetry.
Keep the keyboard and mouse close
Place the keyboard directly in front of the primary screen and keep the mouse on the same level, close to the keyboard. The shoulders should remain relaxed and the elbows near the sides. Remove decorative objects from the main reach zone if they push input devices away.
Review Burotic's keyboard and hand placement guide before finalizing the surface. A clean layout that forces the wrists to bend or the shoulders to reach is not a successful minimalist setup.
Adjust the chair and desk together
Set the seat so the feet are supported and the thighs are comfortable, then bring the desk to an appropriate working height. With an adjustable desk, save a seated height only after the chair is set. Create a standing height separately and leave enough cable slack for the full travel.
Keep changes voluntary and comfortable. CCOHS notes that sit-stand workstations help users vary position, but standing for too long can also contribute to discomfort. Minimalism should make transitions easier, not turn standing into a rule.
Reduce visible equipment without losing function
Use vertical space carefully
A monitor stand can raise a screen and create a defined storage area for a keyboard, notebook or small device. The Burotic Monitor Stand is intended to hold common desk items and support an organized surface. Confirm dimensions and compatibility with your equipment before choosing it.
A monitor arm can free the area below a screen, but the clamp, arm range, monitor weight and desktop structure must be compatible. The visual result is only worthwhile if the screen remains stable and adjustable.
Combine functions where it makes sense
A desk pad can define the keyboard and mouse zone while protecting part of the surface. The Burotic Wireless Charging Desk Pad combines a desk pad with modular wireless charging for compatible devices. Confirm current device compatibility and charging requirements before relying on it.
Multi-function accessories reduce item count only when you actually use both functions. Otherwise, a simple pad and the correct charger may be the better choice. Minimalism is not a reason to buy more products marketed as minimal.
Design a cable system that disappears from normal view
Start at the devices and work toward the wall. Separate cables that move with the desktop from those that remain fixed. Mount adapters or a suitable power bar where they are supported and accessible. Leave a controlled service loop for any cable crossing between the moving desk and the wall.
Bundle only cables that follow the same route. Label both ends before hiding them. Test an adjustable desk at its lowest and highest positions, watching for tension, rubbing and pinch points. Keep power cords out from under rugs and away from chair casters.
Use the Burotic cable management guide for the full movement-ready process. A minimalist surface depends on safe organization below it.
Create three storage categories
Daily
Daily items stay on the surface or in the easiest drawer: keyboard, mouse, notebook, pen and the charger you use most. Give each a specific home. A tray is useful only if it prevents loose items from spreading.
Weekly
Headphones, a webcam, reference documents and specialized tools can live in a nearby drawer, shelf or cabinet. They should be easy to retrieve without occupying prime reach space every day.
Archive or remove
Old cables, duplicate adapters, empty packaging and outdated documents should leave the work zone. Label cables before storing them and recycle electronics through an appropriate local program. Do not keep unknown power adapters plugged in simply because they might belong to something.
A 30-minute minimalist desk reset
- Photograph the current setup: the image makes clutter patterns easier to see.
- Remove everything not connected: place it in daily, weekly or remove groups.
- Return the ergonomic core: screen, keyboard, mouse and required computer equipment.
- Set chair and desk height: confirm feet, elbows and shoulders before styling.
- Route permanent cables: keep power equipment accessible for inspection.
- Add one writing tool: use one notebook and one dependable pen rather than a scattered collection.
- Add one personal element: choose a plant, photograph or object that does not enter the reach zone.
- Test a real task: work for ten minutes and note anything you must reach for or move.
Minimalist setups for different work styles
Laptop-first work
Use a separate keyboard and mouse if the laptop is raised for better viewing. Store the laptop charger below the desk and keep one accessible connection for travel. A vertical stand can be useful only if the laptop operates safely in that position and external equipment remains adequate.
Single-monitor focus
Centre the display and keep the visual field simple. A monitor stand can hold the notebook below. Leave one side of the desk open for temporary documents rather than filling both sides with permanent accessories.
Hybrid paper and digital work
Create a clear document zone beside the keyboard. Store files vertically rather than stacking them in the active area. At the end of the task, return papers to a labelled folder so the temporary zone becomes clear again.
Shared or flexible workspace
Use a small labelled container for each user and standardize the common equipment. Keep controls and frequently changed connections accessible. A reset checklist is more important than decorative consistency because several people must understand the system.
Common minimalist desk mistakes
- Hiding equipment that needs inspection: power bars and adapters must remain reachable.
- Removing needed support: an empty surface does not justify a poorly positioned screen or keyboard.
- Buying matching accessories before measuring: compatibility comes first.
- Using storage as delayed clutter: review drawers and containers regularly.
- Choosing symmetry over task fit: centre the primary work, not every object.
- Keeping too many charging standards visible: store occasional cables and label them.
Maintain the setup with a small routine
End each day with a two-minute reset. Return the notebook, remove cups, connect only the devices that need charging and clear the temporary work zone. Once a week, wipe the surface according to its material and inspect the cable route.
Once a month, ask whether every visible item was used. If not, move it to weekly storage. Also check whether new equipment has changed the screen distance, desk load or cable travel. A minimalist setup is a maintained system, not a one-time purge.
Final recommendation
Build the workstation in this order: task, measurements, ergonomic core, cable route, storage and visual details. Keep what supports daily work and remove what creates repeated decisions. The result should feel calm because it functions clearly, not because it copies a sparse photograph.
For Canadian ergonomic reference points, consult CCOHS guidance on monitor positioning, chair adjustment and sit-stand desks. Then choose Burotic accessories only where they solve a verified need in your layout.


Previous article
Where to Put a Desk in a Bedroom or Small Home Office
Next article
Desk Power Bar Setup: Safe Placement and Cable Planning