

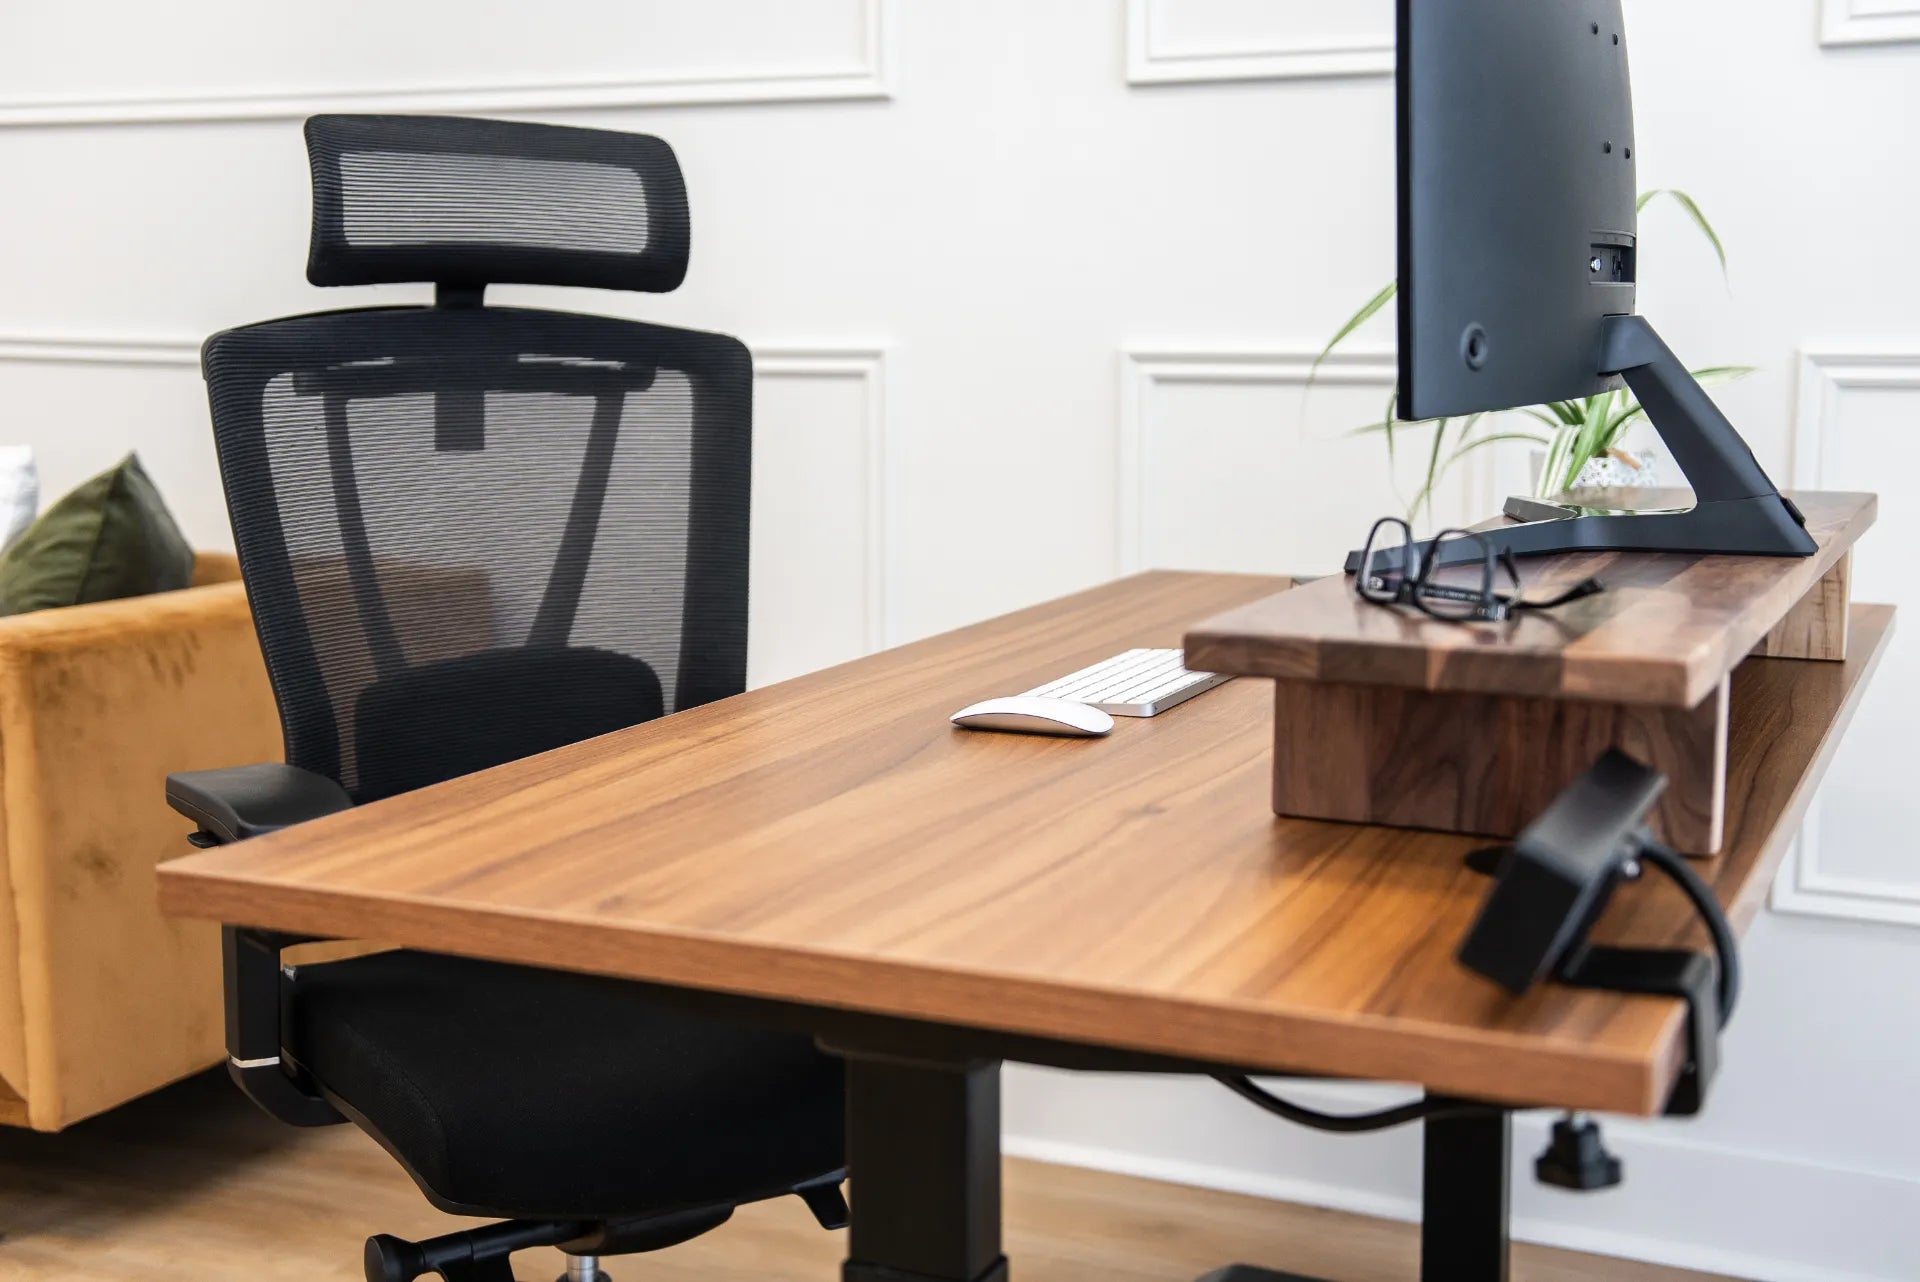
Monitor Setup for Progressive Lenses and Bifocals

In this article
A standard monitor rule can become uncomfortable when you wear bifocals, trifocals or progressive lenses. The area of the lens used for screen work may sit lower than the distance-vision zone, so a screen placed too high can make you lift your chin repeatedly. The better monitor setup for progressive lenses starts with the prescription, the real viewing distance and the tasks you perform, then places the screen where you can read it without searching for a clear zone by moving your whole head.
This article offers general workstation guidance, not eye care or a diagnosis. Prescription needs vary. If vision is blurred, headaches persist or you need to hold your head in an unusual position to see clearly, consult an optometrist or ophthalmologist and describe your actual computer work.
Why conventional monitor advice may not fit your lenses
Progressive lenses combine several optical powers without visible segment lines. The usable area for an intermediate screen distance can be narrower than the distance zone. Traditional bifocals usually place near vision in a lower segment. In either case, a high screen may encourage the wearer to tip the head back to look through the lower part of the lens.
The Canadian Centre for Occupational Health and Safety guide to computer-specific glasses, last revised December 17, 2024, explains that ordinary bifocals are not necessarily designed for computer work. It recommends choosing any task-specific correction with an eye specialist who understands the work, viewing distance and lighting.
Measure the workstation before changing it
Record the real eye-to-screen distance
Sit or stand in the position you use most. Keep the shoulders relaxed and measure from the eyes to the centre of the screen. Do not round the number to a generic recommendation. Bring this measurement, along with the monitor size and the height of the visible content, to an eye appointment. A prescription intended for reading a phone at close range may not match a desktop screen farther away.
CCOHS describes approximately an arm's length as a useful starting estimate, but stresses that the right distance is where the user can read clearly without eyestrain. Increase text and interface size before pulling a large screen unnecessarily close. Burotic's monitor-distance guide provides a complete measuring method.
Observe the head instead of chasing a number
Ask someone to take a side photo while you read the top, centre and bottom of a normal document. Look for repeated chin lifting, leaning forward or bending through the upper back. The clearest clue is often not the nominal screen height but the movement used to reach the lens zone.
Repeat the check with your usual chair and desk settings. A monitor that seems correct while you sit upright may become too high after the chair reclines, or too low when the desk is raised for standing.
Start with the screen slightly lower
CCOHS monitor-positioning guidance, confirmed current July 21, 2025, notes that people who use bifocals, trifocals or progressive lenses may find the top of the monitor slightly below eye level more comfortable. Lowering the display can reduce the need to tilt the head back to use the near-vision portion of the lens.
Make small changes of one or two centimetres, then work for enough time to evaluate them. Avoid dropping the screen so low that you bend the neck sharply downward. The target is a relaxed head position with the eyes moving through the lens, not a fixed angle that applies to everyone.
Choose the right support
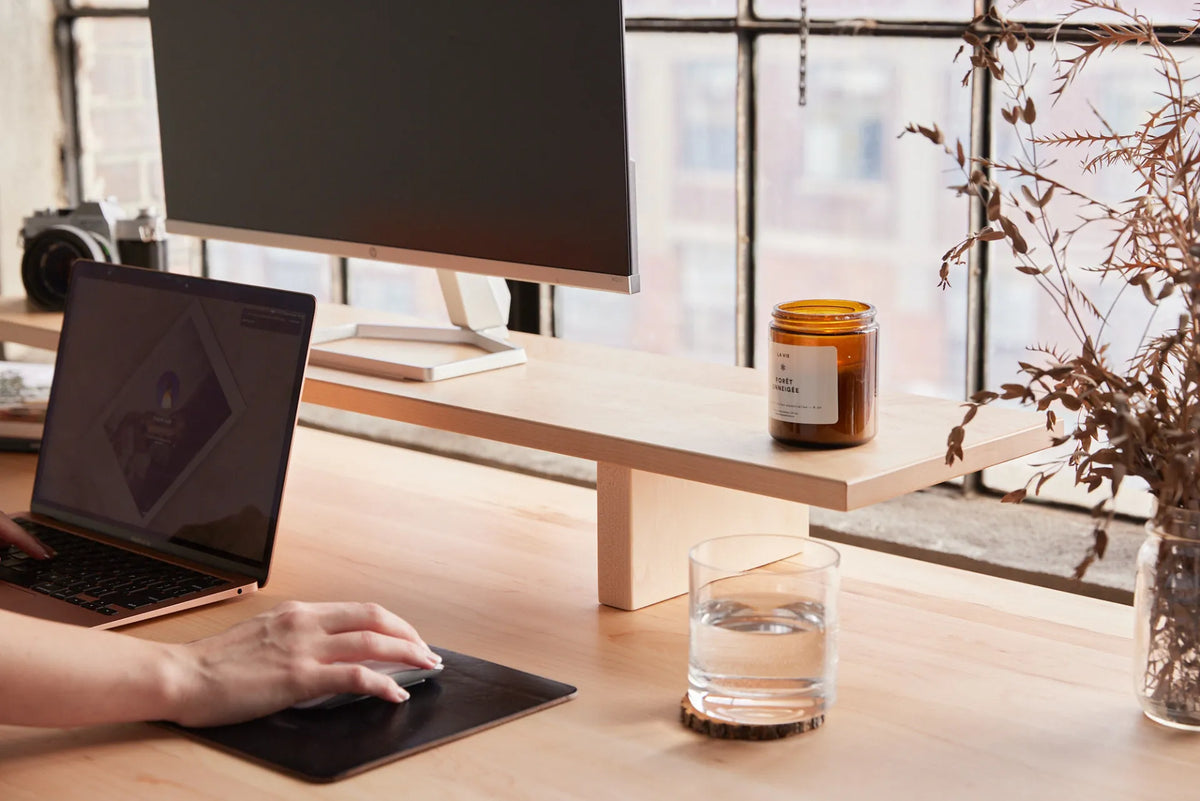
A monitor shelf gives a stable fixed height
A shelf can raise a low screen and create storage below it. Measure its height before buying because it may be too tall for a progressive-lens user whose screen already needs to come down. The Burotic Monitor Stand is available in several current finishes, but its suitability depends on the combined desk, shelf, monitor and eye heights.
A monitor arm allows smaller adjustments
An arm can change height, depth and angle without stacking books or loose blocks. Confirm the screen's mounting pattern, weight, clamp clearance and the thickness of the desktop. The Burotic Monitor Arm offers current single and dual configurations. Verify the live specifications for the exact option before choosing it.
After moving an arm, tighten and balance it according to its instructions. A screen that slowly drifts upward or downward makes a careful lens-related setting unreliable.
Use text size before reducing viewing distance
Increase operating-system scaling, browser zoom and application text size until ordinary content is readable in a relaxed position. Enlarge the pointer and improve contrast if locating small controls causes leaning. These changes preserve working space and may reduce the tendency to move the face close to the screen.
Test the applications that matter, not only a blank desktop. Spreadsheets, design software and remote desktops may handle scaling differently. Save settings by device when possible so a laptop used at several workstations does not require daily reconstruction.
Control glare and brightness
Reflections can make a clear prescription feel ineffective. Position the screen so windows are generally to the side rather than directly behind it or behind the user. Adjust blinds and task lighting before adding a filter. CCOHS advises that good lighting design and monitor placement are better first controls for glare than placing another layer in front of the display.
Match screen brightness to the room instead of maximizing it. Clean the screen and lenses regularly using the respective care instructions. A dirty lens, a dusty screen and strong contrast can combine into a problem that no height change solves.
Set up sitting and standing separately
A standing desk changes the relationship between the eyes, hands and screen. Save a seated desk height and a standing height only after checking the monitor at both positions. If the screen is mounted on the moving desktop, its relative height should remain similar, but posture and footwear can still change the final view.
Keep the keyboard and mouse near elbow height while the shoulders stay relaxed. Do not raise the entire desk merely to improve the screen, since that also raises the hands. Adjust the monitor independently with its support. Burotic's laptop and monitor setup guide explains how to separate the input and display zones.
Prepare useful information for an eye appointment
- Measure the distance from your eyes to each screen.
- Record the height and size of the main display.
- List time spent reading, typing and switching between paper and screen.
- Explain whether you sit, stand or use multiple workstations.
- Describe when blur or awkward head movement appears.
- Bring the glasses used for work and any separate reading pair.
An eye specialist can determine whether the current prescription, a computer-specific option or another correction is appropriate. A furniture adjustment cannot compensate for an incorrect prescription, and new glasses cannot correct a poorly placed screen by themselves.
Final monitor check
Read a normal document from top to bottom. The chin should not repeatedly rise to find focus. Text should remain clear at the measured distance, the shoulders should stay relaxed and the screen should not reflect a bright window. Recheck after changing the chair, desk height, monitor or prescription.
The best monitor setup for progressive lenses is personal and measurable. Begin slightly lower than a generic eye-level rule, increase text size, control glare and adjust the screen independently from the keyboard. Then confirm the result with the eye professional responsible for your prescription.
Previous article
Black vs. White Standing Desk: Which Colour Fits Your Office?
Next article
Standing Desk Setup for Video Calls: Camera, Light and Background