

Ergonomic Laptop and Monitor Setup: A Practical Canadian Guide

In this article
A laptop is portable because the screen and keyboard are joined. That same design creates a compromise during long work sessions: if the keyboard is at a comfortable elbow height, the screen is usually low; if the screen is raised, the built-in keyboard becomes difficult to use. Adding an external monitor, keyboard and mouse lets each part move independently.
An ergonomic laptop and monitor setup is not one fixed measurement. It is a process of arranging the equipment for the person, the task and the available desk. This guide offers practical starting points based primarily on Canadian occupational health guidance. It is general information, not medical advice. Persistent pain, numbness, weakness or vision concerns should be discussed with an appropriate health professional.
Choose which screen is primary
Start with work frequency, not symmetry. The screen used for most reading, writing or design work should normally sit directly in front of the user, aligned with the keyboard and chair. The secondary screen can sit beside it at a modest angle. WorkSafeBC recommends placing the main monitor directly ahead and positioning a second monitor or laptop to either side.
External monitor as the primary display
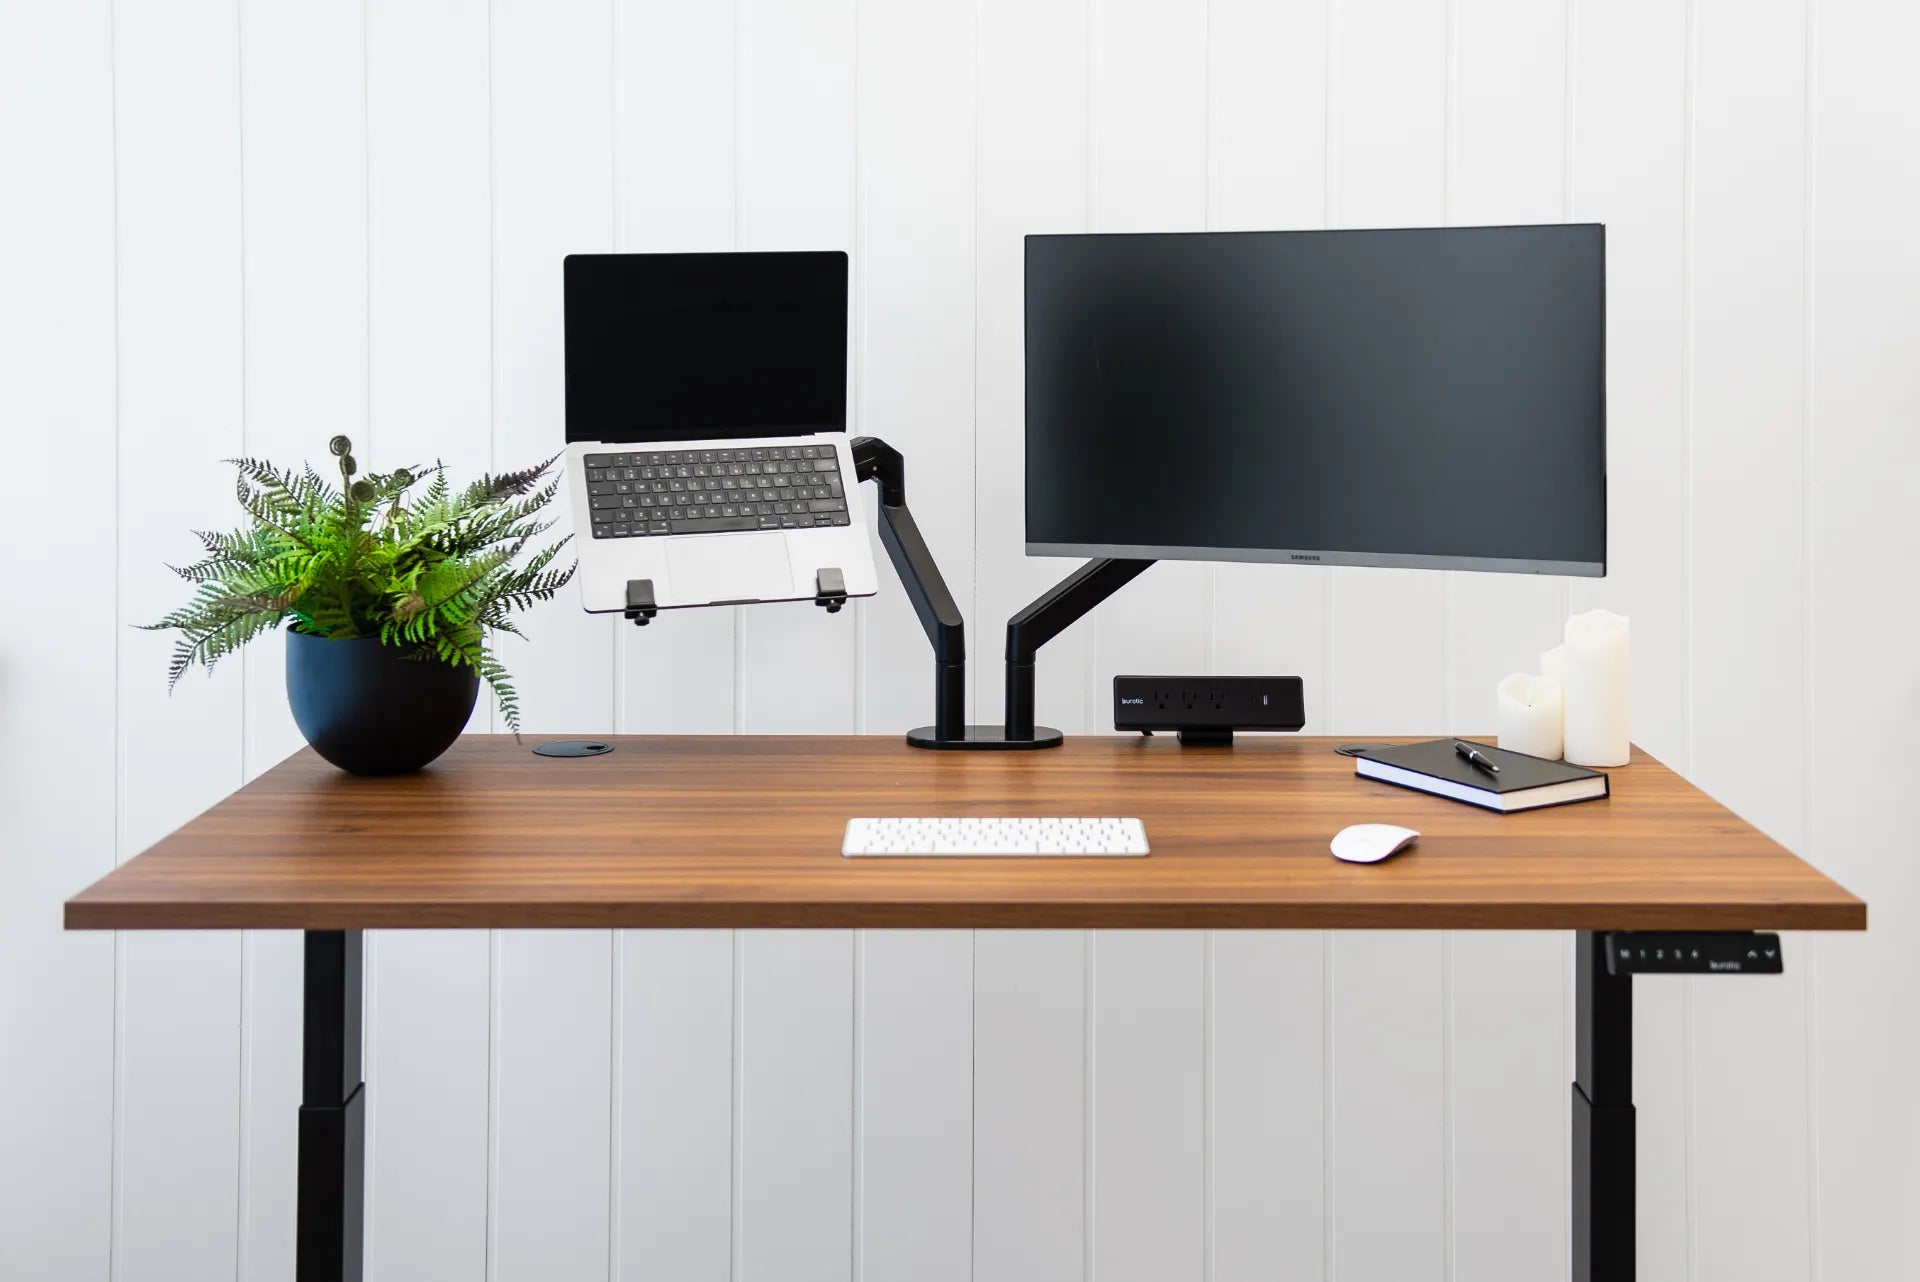
This is the most common arrangement for sustained desk work. Centre the external monitor and move the laptop to the left or right for chat, reference material or video calls. Angle the laptop toward the user so reading it does not require a large neck turn. If it is used only occasionally, it can sit farther to the side.
Laptop as the primary display
If the laptop screen carries most of the work, raise and centre it, then place the external monitor beside it. A raised laptop should be paired with a separate keyboard and mouse. The CCOHS has specifically recommended separate inputs so a mobile device screen can be viewed at a more appropriate level.
Two screens used equally
When both displays are used about the same amount, place their inner edges together near the body’s centre line and angle them inward. The exact arrangement depends on screen size and task. Avoid a wide gap that forces repeated head movement. Consider alternating the designated primary screen if one task dominates for several hours.
Set the monitor height without forcing posture
CCOHS notes that poor monitor placement can lead to the chin tilting upward or the head and upper body bending forward or sideways. Begin with the top portion of the main display around eye level and the screen below the natural horizontal line of sight. Then adjust for text size, eyewear, screen size and individual comfort. People using progressive lenses may need the display lower to avoid lifting the chin.
Do not raise the monitor so high that the shoulders or head must follow it. Do not keep a laptop low simply because its keyboard is convenient. Separate the functions: put the display where it can be viewed comfortably and the external inputs where the arms can stay relaxed.
Find a readable viewing distance
The screen should be far enough away that the eyes can focus comfortably, yet close enough that normal text is readable without leaning forward. CCOHS warns that monitors are sometimes placed too close because of limited desk space. WorkSafeBC materials commonly use roughly an arm’s length as a starting point, but screen size, resolution, scaling, vision and task all matter.
Set the chair and keyboard first. Sit back with support, then move the main display until text is clear. Increase operating-system scaling or font size before pulling a large screen uncomfortably close. A deeper surface may help; Burotic’s desk depth guide compares 24-inch and 30-inch work surfaces.
Place the keyboard and mouse in the easy-reach zone
The external keyboard should be centred on the keys used most, usually the letter area rather than the full width of a numeric keypad. Keep it close enough that the upper arms can stay near the torso and the shoulders remain relaxed. Adjust chair or desk height so the forearms are approximately level with the keyboard, without pressing the wrists against a sharp desk edge.
CCOHS explains that a mouse positioned too far forward or sideways can encourage reaching and unsupported leaning. Keep it immediately beside the keyboard and at the same level. A compact keyboard may create useful mouse space. Change sides or input devices only after a gradual adjustment period.
Use stands and monitor arms thoughtfully
A fixed riser can elevate a display and create storage underneath. An adjustable arm can change height, reach, tilt and rotation while freeing desk space. Before choosing one, check the monitor’s mounting pattern, weight, dimensions, cable ports and the desk’s thickness and edge construction. Confirm clearance behind the desk and through the full height range.
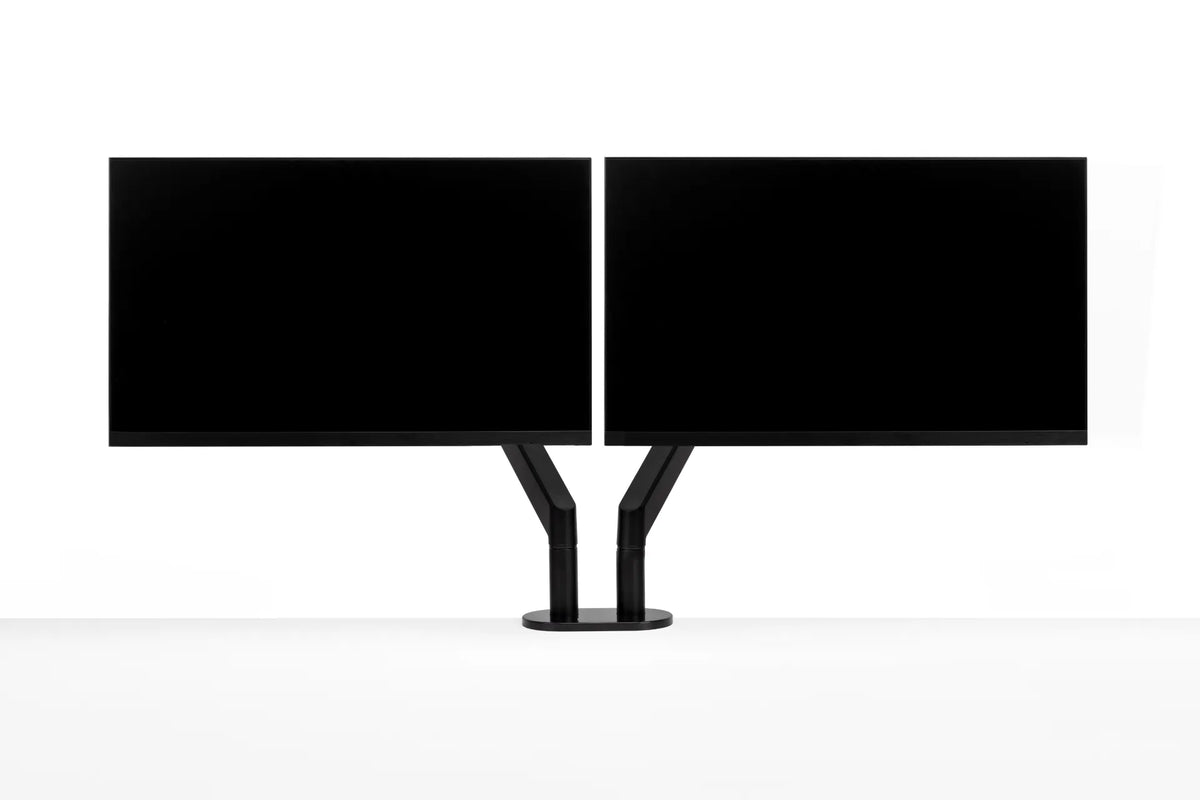
Burotic’s active Monitor Arm includes single and dual configurations and options with a laptop stand. Verify the current product page and your equipment compatibility before ordering. The Monitor Stand is another option for raising screens on a fixed surface. The guide to choosing a monitor arm covers fit questions in more detail.
Plan a sit-stand laptop setup
On a height-adjustable desk, keyboard height and monitor height still need separate attention. CCOHS recommends aligning the keyboard and mouse as in sitting and keeping the monitor within the appropriate downward viewing zone. Save a desk height only after checking the shoulders, elbows and wrists, then adjust screen arms for both seated and standing use.
Place the laptop and monitor so neither collides with the wall, window or accessories as the desk rises. Cables must be long enough for the highest position but controlled so they do not pull on ports or enter moving parts. The Burotic cable management guide provides a step-by-step route for power and data lines.
Reduce glare and support readable contrast
Position screens so windows and bright lights do not reflect directly. A desk perpendicular to a window is often easier to control than a screen facing or backing onto the brightest glass. Use adjustable blinds, indirect room light and screen brightness suited to the surrounding light. Clean the display using the manufacturer’s method, since smudges can scatter light.
If text remains difficult to read, change font size, contrast and display scaling rather than leaning toward the screen. Vision needs can change, and computer-specific eyewear may be relevant for some people. Seek professional advice rather than self-diagnosing persistent eye discomfort or headaches.
Manage docks, charging and cables
A dock can simplify connections, but compatibility is device-specific. Confirm the laptop’s ports, display outputs, charging requirements, monitor inputs, resolution and refresh-rate support in the manufacturers’ documentation. Connector shape alone does not guarantee that a port supports video or enough power.
Keep the dock accessible but outside the main keyboard and mouse zone. Use strain relief so cables do not hang from laptop ports. Label power adapters in shared workspaces, and do not overload receptacles or hide power equipment where heat cannot dissipate. For employer-provided computers, follow organizational security and peripheral policies.
A ten-minute setup sequence
- Adjust the chair and desk for supported sitting and relaxed shoulders.
- Choose the primary screen based on the main task.
- Centre that screen with the keyboard and body.
- Set a readable distance without leaning.
- Adjust screen height and tilt for a neutral head position.
- Place the secondary screen close to the primary one.
- Move the keyboard and mouse into easy reach.
- Check glare at the main work times.
- Route cables through sitting and standing positions.
- Work for several days, then refine one variable at a time.
Common setup mistakes
- Using a raised laptop while continuing to type on its built-in keyboard.
- Placing both screens equally far off centre without choosing a primary display.
- Matching screen tops perfectly even when different sizes or eyewear make that uncomfortable.
- Moving the screen closer instead of increasing text size.
- Putting the mouse beyond the easy-reach area.
- Fixing cables before testing the desk at its highest position.
Build the setup around your work
The best laptop and monitor arrangement supports the task without forcing the body to follow the equipment. Centre the screen that matters most, raise the laptop only when separate inputs are available, keep the mouse close and test the display under real lighting. A monitor arm, stand or adjustable desk is useful only when it helps those relationships.
Make small changes and evaluate them during real work rather than chasing a perfect diagram. If you are assembling the whole room, Burotic’s guide to creating an ergonomic workspace can help connect the chair, desk, screens and movement routine into one coherent system.
Previous article
How to Protect Wood Floors Under an Office Chair and Standing Desk
Next article
Should You Put a Desk in Front of a Window? Pros, Cons and Layout Tips