





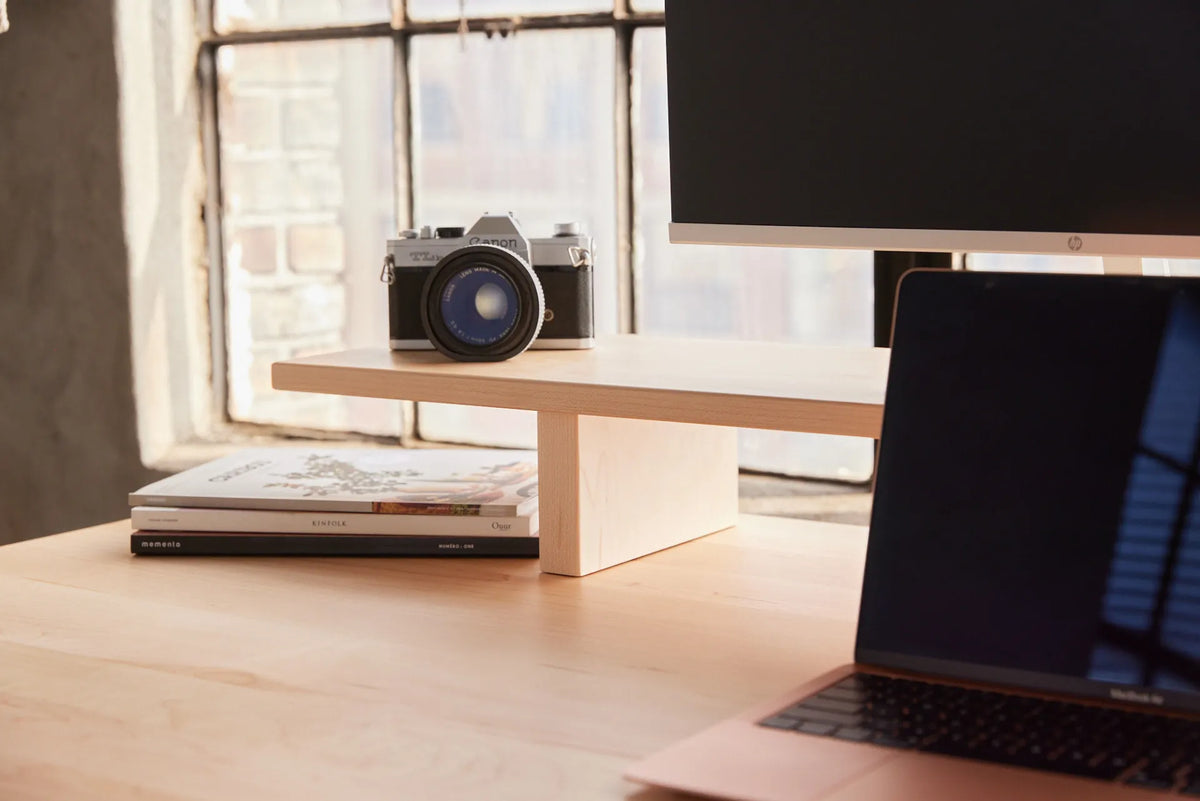
Should You Store Your Keyboard Under a Monitor Riser?

In this article
A monitor riser can do more than lift a screen. If the opening below it is wide and tall enough, it can also become a convenient parking place for a keyboard when you are writing by hand, reviewing documents or simply clearing visual clutter. The idea is practical, but it is not automatically ergonomic. A storage solution that forces the keyboard too far away, raises the monitor too high or pinches a cable can make the workstation less comfortable.
The short answer is yes: you can store a keyboard under a monitor riser if the keyboard fits without rubbing, the riser remains stable, and you return the keyboard to a comfortable working position before typing. Treat the space as storage, not as the normal typing location. The right setup preserves easy reach, neutral wrists and an appropriate screen position.
Start with the job the riser needs to do
A monitor riser has two separate jobs in this setup. First, it supports the display at a useful viewing height. Second, it creates usable space below the platform. Those jobs can conflict. A taller opening may provide more keyboard clearance, but it may also lift the screen above a comfortable viewing zone. A deeper riser may hide more of the keyboard, but it can push the display farther back or occupy valuable desk depth.
Set the screen position first, then evaluate the remaining storage space. The Canadian Centre for Occupational Health and Safety notes that monitor height, viewing angle and viewing distance should be tailored to the user. It also cautions that a monitor placed too high can contribute to neck and shoulder discomfort. A riser is useful only if its height supports the screen position you actually need.
Measure the keyboard and the opening
Check width, height and depth
Measure the keyboard at its widest point, including any permanent palm rest, side controls or protruding cable connector. Then measure the clear opening between the riser's supports. Leave a little space on both sides so you can slide the keyboard in without catching a keycap or scraping the finish.
Next, measure the keyboard's highest point with its feet in the position you normally use. Compare that height with the clear space under the platform. Do not rely only on the riser's outside dimensions. A lip, brace, fastener or uneven underside can reduce the usable opening.
Depth matters too. A full-size keyboard with a number pad can be wide, but its front-to-back dimension is usually what determines whether it disappears neatly below the riser. If part of the keyboard remains exposed, that is not necessarily a problem. You only need enough depth to clear the main work surface for the task at hand.
Allow room for a safe grip
A perfect friction fit is inconvenient. You should be able to grasp the keyboard without twisting your wrist or pinching your fingers against the underside. If the opening is barely tall enough, the keyboard may strike the platform every time it is moved. Repeated contact can mark the keyboard, the riser or both.
For a wired keyboard, include the connector and cable bend in the measurement. A sharp bend where the cable exits the keyboard can stress the cable. Route it through an open side or rear area, and make sure the riser does not clamp it against the desk.
Do not type with the keyboard pushed underneath
The storage position and the working position should be different. CCOHS recommends placing the keyboard directly in front of the user, with relaxed shoulders, elbows close to the body and wrists aligned with the forearms. It also recommends keeping the keyboard and mouse close enough to avoid overreaching.
If you leave the keyboard partly under the riser while typing, your hands may have to reach forward. That can pull the elbows away from the torso and encourage you to lean toward the screen. The platform may also block the top row of keys or reduce space for your hands. Slide the keyboard fully forward before a typing session, then place it at a distance that lets the elbows remain near the body.
A practical reference point is to keep enough space at the desk edge for comfortable hand support without forcing the keyboard deep into the work surface. The exact distance depends on your body, chair and desk. For a more detailed setup, see Burotic's guide to keyboard distance from the desk edge.
Protect neutral wrist and forearm positions
Storage does not change the basic rules for typing posture. Adjust the chair or desk so the keyboard is around elbow height. Keep the shoulders relaxed and the forearms roughly level. CCOHS describes a neutral wrist as straight and aligned with the forearm, rather than bent up, down or sideways.
When you bring the keyboard out, check that it sits flat and does not rock because one edge remains on a desk mat, cable or other object. If a built-in keyboard angle makes your wrists extend upward, try the keyboard flat. There is no single keyboard design or angle that works for everyone, so comfort and neutral alignment are more useful tests than appearance.
A compact keyboard can make under-riser storage easier and leave more room for the mouse. That can be especially helpful on a narrow desk. The tradeoff is access to the number pad and dedicated navigation keys. Compare the options in Burotic's compact versus full-size keyboard guide.
Recheck monitor height after adding the riser
Do not choose a tall riser only because it creates a larger storage bay. Your screen position remains the priority. CCOHS suggests placing the monitor so the viewing angle is generally below the horizontal line of sight, with adjustments for the user, display and corrective lenses. The screen should also be far enough away to view comfortably without leaning forward.
Sit in your normal working position and look straight ahead with your head balanced over your torso. If the screen makes you tip your chin upward, the riser may be too tall. If you use progressive lenses, a slightly lower display may be more comfortable because it can reduce the need to tilt the head back.
The riser's depth also affects placement. A deep platform can move a monitor farther away, while a shallow one may not fully support the monitor base. Review the practical measurements in the guide to monitor riser depth, and always confirm that the complete monitor base sits securely on the platform.
Plan the mouse, cable and accessory space
Keep the mouse beside the keyboard
Keyboard storage should not consume the space needed for the mouse. When typing, keep the mouse close to the keyboard so the upper arm can remain near the torso. If the riser's legs force the mouse outward, the platform may be too wide or the desk may be too narrow for that configuration.
Keep cables free during every movement
Move the keyboard in and out several times while watching the cable. It should not drag against a sharp edge, pull on a hub or wrap around a monitor stand. A small reusable cable tie can manage excess length, but leave enough slack for the full movement. Wireless keyboards remove the data cable, but they still need a clear charging routine and a place where the charging lead will not be trapped.
Avoid turning the storage bay into a catch-all
Books, notebooks and small electronics can quickly fill the opening. If you need to unload several items before reaching the keyboard, the storage system is no longer supporting the workflow. Reserve the bay for one primary item, or divide it deliberately so nothing presses on the keys.
When under-riser storage works best
This arrangement is especially useful for people who alternate between computer work and paper-based tasks. Sliding the keyboard away can create a clean writing area without moving the monitor. It can also help a small desk feel calmer when the computer is not in use.
It works less well when the monitor is already at the correct height without a riser, when the desk is so shallow that the keyboard must remain far forward, or when the riser legs interfere with mouse movement. In those cases, a monitor arm, a wider work surface or a dedicated keyboard tray may solve the actual constraint more directly.
A quick setup test
- Place the monitor at a comfortable height and distance.
- Confirm that the monitor base is fully supported and the riser is stable.
- Measure the keyboard and the clear opening, including cable clearance.
- Slide the keyboard underneath and remove it several times without contact or snagging.
- Return it to a normal typing position directly in front of you.
- Check relaxed shoulders, close elbows and straight wrists.
- Make sure the mouse stays close and the cable remains free.
Choose storage around your posture
Storing a keyboard under a monitor riser can be a simple way to reclaim desk space, provided the riser first supports a comfortable screen position. Measure the true opening, protect the cable and treat the space as parking rather than a typing tunnel. If you are selecting a platform for this purpose, compare the dimensions of Burotic's Monitor Stand with your keyboard and monitor base before deciding.

Previous article
Standing Desk Memory Presets Not Working? What to Check
Next article
Can You Plug a Power Bar Into Another Power Bar?