

Why Does My Monitor Arm Sag or Drop? How to Fix It Safely

In this article
A monitor arm should hold a screen where you place it. If the screen slowly sinks, tilts toward the desk or rises after you let go, the problem is usually not the monitor position itself. It is more often a mismatch between the screen and the arm, an incorrectly adjusted tension mechanism, a loose joint, or movement at the desk mount.
The safest fix begins with identifying exactly what is moving. Do not immediately tighten every visible screw. Monitor arms use different mechanisms, and the correct direction or adjustment point varies by model. Support the display with one hand, consult the instructions supplied with the arm, and make small changes.
Why does a monitor arm sag?
A gas-spring or mechanical monitor arm balances the weight of the display. Its tension must be strong enough to hold the screen, but not so strong that the arm rises on its own. Sagging happens when that balance is lost.
There are four common versions of the problem:
- The whole arm drops: the main spring tension may be too low for the attached load.
- The screen tilts forward: the tilt joint behind the monitor may be loose, even if the arm height stays stable.
- The arm rotates around the post: a collar, pivot or post connection may need inspection.
- The entire assembly moves at the desk: the clamp, grommet mount or desktop may be shifting.
Separating these symptoms matters because each one points to a different adjustment. It also prevents overtightening a part that was already correct.
Start with compatibility, not the tension screw
Check the complete screen weight
Compare the monitor's weight with the arm's supported range. Use the display weight without its original stand, but include anything that remains attached, such as a VESA adapter, handle, light or small accessory. A screen below the minimum load can cause some gas arms to rise. A screen above the maximum can cause the arm to sink even at its highest safe tension.
Do not use screen size alone as a weight estimate. Two monitors with the same diagonal measurement can have very different weights. The model specifications and the monitor arm manual are the useful references.
Confirm the mounting pattern
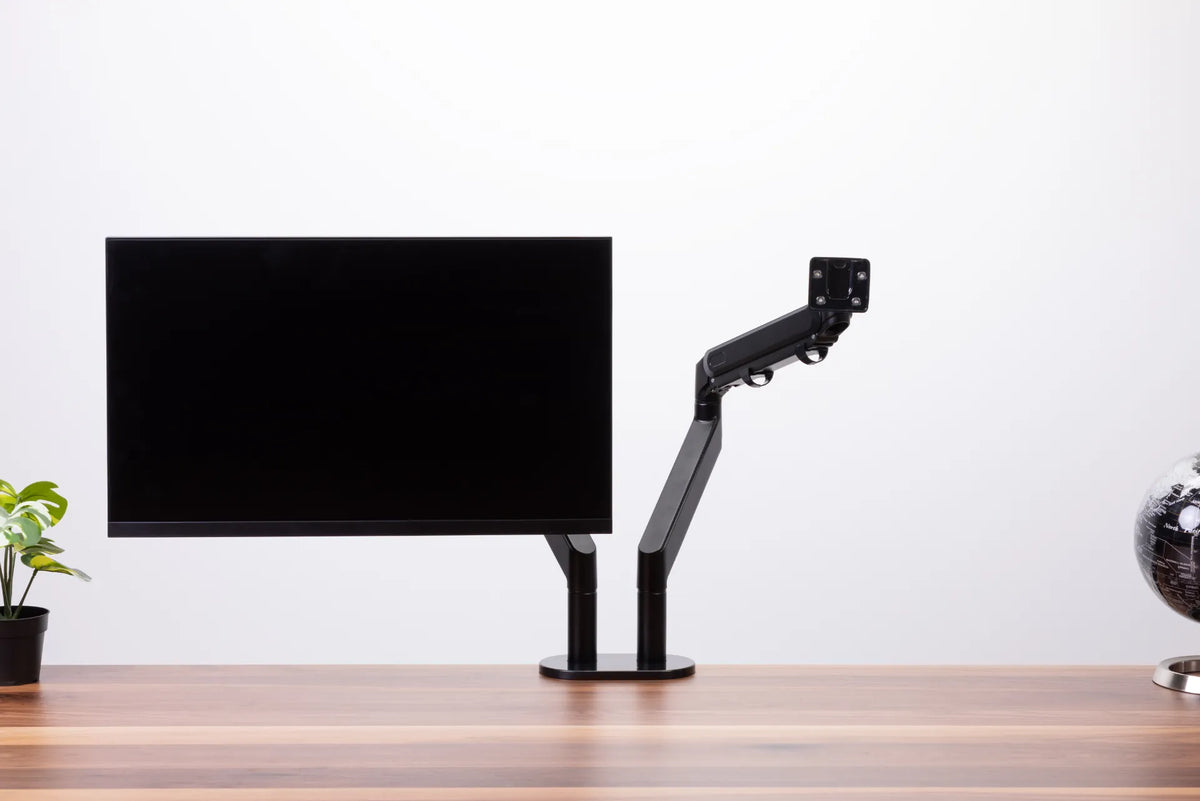
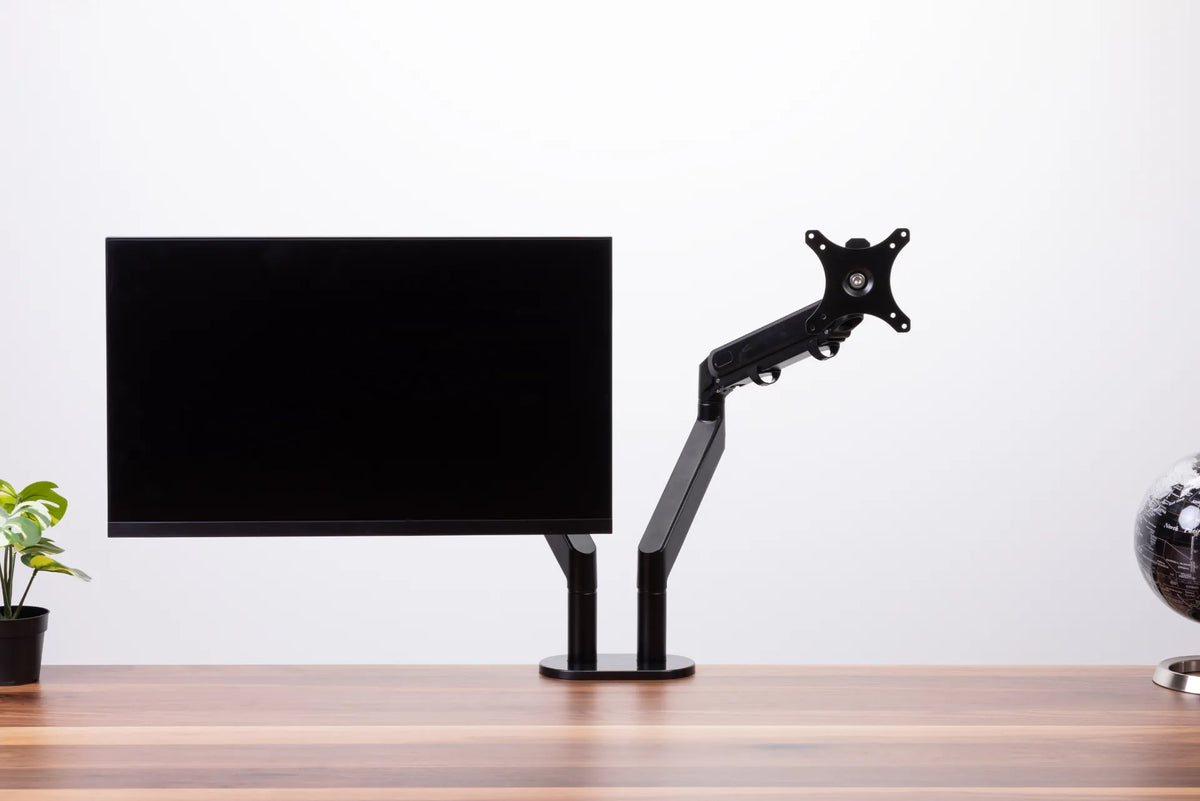
The plate on the arm and the threaded holes on the display must be compatible. VESA's Flat Display Mounting Interface defines standardized mounting interfaces, but a monitor can still require spacers or a manufacturer-specific adapter. Confirm that the screws are the correct diameter and length, the plate sits flat, and all required fasteners are installed.
If the plate rocks against the monitor, stop and correct the mount before adjusting the arm. Tension cannot compensate for an improperly seated plate.
Include the arm's actual configuration
A dual arm may have a supported load range for each side, not one combined number. A laptop tray also changes the load and its centre of gravity. If you changed from one monitor to another, added a tray or removed a screen, the previous tension setting may no longer be appropriate.
How to fix a monitor arm that drops
1. Secure the workspace
Lower the standing desk to a comfortable working height. Save open work, turn off the monitor and make sure its cables have enough slack. Clear objects from beneath the display. Ask another person to support a large or heavy screen if you cannot hold it comfortably while reaching the adjustment point.
Never remove a loaded arm from its clamp or grommet mount without supporting the monitor. The centre of gravity can shift suddenly.
2. Hold the arm in the position specified by its manual
Many gas arms must be placed horizontally before the tension screw is adjusted. Other designs use a spring, knob or exposed joint. Follow the arm's own instructions because the access point and turning direction are not universal.
If the arm manual uses plus and minus symbols, increase tension when the display drops and reduce tension when it rises. Turn only a small amount at a time, then move the screen through its normal range and let go carefully.
3. Test at more than one height
A properly balanced arm should hold its position near the top, middle and lower part of its usable range. If it stays at one height but falls at another, continue with small adjustments. Stop if the adjustment reaches a firm limit. Forcing the screw past its designed range can damage the mechanism.
4. Check the tilt joint separately
If the arm height is stable but the screen gradually points downward, the problem is usually at the monitor head. Support the top and bottom of the screen while adjusting the tilt resistance according to the manual. Tighten only enough to hold the chosen angle.
A very heavy ultrawide screen can place more leverage on the tilt joint than a compact display of similar weight. That is why both weight capacity and the arm manufacturer's size or configuration guidance matter.
5. Inspect the clamp, grommet and desktop
Watch the base while another person gently moves the monitor. If the base lifts, twists or slides, stop adjusting the spring and inspect the desk mount instead. The clamp should sit on a flat, structurally sound area and should not interfere with a frame rail, cable tray or bevelled edge.
Check that the desktop thickness falls within the arm's specified mounting range. A clamp should be secure without crushing the surface. On a hollow-core, glass, damaged or unusually thin top, follow the desk and arm manufacturers' instructions before installation. A reinforcement plate may be appropriate for some setups, but it does not make every desktop suitable.
What if the arm still will not hold the monitor?
If the screen drops after correct adjustment, one of these conditions is likely:
- The display and attached accessories exceed the supported load.
- The screen is below the arm's minimum working load and the arm rises.
- The tilt head is not designed for the screen's leverage or configuration.
- A required spacer, adapter or fastener is missing.
- The spring, joint or mount is worn or damaged.
Do not add improvised counterweights, jam a joint with foreign material or replace fasteners with longer screws unless the manufacturer specifies them. Contact the arm manufacturer or installer with the monitor model, screen weight, VESA pattern, desktop thickness and a short description of which joint moves.
Reset the ergonomic position after the repair
Once the arm holds properly, position the monitor for the person using it. The Canadian Centre for Occupational Health and Safety notes that viewing angle and viewing distance both affect comfort, and that its figures should be treated as starting points rather than rigid commands. A monitor arm is useful because it lets you tune those variables without giving up desk space.
Centre the primary screen in front of your working position. Adjust distance until text is clear without leaning forward, then use operating-system scaling if needed. Keep the keyboard and mouse close enough that the upper arms can remain near the torso. If the desk changes height, check cable slack through the full movement before resuming work.
Prevent the problem from returning
- Recheck tension after changing the monitor, adapter or attached accessories.
- Move the screen by holding its sides rather than pulling on a corner.
- Keep cables loose enough that they do not tug the arm when the desk moves.
- Inspect the clamp and visible fasteners periodically.
- Stop using the arm if you notice cracked parts, stripped threads or sudden uncontrolled movement.
If you are planning a new setup, start with eight monitor arm compatibility checks, then review where to position the mount on your desk. If the display moves with the desktop rather than drifting at the joint, use the separate guide to reduce monitor wobble on a standing desk. Burotic's monitor arm options can be compared by screen count, mounting arrangement and workstation needs.
Sources
- Canadian Centre for Occupational Health and Safety: Positioning the Monitor
- VESA: Flat Display Mounting Interface Standard
A sagging monitor arm is usually a solvable setup problem. Identify the moving joint, verify compatibility, adjust only the specified mechanism and stop if the arm reaches its limit. That sequence protects the monitor, the desktop and the person making the adjustment.

Previous article
How Close Should Your Office Chair Be to Your Desk?
Next article
How Deep Should a Desk Be for a Laptop?