

How Much Space Should You Leave Behind a Monitor?
There is no universal gap behind every monitor. The right clearance depends on the manufacturer’s ventilation instructions, cable bend, stand or arm movement, wall position and the viewing distance you need in front.

In this article
How much room should you leave behind a monitor? There is no single measurement that works for every display. The practical answer is to leave enough space for the monitor’s ventilation, power and video connectors, stand or arm movement, and safe cable bends, while still keeping the screen at a comfortable viewing distance.
For a slim monitor on a simple stand, the required rear clearance may be modest. A deep factory stand, rear-facing ports, a monitor arm, a thick power connector or a wall directly behind the desk can require much more. Measure the complete setup, not just the panel thickness printed in the specification sheet.
Quick answer: use the manufacturer’s instructions and a movement test
Start with the monitor manufacturer’s ventilation and installation guidance. Do not block vents or press the display directly against a wall when its instructions require airflow. Connect the cables, place the screen at your intended viewing distance, then move or tilt it through the range you will actually use. The cables should stay relaxed, connectors should not press into the wall and the monitor should not strike the wall at any point.
A fixed numeric gap is less reliable than this test because rear housings, port locations and support systems vary widely. Even two monitors with the same screen size can need different space.
What occupies the space behind a monitor?
Ventilation openings
Displays release heat through openings that may be located along the back, top or lower edge. Apple’s Studio Display safety guidance, for example, says not to block ventilation openings and to allow adequate airflow. Other brands may specify different placement conditions, so consult the instructions for the exact model. Do not treat a decorative wall gap as proof that airflow is adequate.
Cable connectors and bend radius
Power, HDMI, DisplayPort, USB-C and peripheral cables may exit straight backward, downward or sideways. A connector that points toward the wall can add several centimetres before the cable even begins to curve. Forcing a tight bend can stress the cable and the socket, especially when the display is adjusted frequently.
Connect everything before finalizing the desk position. Use the ports you intend to use, not an empty display. Leave a gentle loop where the cable must move, and prevent the monitor’s full travel from pulling on the plug.
The factory stand
A stand can be much deeper than the display. Its rear foot may determine how close the monitor can sit to a wall, while its front foot consumes desk depth. If the screen feels too close to your eyes, moving the whole desk away from the wall may not solve the problem because the stand still occupies the same desktop area.
A monitor arm
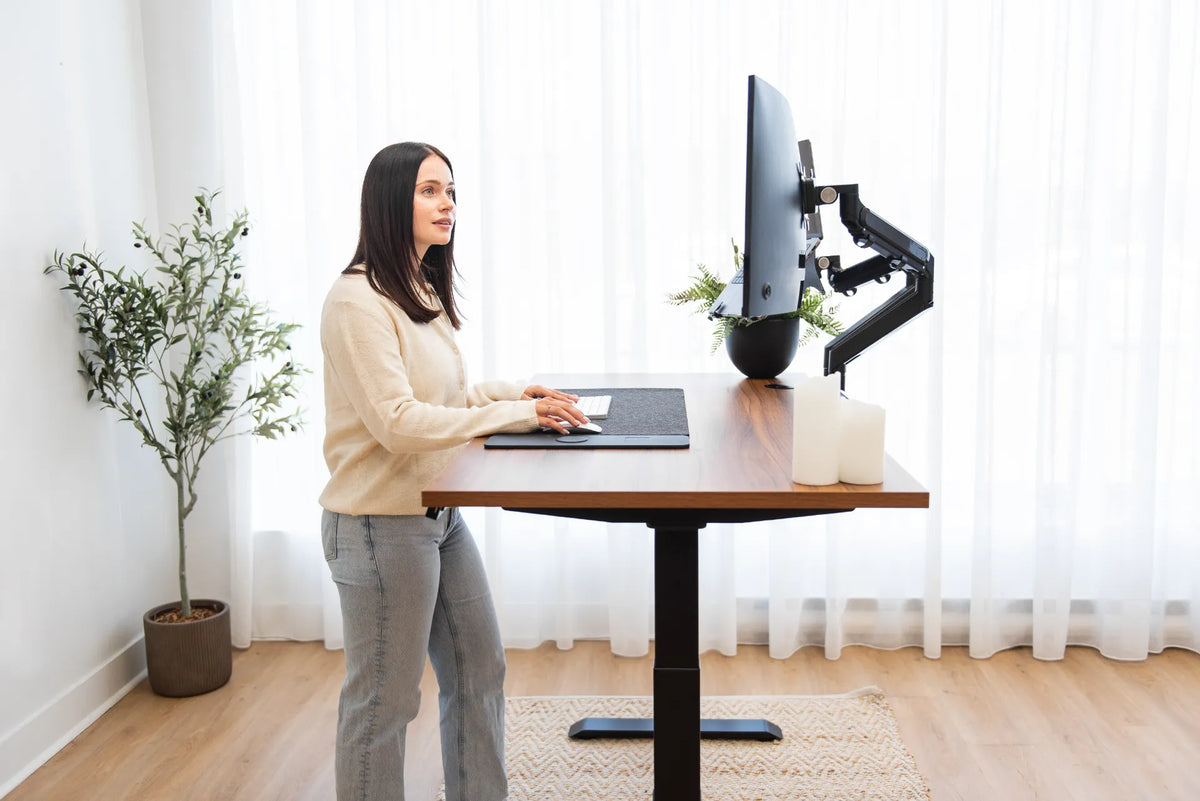
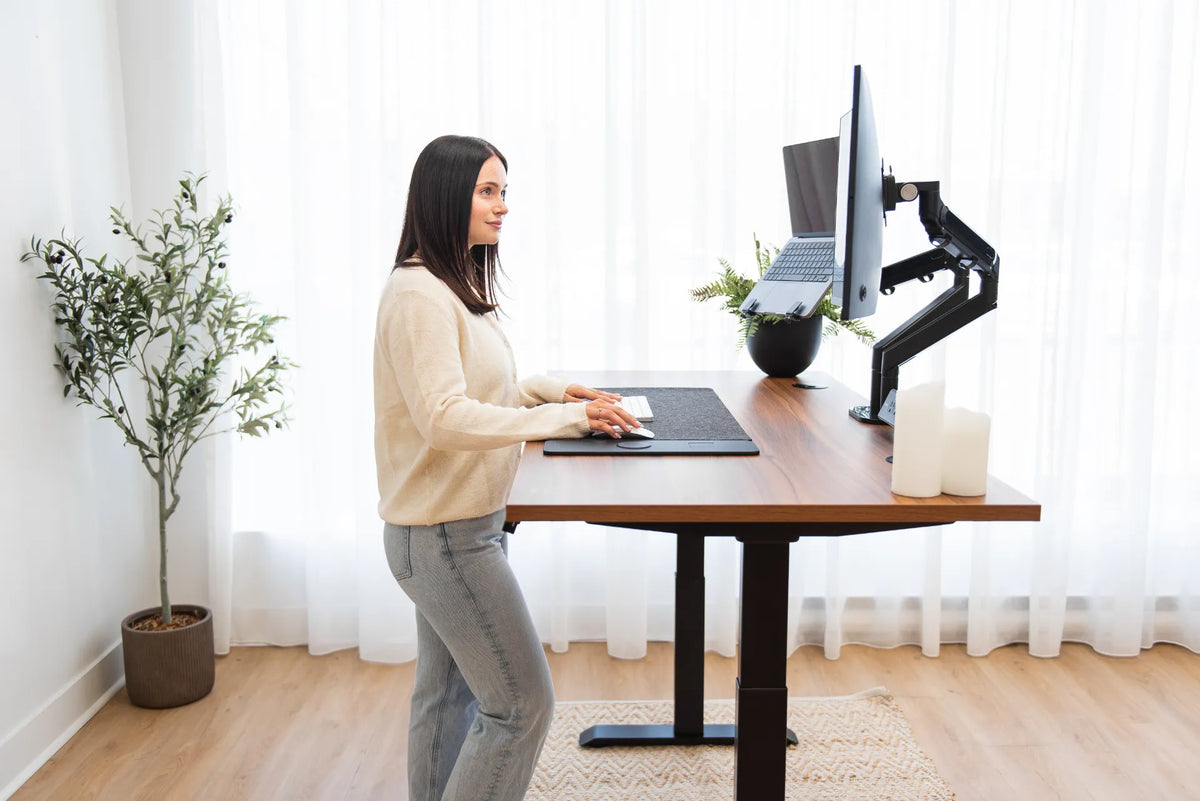
A monitor arm can recover surface space, but its joints may swing behind the desktop. The arm may need clearance from the wall when the screen moves forward, backward or sideways. Some arms include a rotation stop, but do not assume yours does. Test the exact arm, screen weight and clamp position according to their instructions.
Burotic’s Monitor Arm is an option for compatible setups. Verify current specifications, monitor compatibility and mounting conditions on the product page before choosing it. Our guide to positioning a monitor arm explains how clamp location affects movement and desk use.
Viewing distance comes before the rear gap
Do not push the screen toward your face merely to create space behind it. The Canadian Centre for Occupational Health and Safety advises positioning the screen at a comfortable viewing distance and directly in front of the user for primary work. Text size, screen size, vision needs and task all affect the result.
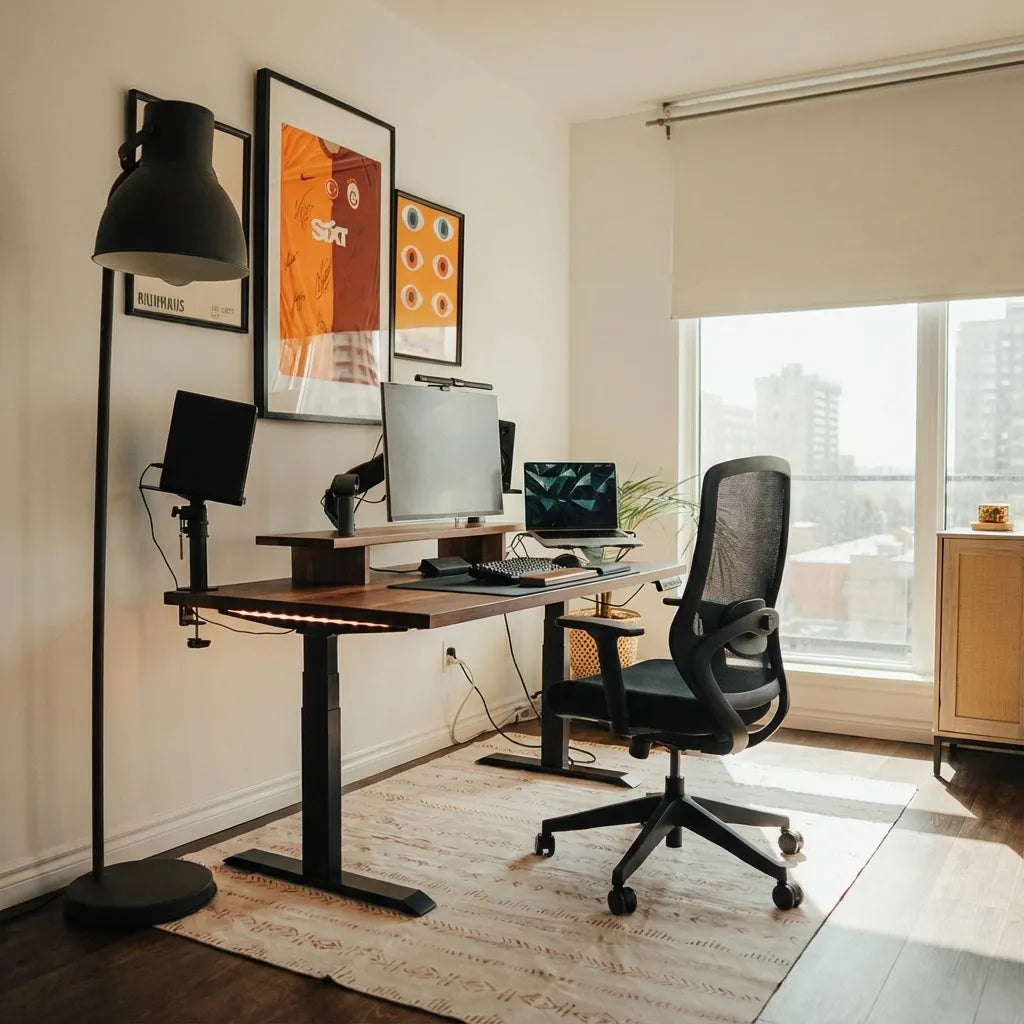
Set the screen for viewing first. If it collides with the wall or cables after that, reconsider the desk’s distance from the wall, the stand depth or the arm geometry. Our article on how far a desk should be from the wall covers the room-level measurement.
How to measure the required rear clearance
- Read the installation instructions. Note any ventilation or mounting requirements for the exact display and support.
- Connect every cable. Include the power brick, dock and adapters that will remain in normal use.
- Set your viewing position. Place the chair, keyboard and screen where they work for your body and task.
- Move the screen fully. Test height, tilt, swivel and arm extension that you expect to use.
- Watch the connectors. Confirm that no plug contacts the wall or receives sideways pressure.
- Check cable slack. Repeat the test at the lowest and highest desk positions if the desk moves.
- Mark the desk location. Once the full system clears, mark the floor or wall so the desk is not accidentally pushed closer.
Special cases
A standing desk
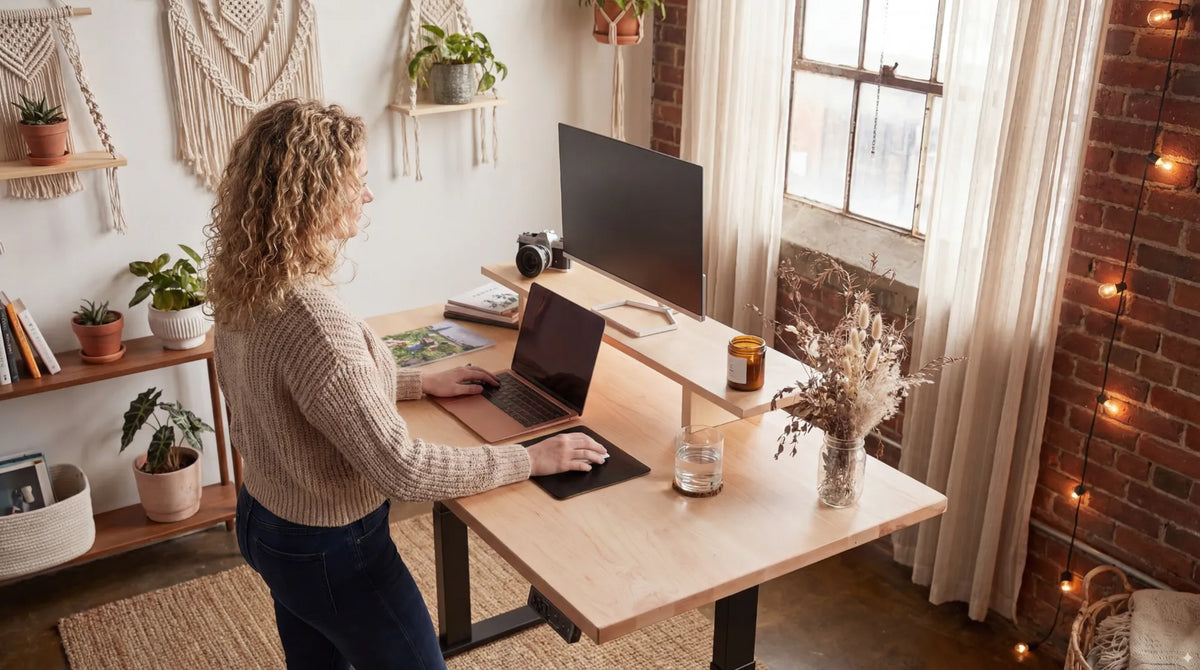
A height-adjustable desk changes the cable path. Slack that is adequate while sitting may become tight while standing, and a loop that hangs safely at one height may catch on the frame at another. Route the bundle through the entire travel range. A cable management solution can organize extra length, but it does not replace the full-height movement test.
A desk directly against the wall
Check baseboards, outlets and wall trim. They may hold the desktop away from the wall while the upper monitor still approaches it. Also confirm that plugs behind the desk are not crushed. Do not force furniture tightly against an electrical connection.
Two monitors
Dual displays can require more rear depth when angled inward. The outer edges move toward the user, while the inner arm joints or stands may move backward. Test both screens together and verify that one screen cannot push the other into the wall.
A monitor riser
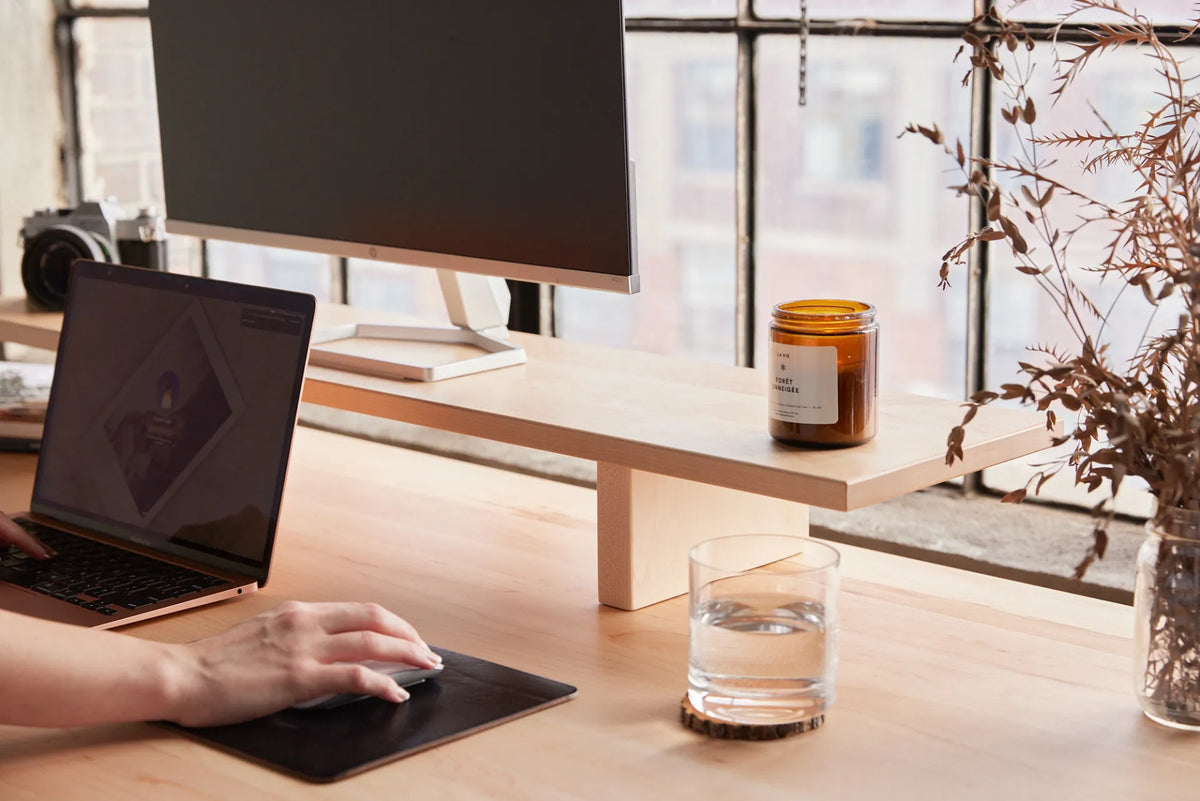
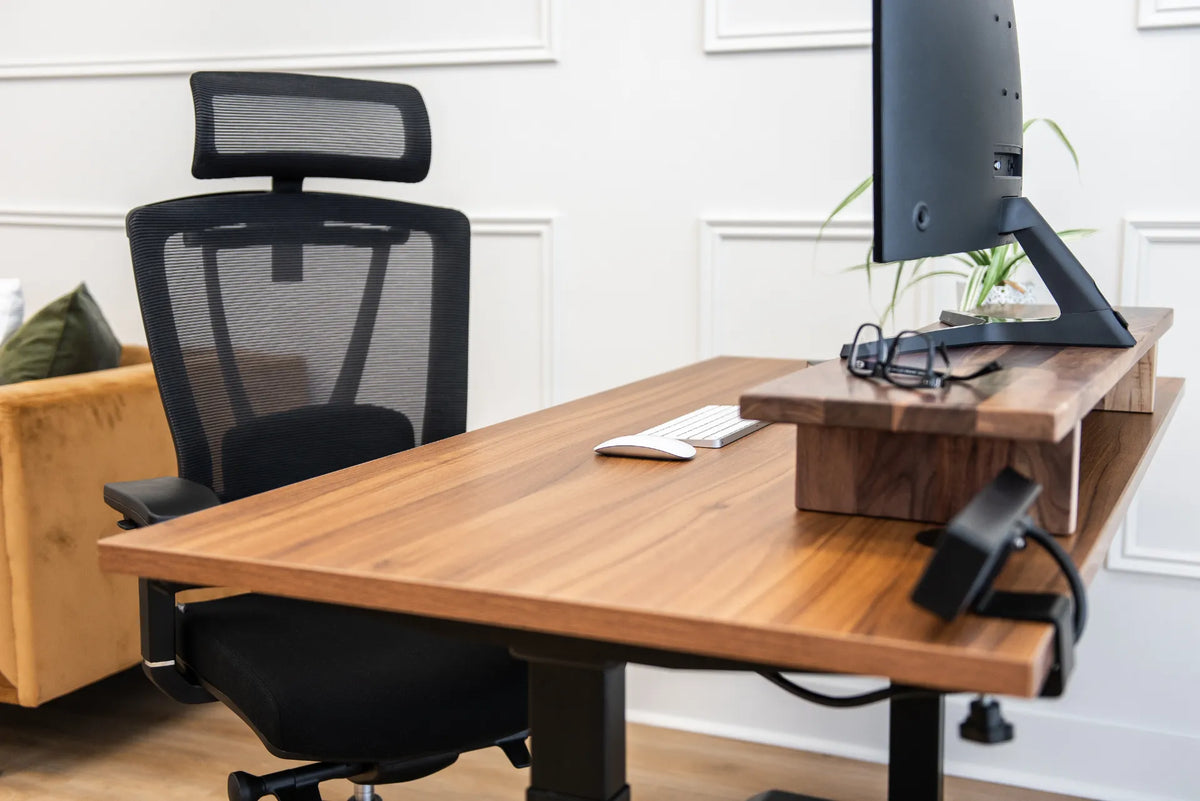
A riser changes the footprint but not the monitor’s ventilation requirements. Confirm that the stand sits fully on the riser and that the rear foot, cables and display remain stable. Do not let a stand hang over an edge merely to gain a few centimetres.
Common mistakes
- Measuring the bare screen before connecting cables.
- Using screen size as a substitute for stand depth.
- Pushing the display forward until viewing distance becomes uncomfortable.
- Forgetting the arm’s rear swing.
- Blocking vents with a wall, shelf, fabric or papers.
- Testing a standing desk at only one height.
- Allowing connectors to carry the force of a tight cable bend.
Plan the clearance before buying a desk
If you are selecting a new desk, compare its usable depth with the complete monitor footprint. Include the space occupied by the keyboard, the distance from your eyes to the screen and the rear movement of the support. A nominally deep desktop can still feel shallow when a large stand consumes the centre, while a monitor arm may move the panel farther back or forward depending on where it is clamped.
Use painter's tape or cardboard to model the desktop and screen before ordering. Mark the wall, rear edge, keyboard position and approximate eye point. This simple mock-up reveals whether the screen can sit comfortably without touching the wall and whether a monitor arm would require room behind the desk. It also helps distinguish a monitor-clearance problem from a viewing-distance problem.
The practical answer
Leave as much space behind the monitor as the complete system needs, not a universal number. Follow the display’s ventilation instructions, connect the real cables, set a comfortable viewing distance and move the stand or arm through its working range. If the setup does not clear the wall, change the desk position or support geometry rather than sacrificing viewing comfort or compressing cables. The correct gap is the smallest one that still preserves airflow, cable integrity and full safe movement.
Previous article
Why Do Your Shoulders Rise at a Standing Desk?
Next article
Why Do Your Shoulders Rise at a Standing Desk?