




Desk Reach Zones: Where to Put the Items You Use Most

In this article
A tidy desk is not necessarily an efficient desk. A perfectly clear surface can still force you to reach for the mouse, twist for a notebook or move the same objects every time you change tasks. Desk reach zones offer a more useful way to organize the surface: frequently used items stay close, occasional tools sit farther away and rarely used objects move out of the active work area.
The idea is simple, but it becomes especially valuable on a sit-stand desk. When the surface rises, every object on it moves with the user. Items placed safely within reach can support both positions, while objects hanging over an edge, blocking a controller or pulling on a cable can make the transition awkward. This guide shows how to map reach zones around real work rather than a generic photograph.
What are desk reach zones?
The Canadian Centre for Occupational Health and Safety describes primary, secondary and tertiary work zones. The primary zone is the immediate area for items used most often or considered most important. The secondary zone is within an easy arm reach and suits tools used less frequently. The tertiary zone is farther away and may require leaning, so it is best reserved for rarely used items.
These are functional zones, not exact circles that suit every body. Arm length, chair position, keyboard size, desk depth and the task all change the boundary. A useful map starts from the posture you actually use: shoulders relaxed, upper arms near the body and hands moving without a forward trunk lean.
Start with the primary zone
The primary zone should contain the equipment that drives the current task. For computer work, that normally means the keyboard and mouse. Place the main typing area in front of the body and the mouse directly beside it at the same height. If a wide keyboard pushes the mouse outward, reconsider the keyboard size or move a rarely used number pad rather than accepting a long reach.
The Government of Canada computer workstation checklist recommends locating the accessories used most frequently closest to the worker. It also notes that right-handed users may place many accessories to the right while keeping a telephone on the left when they need the right hand for notes, with the arrangement reversed for left-handed users. The point is not to copy a fixed layout. It is to match the setup to the way calls, notes and computer input happen together.
Keep the front edge usable. Leave enough room that the heel of the hands is not pressed against a hard corner, but do not push the keyboard so far back that the shoulders move forward. Burotic's guide to keyboard and hand placement explains this alignment in more detail.
Use the secondary zone for support tools
The secondary zone is the right place for objects you need several times a day but not continuously: a notebook, charging dock, pen cup, headset stand, task lamp control or a document waiting for review. You should be able to reach them by extending the arm without lifting the shoulder or leaning the torso.
Group objects by activity. Put note-taking tools together, charging items together and meeting equipment together. This reduces visual searching and makes it easier to move one group when the task changes. A small tray can define the boundary without consuming the entire surface. If the desk is shared, a portable tray also lets each person restore their preferred layout quickly.
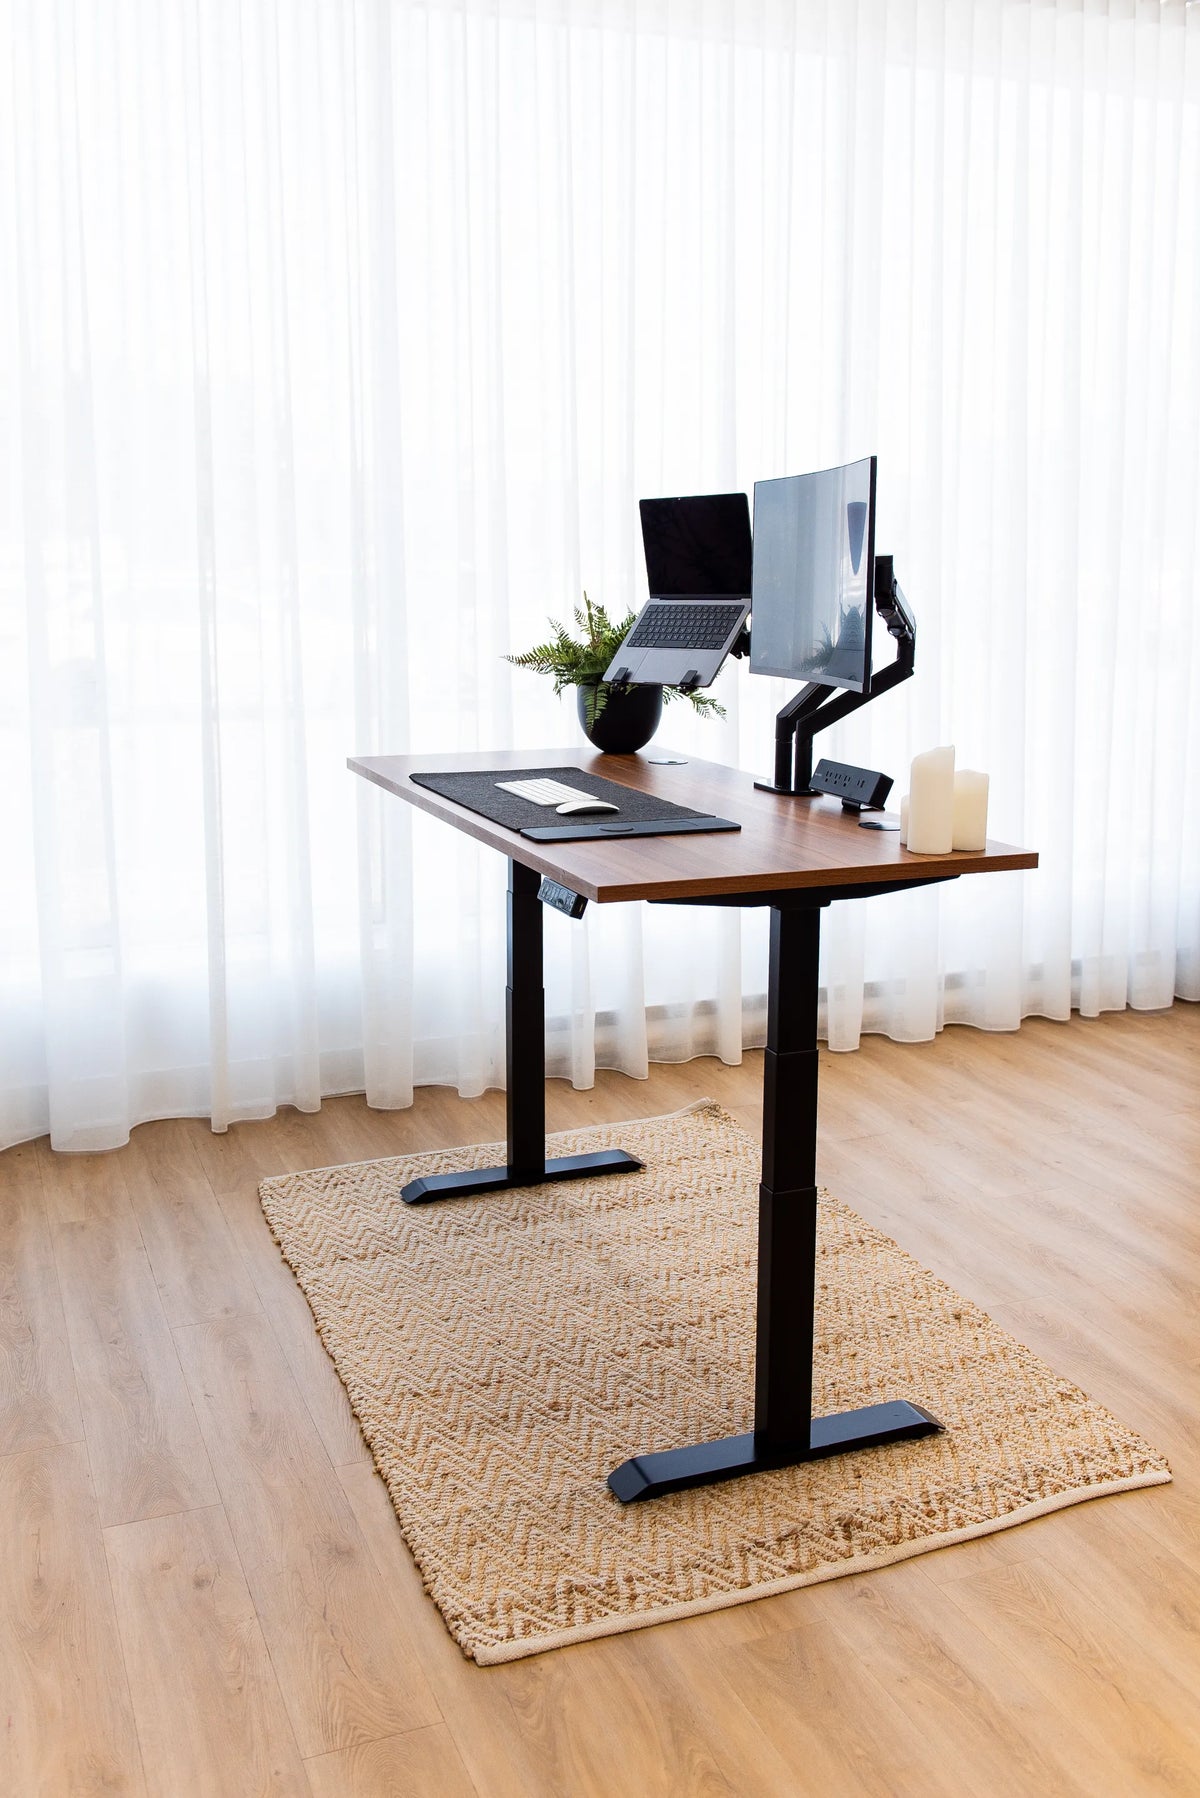
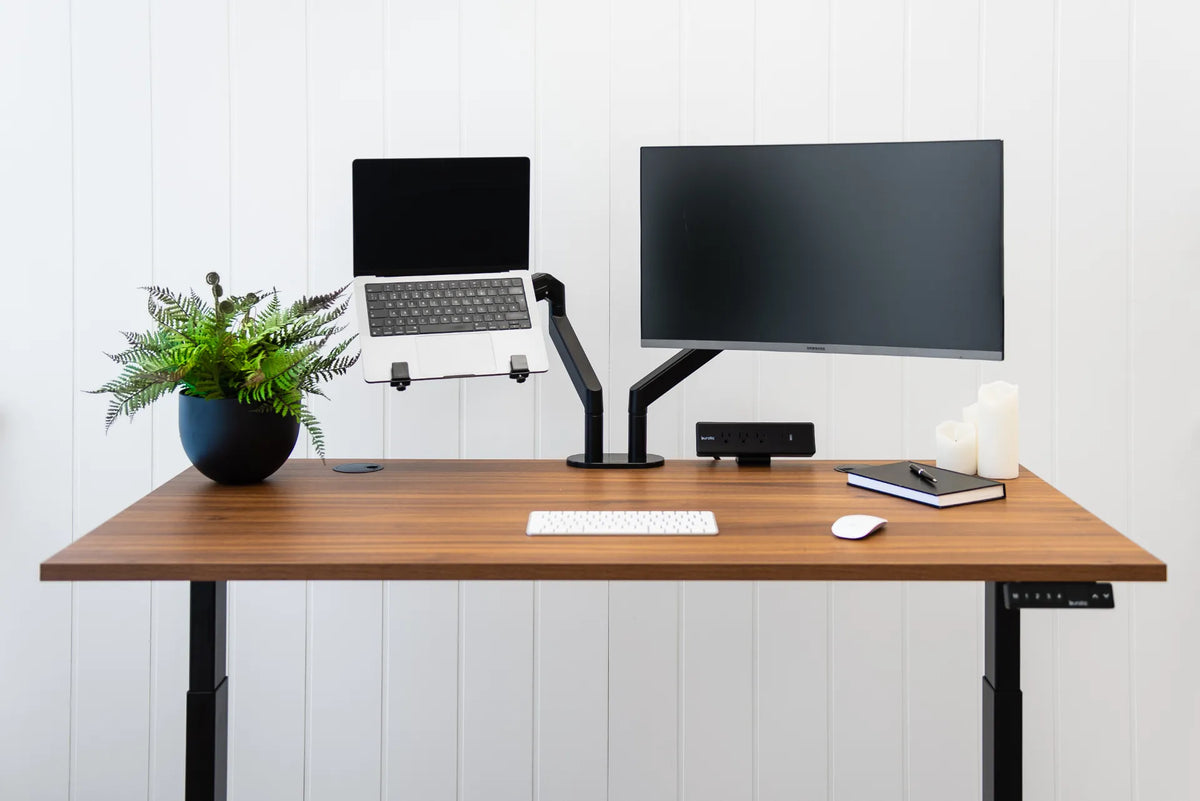
Avoid turning the secondary zone into a ring of decor. One plant or personal object can make the workspace pleasant, but several objects along the front and sides can block access to the tools behind them. The featured image shows a full standing desk with a keyboard and mouse near the user side, a raised laptop and monitor on articulated supports, plus a plant and candles farther back. It illustrates layers of use, while the correct placement for any individual still depends on task frequency and safe clearances.
Move occasional items to the tertiary zone or storage
The back corners of a deep desk are useful for light, stable objects that are not handled during concentrated work. They are poor locations for anything heavy, urgent or repeatedly accessed. If you lean across the keyboard every hour to reach a stapler, the stapler is not a tertiary item for your job.
Storage should take over when an object has no daily role. A drawer can hold spare cables, stationery and adapters without filling the active surface. Use the Burotic drawer organization guide to separate frequently used contents from backups. An under-desk drawer should also preserve knee space and the desk's full travel path.
Map the zones in five practical steps
- List the tasks. Write down the activities performed at the desk, such as typing, video meetings, reviewing paper, drawing or packing samples.
- Track frequency for one workday. Note what you touch continuously, several times, once or not at all.
- Clear the surface. Return only the keyboard, mouse and essential display equipment first.
- Add tools by frequency. Place daily support items within an easy arm reach and move occasional objects farther back.
- Test transitions. Sit, stand and complete a normal task in each position before deciding that the layout is finished.
This process is more reliable than organizing by object category alone. Two pens may look like they belong together, but a pen used for every call belongs near the notebook, while backup markers can stay in a drawer.
Special considerations for a standing desk
Protect the moving envelope
A sit-stand desk needs a clear path from its lowest to highest position. Objects on the desktop should not strike a shelf, window ledge or wall fixture. Cables must have enough slack for the highest position without becoming loose loops near the floor. Burotic's movement-ready cable management guide covers the full travel check.
Keep the controller accessible
Do not let a notebook, chair arm or storage accessory block the height controller. The control belongs in an immediate, unobstructed area even though it is used for only a few seconds at a time. The consequence of poor access is that the user may stop changing posture altogether.
Check balance and load
Spread heavier equipment sensibly and follow the desk manufacturer's capacity and installation guidance. Reach zones describe human use, not the structural limits of a desk. The desk in the featured photo has a wood-look top, black frame, articulated display support, raised laptop, keyboard, mouse, desk pad, plant and small decor. Those visible elements should not be interpreted as a load recommendation for another model.
Recheck at standing height
An item that is easy to reach while seated may feel farther away when standing because the user steps back or changes forearm support. Stand in a relaxed position and repeat the reach test without bending at the waist. Move the keyboard and mouse first, then adjust the supporting tools.
How to organize different kinds of work
Computer-focused work
Keep the keyboard and mouse primary. Place a headset, notebook and charging point in the secondary zone. Store spare devices, packaging and reference material elsewhere. If you use two pointing devices, position the main one closest and reserve the other for a specific task rather than keeping both in the most valuable space.
Paper and computer work
Create a dedicated document area beside or between the input devices and display, depending on the frequency of reference. Avoid placing paper on top of the keyboard or repeatedly clearing the mouse area. A document holder may bring reference material closer to the screen while leaving the surface open.
Creative or hands-on work
Use a resettable layout. Move computer input equipment to one side only when the alternate task begins, then bring it back to the centred primary position for typing. Trays and shallow containers can hold tools without letting small parts spread into the keyboard area.
Common reach-zone mistakes
Do not place objects by appearance alone. Symmetry can push the mouse too far out or reserve central space for decor. Do not treat a large desk as permission to fill every centimetre. More depth increases storage opportunity, but it can also increase reaching. Avoid keeping drinks beside electronics; the spill-safe drink placement guide explains how to choose a stable zone away from devices and the moving edge.
Another mistake is organizing once and never revisiting the setup. A new monitor, different keyboard or change from laptop to desktop work can alter every zone. Shared workstations need an even faster reset routine so each user can centre input devices and adjust height before starting.
A practical weekly reset
At the end of the week, remove objects that were not used, return backups to storage and wipe the clear work areas according to the surface manufacturer's guidance. Check that cables still move freely and that nothing blocks the controller. Then place the next week's primary tools according to the tasks ahead.
The goal is not a showroom. It is a desk where the most frequent actions require the least unnecessary reach. A configurable surface such as the Aspire Laminate Standing Desk provides room and height adjustment, while thoughtful reach zones make that space work for the person.

Previous article
Do You Need a Wrist Rest? How to Use One Without Adding Pressure
Next article
How to Position Paper Documents at a Computer Workstation