


Standing Desk Height Guide for Short and Tall Users
Measure seated and standing elbow height, account for tabletop thickness, and confirm that a standing desk fits shorter or taller users.

In this article
A standing desk height chart can give you a rough starting point, but it cannot tell you whether a desk will fit your body, chair, keyboard and monitor. Two people of the same height may need different settings because arm length, leg length, footwear and working posture all affect the result.
The most reliable approach is to measure your seated and standing elbow heights, then confirm that the desk frame can reach both settings once the tabletop is installed. This guide explains how to do that, with extra attention to shorter and taller users who are more likely to reach the limits of a desk's adjustment range.
Why standing desk height matters
A desk that is too high can encourage raised shoulders, bent wrists or a chair position that leaves the feet unsupported. A desk that is too low can lead to leaning forward or lowering the monitor below a comfortable viewing position. The goal is not to find one perfect number. It is to create a neutral starting position that lets you work without holding your shoulders, wrists or neck in an awkward position.
The Canadian Centre for Occupational Health and Safety recommends adjusting a sit-stand desk so the keyboard is near elbow height, with the wrists straight. Its guidance also emphasizes changing position rather than replacing prolonged sitting with prolonged standing.
Start with the frame range, then add the tabletop
Standing desk specifications are not always presented the same way. Some manufacturers list the height of the frame without a tabletop. Others list the finished desk height. That difference matters when you are close to the minimum or maximum setting.
For a frame-only measurement, add the actual thickness of your chosen desktop to estimate the finished working surface height. For example, a frame listed from 22.4 to 48.4 inches would have a nominal surface range of about 23.65 to 49.65 inches with a 1.25-inch top. Actual installed measurements can vary slightly with the tabletop, levelling feet and floor.
The Burotic Aspire frame is currently specified at 22.4 to 48.4 inches without a tabletop. Checking this frame-only range before choosing a surface is especially useful for users at either end of the height spectrum.
How to measure your seated desk height
Set up the chair before measuring the desk. If you lower the chair only to compensate for a desk that is too high, the resulting seat position may no longer support your legs and feet properly.
- Sit fully back in the chair with your shoulders relaxed.
- Adjust the seat so your feet are supported by the floor or a stable footrest.
- Keep the knees at a comfortable angle and avoid pressure behind the thighs.
- Bend the elbows to roughly 90 degrees, keeping the upper arms close to the body.
- Measure from the floor to the underside of the forearm or elbow.
- Use that measurement as the starting height for the keyboard surface.
Your elbows do not need to form an exact right angle. The useful test is whether your shoulders can stay relaxed while your forearms remain approximately parallel to the floor and your wrists stay straight. The CCOHS keyboard guidance recommends keeping the keyboard and mouse at elbow level and close enough to avoid reaching.
How to measure your standing desk height
Wear the footwear you normally use at work and stand in a relaxed position. Avoid locking the knees or leaning on the desktop while measuring.
- Stand with your weight balanced and your shoulders relaxed.
- Let your upper arms hang naturally near your sides.
- Bend the elbows to a comfortable working angle.
- Measure from the floor to elbow height.
- Set the desktop close to that measurement and test the keyboard and mouse.
- Fine-tune the setting until the wrists are straight and the shoulders remain relaxed.
An anti-fatigue mat can make a standing position more comfortable for some users, but it also raises the body relative to the desk. Measure and save your standing preset while using the mat if it will normally be under your feet.
What shorter users should check
For a shorter user, the minimum seated height is often more important than the maximum standing height. A desk that stops too high may force a compromise between the arms and the feet.
Minimum height with the top installed
Compare your measured seated elbow height with the finished minimum desktop height, not only the frame specification. A thicker top adds useful material and visual presence, but it also raises the lowest possible working surface.
Chair and foot support
If the desk cannot go low enough, raising the chair may bring the elbows level with the keyboard. This only works well when the feet remain supported. A stable footrest may help, but it should not create pressure behind the thighs or make the user perch at the front of the seat. Review the ergonomic chair fit guide before treating chair height as an isolated adjustment.
Armrests and desk clearance
Armrests that are too high or too wide can prevent the chair from moving close to the work surface. That can create extra reaching even when the desktop is set at the correct height. Adjustable armrests should support the arms without lifting the shoulders and should allow the chair to approach the desk.
What taller users should check
For a taller user, the key question is whether the desk reaches standing elbow height without requiring a slouched posture. A high maximum setting is useful only if the desk remains suitable for the equipment and work being performed.
Maximum height with the top installed
Add the tabletop thickness to the frame's maximum height and compare the result with your standing elbow measurement. If you are close to the upper limit, consider footwear and any anti-fatigue mat in the calculation.
Keyboard height and monitor height are separate
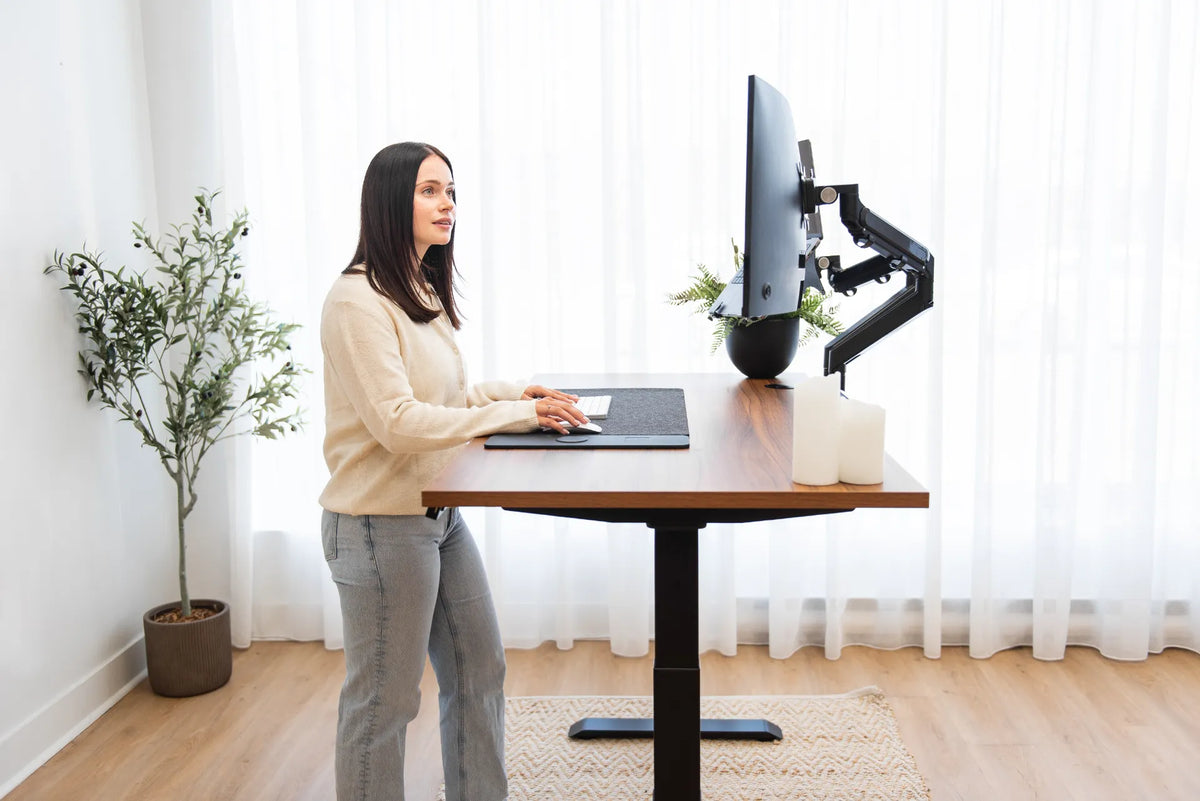
Do not raise the entire desk simply to bring the screen higher. The desk should first support the keyboard and mouse at a comfortable arm position. The monitor should then be adjusted independently. CCOHS recommends placing the screen directly in front of the user, generally at about arm's length, with the top of the screen at or slightly below eye level for many users.
A compatible monitor arm can add independent screen adjustment, which is often valuable for taller users or shared workstations. Check the monitor's VESA pattern, panel weight, desktop thickness and clamp clearance before buying an arm.
A height chart is a starting point, not a prescription
Online charts often match a person's overall height to a suggested sitting or standing desk height. These tables can be convenient during early research, but they assume average body proportions. They also may not account for tabletop thickness, shoes, a floor mat, keyboard thickness or the actual seat height of a chair.
Use a chart to estimate the range you may need. Use your own measurements and a short working test to choose the final settings. If several people will share a workstation, measure each user separately.
Set the chair, keyboard and monitor in the right order
A practical adjustment sequence reduces the chance that one component will be used to compensate for another:
- Chair: support the feet and thighs, then settle back into the backrest.
- Desktop: bring the keyboard and mouse near elbow height.
- Keyboard and mouse: keep both close enough that the elbows remain near the body.
- Monitor: centre it in front of the main viewing position and adjust its height and distance.
- Accessories: place documents, phones and frequently used items within easy reach.
According to the CCOHS monitor positioning guidance, viewing distance depends on screen size, resolution and the user's vision. A common starting distance is roughly an arm's length, followed by personal adjustment.
Laptop users need a two-level setup
A laptop couples the keyboard and screen together. If the screen is raised to a more comfortable viewing height, the built-in keyboard usually becomes too high. If the keyboard is placed at elbow height, the screen is usually too low.
For longer work sessions, use an external keyboard and mouse with the laptop raised, or connect an external display. This lets you set the input devices and screen independently. The same principle applies whether you are sitting or standing.
Save presets for repeatable transitions
Memory presets make it easier to return to measured positions. Once the chair and equipment are set correctly, save one seated setting and one standing setting. Shared desks can use additional presets for another user where the controller permits it.
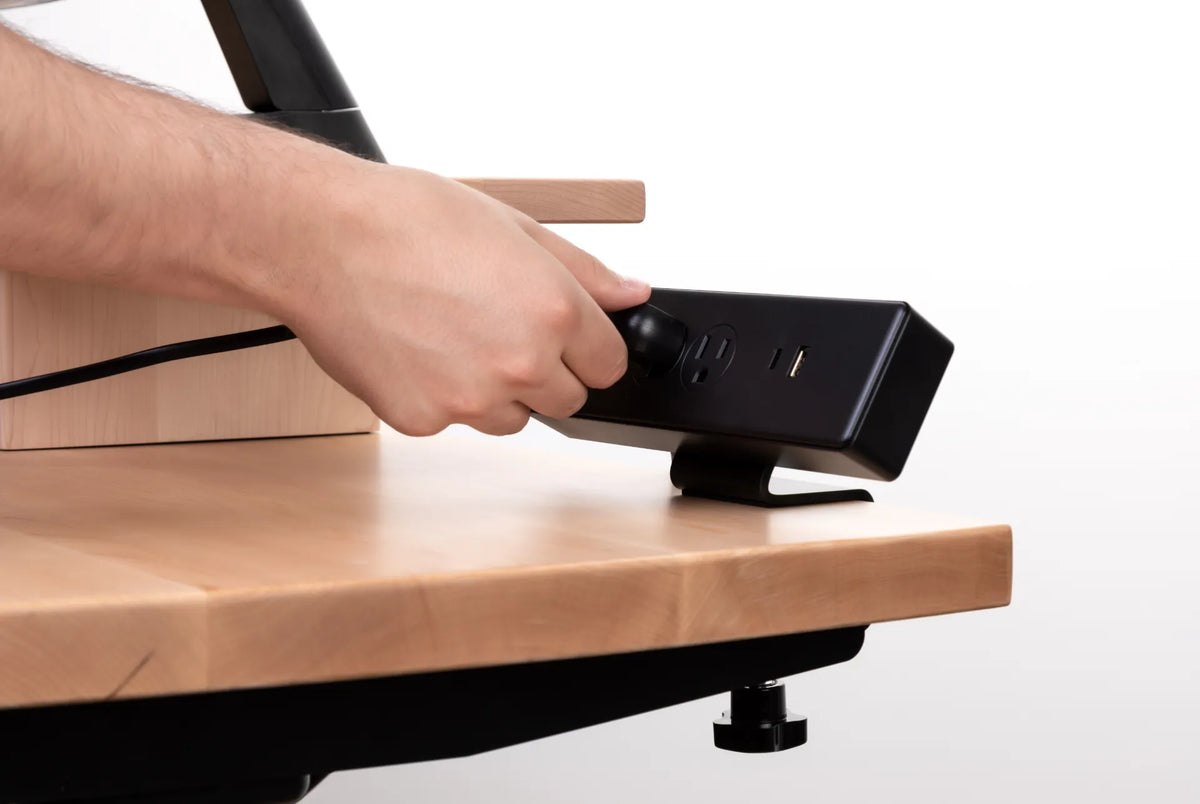
Move the desk through its full travel before finalizing the setup. Make sure monitor, power and accessory cables have enough slack at the maximum height and do not snag at the minimum height. The standing desk cable management guide explains how to plan a moving cable path.
Test the setup with real work
A measurement can get you close, but a short work test reveals whether the position is sustainable. Type for several minutes, use the mouse, read from the screen and reach for common accessories.
Watch for practical warning signs:
- shoulders rising while typing;
- wrists bending upward or outward;
- feet losing contact with the floor or footrest;
- pressure behind the thighs;
- leaning forward to see the display;
- reaching for the mouse;
- cables tightening as the desk rises.
Change one variable at a time and retest. Small adjustments are usually easier to evaluate than changing the chair, desk and monitor together.
Remember that movement is part of ergonomics
A well-fitted standing desk supports variation. It does not make one posture healthy for an unlimited period. CCOHS advises alternating between sitting and standing and changing position before discomfort develops. Short movement breaks and task changes can also help reduce time spent in any fixed posture.
If discomfort persists or you have a medical condition affecting workstation setup, seek advice from a qualified health professional or ergonomist. General measurements are not a diagnosis or individualized clinical recommendation.
Standing desk height checklist
- Measure seated elbow height after adjusting the chair and foot support.
- Measure standing elbow height in normal work footwear.
- Confirm whether the published desk range includes the tabletop.
- Add the actual top thickness to a frame-only range.
- Check the minimum setting carefully for shorter users.
- Check the maximum setting carefully for taller users.
- Set keyboard height before adjusting monitor height.
- Account for a floor mat, monitor arm and cable movement.
- Test both positions with real work before saving presets.
Choose a range that fits the people using it
The right standing desk is not simply the one with the highest maximum setting or the largest travel number. It is the one that reaches the user's seated and standing elbow heights with the chosen tabletop and accessories installed.
Start with measurements, verify the finished height range, then build the rest of the workstation around the user. If you are comparing a frame with a complete desk, Burotic can help you confirm how the surface thickness and accessories affect the final setup.

Previous article
How Long Should You Stand at a Standing Desk? A Practical Transition Plan
Next article
How to Choose a Monitor Arm: 8 Compatibility Checks Before You Buy