

How to Set Standing Desk Memory Presets for Better Daily Movement

In this article
Standing desk memory presets turn a feature you might ignore into a practical movement tool. Instead of holding an arrow button, watching the display, and stopping near the right height every time, you can save your preferred sitting and standing positions and return to them consistently. The convenience matters because a sit-stand desk is most useful when changing position feels easy enough to do throughout a real workday.
This guide explains how to identify your working heights, save them to a programmable controller, test the setup, and build a simple routine around the presets. The exact button sequence can vary by desk model, so always keep the manufacturer instructions for your controller nearby.
What are standing desk memory presets?
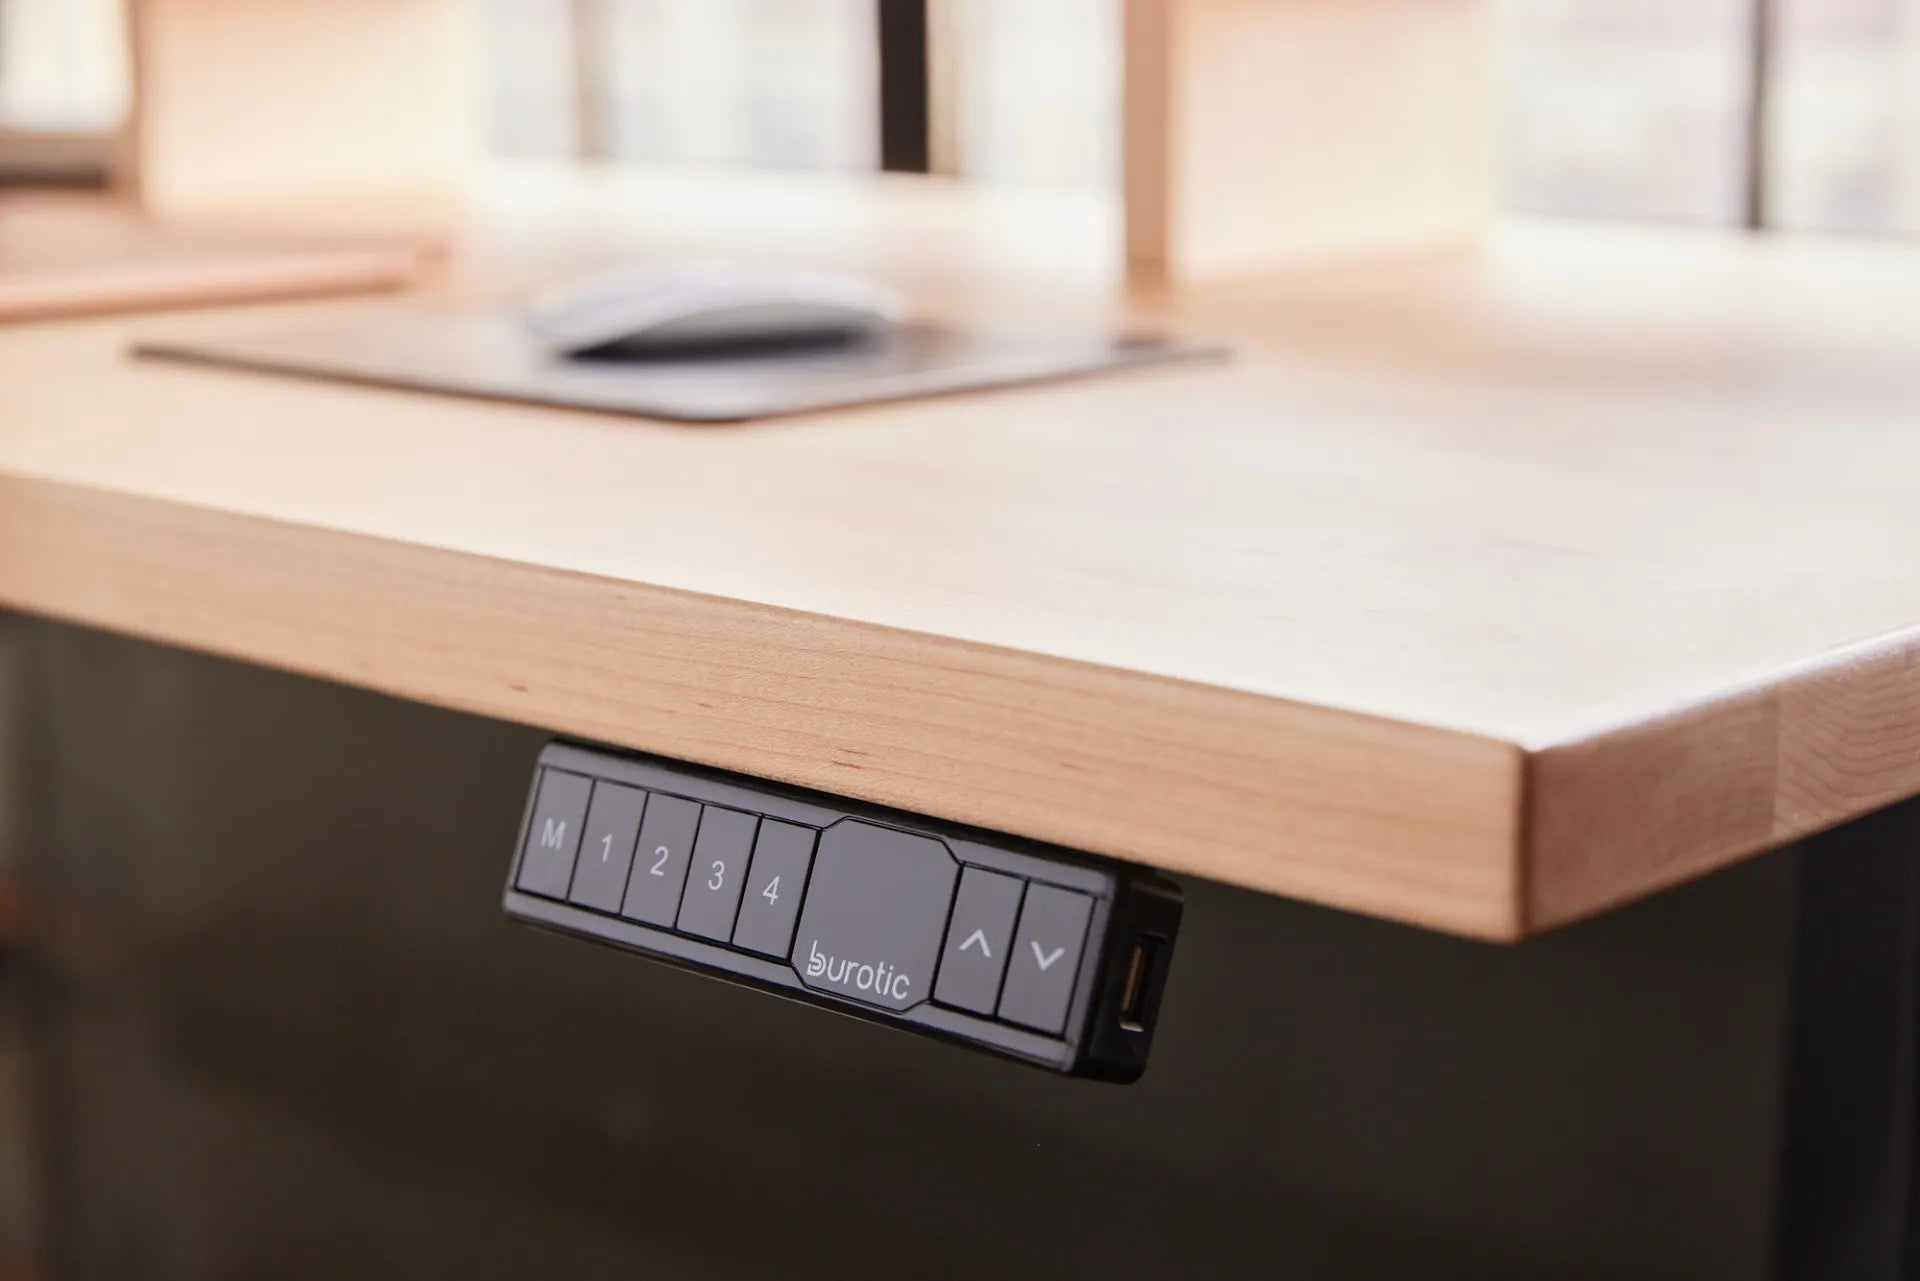
Memory presets are programmable buttons that store specific desk heights. A controller may offer two, three, or four numbered positions. On the Burotic Aspire Standing Desk Frame, the controller provides four presets, plus up and down controls. This lets one person store several task positions or allows multiple users to save their own preferred heights.
A preset does not determine whether a height is ergonomically appropriate. It only remembers the number you save. You still need to adjust the workstation to your body, footwear, equipment, and task. The Canadian Centre for Occupational Health and Safety, or CCOHS, emphasizes that a sit-stand workstation should support a neutral body position in both sitting and standing modes.
Why presets can make a sit-stand routine easier
A height-adjustable desk does not create movement by itself. You still need a reason and a convenient moment to change position. Presets remove several small points of friction:
- Faster transitions: You can return to a tested height without repeated fine adjustments.
- More consistency: Your keyboard, mouse, and monitor start from the same baseline each time.
- Easier sharing: Different users can save individual positions on a shared workstation.
- Task-specific options: You can reserve a preset for focused computer work, video calls, drawing, or another recurring task.
- A useful cue: A saved sitting and standing pair makes it easier to connect posture changes to meetings, breaks, or work blocks.
The goal is not to hold one perfect posture. CCOHS notes that alternating positions and allowing the body time to adjust are more important than following one universal sitting-to-standing ratio. Presets are useful because they make variation easier.
Step 1: Find a comfortable sitting height
Start with your chair, not the desk. Sit back with your feet supported on the floor or on a footrest. Keep your shoulders relaxed. Set the chair so your thighs feel supported and your elbows can stay close to your sides.
Raise or lower the desk until the keyboard and mouse are around elbow height. Your forearms should be approximately parallel to the floor, with wrists in a neutral position rather than sharply bent up or down. Leave enough clearance under the desk for your legs and chair.
Next, check your display. The desk height controls your input devices, while the monitor often needs a separate adjustment. A monitor stand or monitor arm can help position the screen without forcing the keyboard surface too high. Our standing desk height guide for short and tall users explains how tabletop thickness and individual body dimensions affect the usable range.
Work at this sitting height for several minutes. Type, use the mouse, and check that you are not lifting your shoulders or reaching forward. Fine-tune before saving the number.
Step 2: Find a comfortable standing height
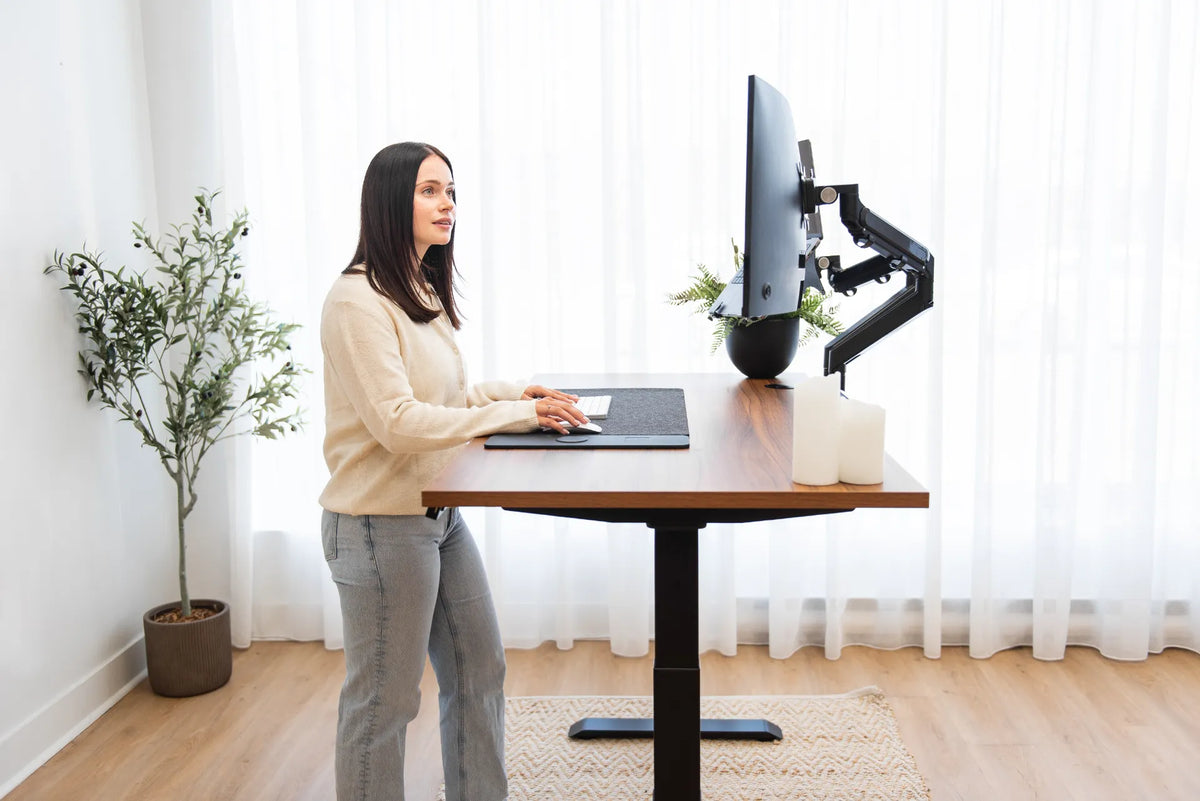
Stand facing the desk with your weight balanced and knees relaxed. Wear the footwear you normally use while working because sole thickness can change the correct surface height. Bring the desk to approximately standing elbow height, then place your keyboard and mouse close enough that your upper arms remain near your torso.
Keep the screen directly in front of you and avoid lowering the desk simply to compensate for a monitor that sits too low. Adjust the display independently when possible. CCOHS recommends keeping the keyboard and mouse aligned similarly in sitting and standing positions, while maintaining an appropriate monitor angle.
A standing preset should not encourage you to stay still for hours. Shift position, take short walks, and return to sitting when standing becomes uncomfortable. An anti-fatigue mat may improve comfort on a hard floor, but it does not replace movement or supportive footwear.
Use the standing height for a short work sample. Type a paragraph, move the mouse, and join a brief call. If your shoulders rise, the surface may be too high. If you lean forward or bend your neck, review the monitor position and reach distance before changing the desk height.
Step 3: Save the heights to the controller
Controller sequences differ, but a common process is:
- Move the desk to the tested height.
- Press the memory or save button, often marked M.
- Press the numbered preset you want to assign.
- Wait for the controller to confirm the saved position.
- Move the desk away from that height, then recall the preset to test it.
Some controllers require holding a numbered button, while others use a short press. Some move continuously after one touch, and others require the button to remain pressed. Follow the instructions supplied with your desk. Keep children, pets, chair arms, drawers, storage, and cables clear whenever the desk moves.
A practical four-preset layout
If your controller has four memories, a simple arrangement is:
- Preset 1: Your primary sitting height.
- Preset 2: Your primary standing height.
- Preset 3: A second user, a stool position, or a video-call position.
- Preset 4: A recurring task that needs a different surface height.
Keep the system easy to remember. A complicated arrangement creates the same friction the presets are meant to remove.
Step 4: Test the entire movement path
Before relying on a preset, test the desk from its lowest expected position to its highest. Watch every cable, accessory, and object around the workstation. The power cord and monitor cables need enough slack at maximum height without hanging into a pinch point or pulling on a connector.
Check monitor arms, shelves, drawers, filing cabinets, window ledges, wall-mounted storage, and chair armrests. If the desk contacts an obstacle, stop and correct the layout. Anti-collision systems are helpful, but they are not a substitute for a clear path.
Our standing desk cable management guide provides a full movement test and explains how to create a controlled service loop for cables.
Step 5: Build presets into your workday
Do not wait for discomfort before changing position. Connect the preset buttons to events that already happen:
- Start the day sitting, then stand for the first scheduled call.
- Change position after finishing a focused work block.
- Stand while reviewing documents or handling short administrative tasks.
- Sit again for detailed work if your legs or feet become tired.
- Take a short walk instead of treating standing as the only alternative to sitting.
There is no universal schedule that suits everyone. Work demands, health conditions, footwear, flooring, and previous habits all matter. Increase standing time gradually and speak with a qualified health professional if you have persistent pain, swelling, numbness, balance concerns, or a condition that changes what is appropriate for you.
When should you update a saved preset?
Recheck your heights when you change any part of the setup. A thicker desktop, different keyboard tray, new footwear, monitor replacement, anti-fatigue mat, chair, or floor surface can alter your position. Shared desks also need regular verification because another user may overwrite a memory.
Do not treat the display number as a universal recommendation. The displayed height may be measured from a different reference point depending on the desk. Your body position and equipment layout matter more than matching another person's number.
Common preset mistakes
Saving a height before testing it
A number that looks right may feel wrong during real keyboard and mouse use. Test each height under normal work conditions before storing it.
Using one standing height for every task
Precision tasks, writing, and video calls can create different reach and viewing needs. If a task repeatedly feels awkward, adjust the equipment or use a dedicated preset.
Ignoring the monitor
The desk surface can be correctly positioned while the screen is still too low, high, close, or far away. Adjust both parts of the workstation.
Letting cables limit the range
A cable may appear fine while sitting and become taut at full standing height. Test the complete travel path after every equipment change.
Treating standing as the goal
The purpose of a sit-stand desk is to create options. Regular position changes and movement are more useful than replacing prolonged sitting with prolonged standing.
Final checklist
- The sitting preset supports relaxed shoulders, neutral wrists, and adequate leg clearance.
- The standing preset keeps the keyboard near elbow height and the screen appropriately positioned.
- The desk travels safely without contacting furniture, people, pets, or cables.
- The preset layout is simple enough to remember.
- You change position before discomfort builds and include walking or other movement.
Memory presets work best when they support a workstation that already fits you. Take a few minutes to test both heights, save them, and review the movement path. Once the setup is reliable, changing position becomes one button press instead of another task to postpone.

Previous article
Do Anti-Fatigue Mats Work? How to Choose One for a Standing Desk
Next article
Do Anti-Fatigue Mats Work? How to Choose One for a Standing Desk