




How High Should a Monitor Riser Be?

In this article
A monitor riser should be high enough to bring the screen into a comfortable viewing zone, but not so high that you tilt your chin upward. For many people, that means placing the top of the visible screen around eye level or slightly below it. The correct riser height is therefore not a universal number. It is the difference between your current screen position and the screen position that lets you sit upright, look slightly downward and read without leaning forward.
That answer sounds simple, yet buying the right riser requires more than measuring its legs. Monitor stands have different base heights, screens have different bezel sizes and people sit at different heights. This guide shows how to calculate the lift you actually need, test it before buying and avoid the most common setup mistakes.
Start with screen position, not riser height
The Canadian Centre for Occupational Health and Safety explains that monitor position depends mainly on viewing angle and viewing distance. Its guidance places the screen in a generally downward line of sight and warns that a screen set too high can contribute to neck and shoulder discomfort. That is the key principle: the riser is only a tool for reaching a useful screen position.
Do not begin with a rule such as a 10 cm or 15 cm riser. Begin by sitting the way you normally work. Adjust your chair first, place your feet on the floor or a suitable footrest, relax your shoulders and keep your head balanced over your torso. Only then should you assess the screen.
If your chair height changes later, your eye level changes too. A riser selected before the chair and keyboard are set can solve one problem while creating another.
How to measure the lift you need
1. Set your working posture
Sit back in the chair with your lower back supported. Keep your shoulders relaxed and your forearms roughly level when using the keyboard and mouse. If you raise the chair to reach a fixed-height desk, support your feet rather than leaving them suspended. This creates a repeatable starting position.
2. Mark your comfortable screen target
Look straight ahead without lifting your chin. For most users without specialized eyewear, the top of the active display should be around eye level or a little lower. People who use bifocals or progressive lenses often need the screen lower so they can see through the appropriate part of the lens without tipping the head back. The University of Toronto ergonomics guidance makes the same distinction.
3. Measure the current screen height
Measure vertically from the desktop to the top edge of the active display, not the top of a decorative bezel. Then measure from the desktop to your target height. Subtract the first measurement from the second. The result is the approximate lift you need.
For example, if the top of the active display is currently 8 cm below your target, start by testing an 8 cm lift. This is a starting point, not a medical prescription. A small adjustment of one or two centimetres may feel better after you work for a while.
Test the height before you buy
Use stable hardcover books or a solid box to create a temporary platform at the measured height. Make sure the monitor base is fully supported and the stack cannot slide. Work for at least part of a normal day, including reading, typing and video calls.
Ask four practical questions:
- Can you read the centre of the screen without leaning forward?
- Does your chin stay level rather than lifting?
- Can you keep your shoulders relaxed?
- Does the monitor remain stable when you type or adjust the desk?
If the answer is yes, the test height is a useful specification for shopping. If you notice yourself looking upward, lower the test platform. If you still bend your neck or round your shoulders, check both screen height and viewing distance before adding more lift.
How viewing distance changes the result
A screen can be at the right vertical height and still be uncomfortable if it is too close or too far away. CCOHS describes arm's length as a practical starting estimate, with adjustments for screen size, vision and readable text. Moving a monitor farther back changes the angle at which you see its top edge, so recheck height after changing distance.
Increase text size before pulling a screen uncomfortably close. On a shallow desk, a monitor riser with a deep footprint may move the screen toward you. Measure the stand depth and compare it with the monitor base before buying. Burotic's guide to monitor riser depth explains how to preserve usable desk space.
Fixed riser or adjustable monitor arm?
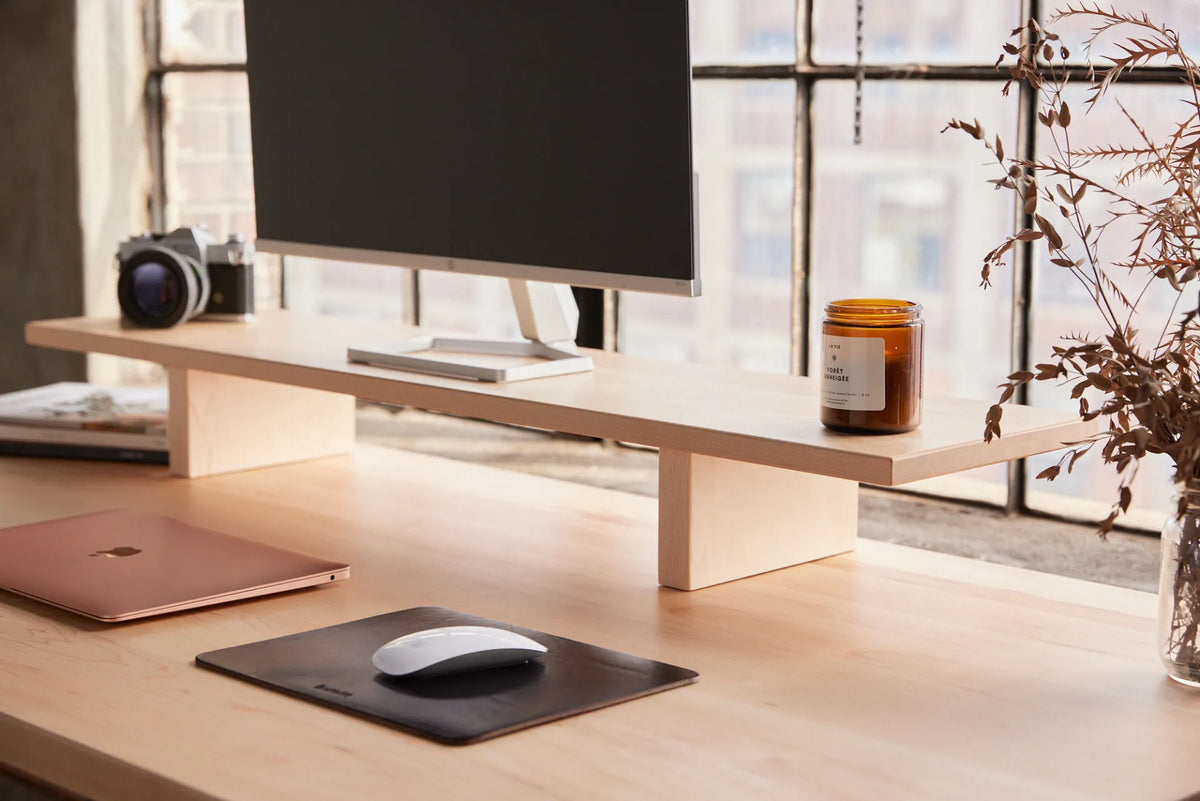
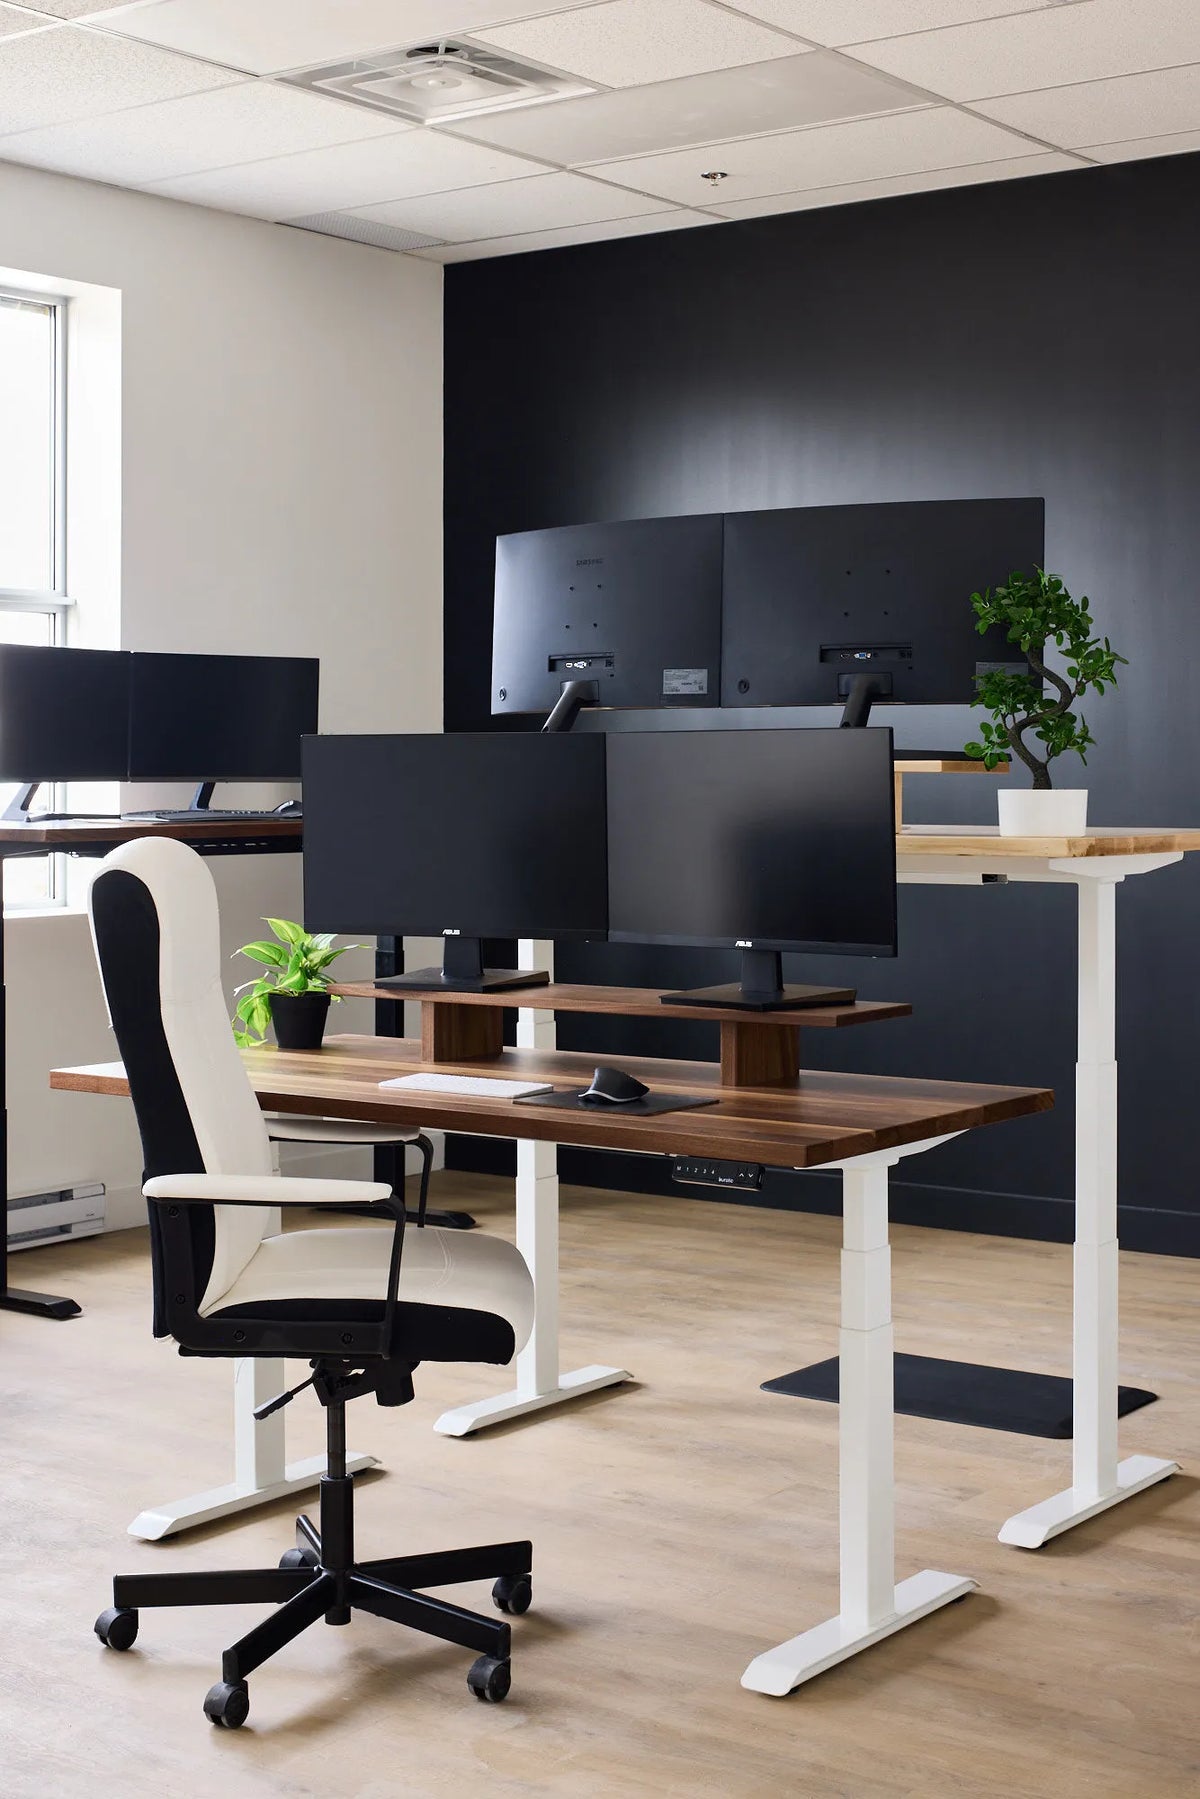
A fixed riser works well when one person uses one stable setup and the monitor base already provides some tilt or height adjustment. It also creates storage space beneath the screen. A monitor stand can visually coordinate with a wood desktop while lifting the display and keeping small items organized.
A monitor arm is more flexible when several people share a workstation, when you alternate frequently between sitting and standing or when the built-in monitor base takes up too much depth. The tradeoff is that an arm must be compatible with the monitor, desk edge and load. See the Burotic comparison of a monitor stand versus a monitor arm before choosing.
Special cases that need a different height
Large and tall screens
A tall display may already place its upper edge near eye level even when the centre feels low. Raising it by a standard amount can make the top too high. Judge the whole active display, not just the centre point.
Laptops
Raising a laptop screen usually means using an external keyboard and mouse. Otherwise the keyboard rises with the display and can force the shoulders upward. A monitor riser can hold a closed laptop or accessory, but confirm its load and dimensions rather than assuming compatibility.
Sit-stand desks
A riser moves with the desktop, so its relationship to the keyboard stays constant. However, your standing eye level and posture may not reproduce your seated setup exactly. Test both positions. The article on using a monitor riser on a standing desk covers stability and sit-stand transitions in more detail.
Common monitor riser mistakes
- Buying by product height alone: the monitor base and bezel determine the final screen height.
- Raising the screen before adjusting the chair: this makes the measurement unreliable.
- Ignoring progressive lenses: many users need a lower screen than a generic diagram suggests.
- Using an unstable stack permanently: a temporary test is useful, but the long-term support should be level, strong and properly sized.
- Forgetting depth: a riser that brings the screen closer can reduce viewing comfort even when the height is correct.
- Copying another person's setup: torso length, chair height, screen size and vision all change the result.
A simple final check
After installing the riser, work normally for several days. Your head should feel balanced, your gaze should fall naturally toward the screen and your shoulders should stay relaxed. The top of the display should not force you to look upward. If discomfort persists, reassess chair height, viewing distance, text size and lighting instead of assuming the riser alone is the cause. General ergonomic guidance is not a diagnosis, so persistent symptoms should be discussed with an appropriate health professional.
The most useful monitor riser is not the tallest one. It is the one that supplies the measured lift your setup is missing while keeping the screen stable and the desk usable.

Previous article
Can You Put a Custom Desktop on a Standing Desk Frame?
Next article
How Thick Should a Desk Pad Be?