


Standing Desk Height for Handwriting: Notes, Forms and Paperwork

In this article
The best standing desk height for handwriting is the height that lets you bring the page close, keep the shoulders relaxed and write without bending the wrist sharply or leaning the torso over the desk. It may be slightly different from a comfortable keyboard height because writing involves paper position, visual detail and downward pen pressure.
There is no universal number. Two people of the same height can have different arm proportions, chairs, notebooks and writing styles. Use the sequence below to create a repeatable sitting and standing setup, then adjust it during real note-taking. Persistent symptoms deserve individual advice from a qualified health professional.
Start with the task, not the desk display
Handwriting can mean a quick signature, an hour of note-taking, detailed drawing or reviewing forms while referring to a screen. The longer and more precise the task, the more important surface height, page angle, lighting and forearm space become. Define the most demanding regular task before saving a preset.
Clear enough space for the paper size, both forearms and the movement of the writing hand. A crowded surface can push the page away and make the body follow it. If computer work and paper happen together, the guide to a desk for computer work and handwriting explains how to create two compatible zones.
Set the seated position in the correct order
1. Adjust the chair and feet
Sit with the feet supported and the back in a stable position. The thighs should feel comfortably supported without pressure behind the knees. Bring the chair close to the desk so you do not have to reach across the surface.
2. Bring the desktop toward the elbows
Relax the shoulders and let the upper arms stay near the body. Raise or lower the desk until the forearms can approach the page without lifting the shoulders. A surface that is too high can cause shoulder elevation. A surface that is too low can encourage the head and torso to collapse toward the page.
3. Fine-tune for the writing hand
Write several lines at normal speed. Watch whether the wrist bends upward, the elbow loses support or the shoulder rises. Small height changes can matter. Adjust the page position as well as the desk, because moving the paper closer may solve a problem that height alone cannot.
When computer input shares the surface, compare this result with the principles in the keyboard and hand placement guide. You may need two nearby desk heights rather than forcing one compromise for every task.
Set the standing writing height separately
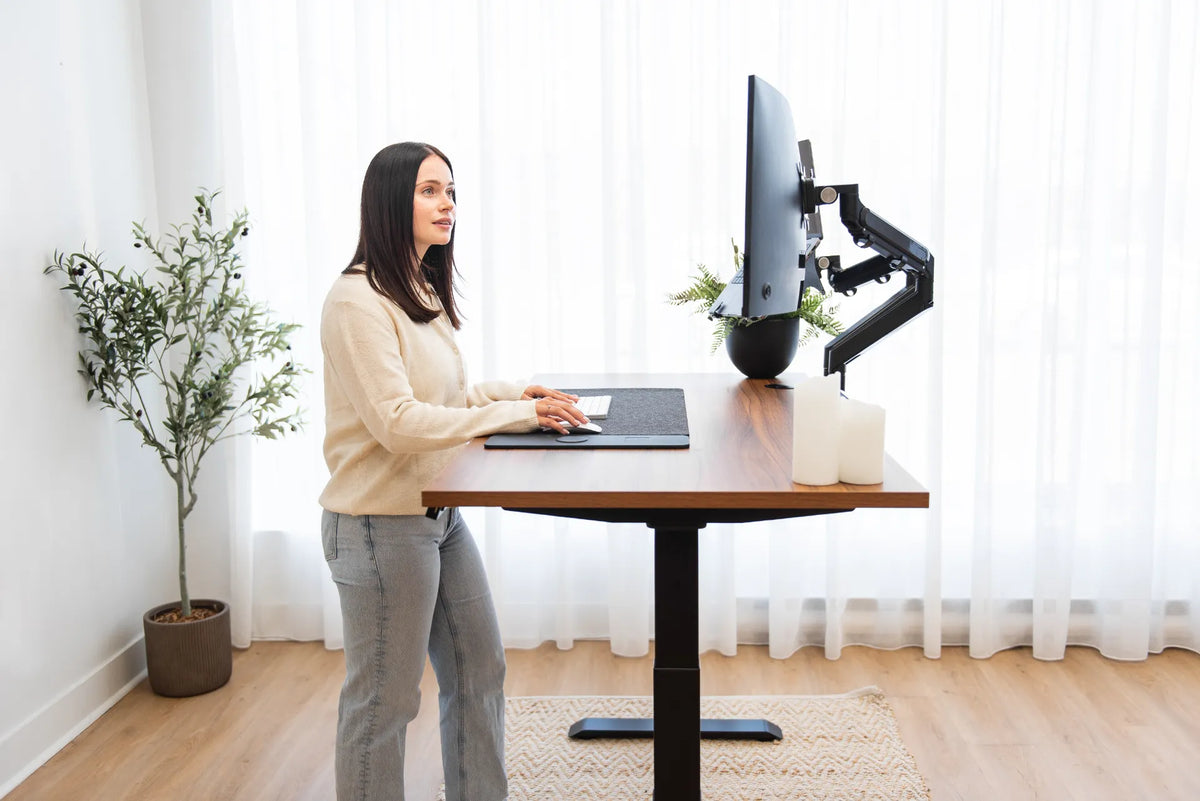
Stand close to the desk with a comfortable stance and unlocked knees. Place the notebook where the writing hand can reach without leaning. Bring the surface toward the elbows, then test a real paragraph. If you must spread the elbows widely or bend the neck for every line, change the height, page angle or task duration.
Standing can work for a short form, brainstorming session or review. It may be less suitable for long, precise writing when fatigue makes the body lean on the desktop. Use the adjustable desk to change position before quality drops, not to prove how long you can remain standing.
Position the page to reduce twisting
Place the active page in front of the writing arm and angle it slightly if that helps the forearm and wrist follow the line of writing. Right-handed and left-handed users may prefer opposite angles, but the useful angle is personal. Keep the page close enough that the forearm does not chase it across the desk.
Secure loose sheets with a folder, clipboard or a stable writing surface when necessary. Avoid writing over a thick desk edge, cable or soft object. The paper should remain stable while the hand moves. If you refer to a book or screen, bring the reference close rather than repeatedly twisting between distant zones.
Support the forearms without fixing them in place
Light forearm contact can reduce the effort of holding the arms, but the writing hand still needs to travel. Leave enough depth for both forearms and avoid a sharp edge pressing into one spot. Do not plant the wrist while the fingers reach farther and farther across the page.
A desk mat may make contact feel softer, but a very soft surface can make pen pressure inconsistent. Test the actual notebook and pen. For signatures or carbon-copy forms, a firmer area may work better than a cushioned pad.
Coordinate paper with a monitor or laptop
When taking notes from a screen, keep the display near the paper's line of sight. A monitor arm or narrow stand can free depth, but it must remain stable and compatible. Do not place the screen so far to one side that every sentence requires neck rotation.
If the screen is primary and the notebook is secondary, centre the monitor and place paper slightly to the writing side. If the paper task dominates, centre the page and move the screen only for brief reference. Return the screen to the front before sustained computer work.
Use lighting that works for paper
Paper reflects room light differently from a screen. Provide enough light to read fine text without bringing the face closer. Position a task lamp so the writing hand does not cast a strong shadow across the active line. For many right-handed writers, light from the left is a useful starting point; left-handed writers may begin on the right. Adjust for the room and actual reflections.
CCOHS guidance on office lighting recommends identifying glare, shadows, bright spots and poor contrast. Check the desk in daylight and evening conditions. A lamp that works while seated may create a different reflection after the desk rises.
Create a quick transition from typing to writing
- Finish the computer task and place the mouse in its home position.
- Slide the keyboard back or to a defined parking area without blocking the monitor.
- Bring the notebook into the active zone and move the pen within easy reach.
- Change to the writing height if your tested position differs from typing height.
- Reposition the task light and reference material.
- Return the keyboard, mouse and screen alignment before sustained computer work.
The change should take seconds. If it requires moving heavy equipment or untangling cables, redesign the zones. A repeatable transition is more useful than a perfectly empty desktop.
Use memory presets carefully
An adjustable desk can store a seated writing height, a standing writing height or another frequently used position, depending on the controller. Save a preset only after testing it during a real task. Label or record the purpose so the number is not treated as a universal ergonomic target.
Before changing height, clear the path below and above the desktop. Close drawers, move the chair and watch cables and shelves. The guide to standing desk memory presets explains a safe process for selecting and testing saved positions.
Common handwriting setup problems
The neck bends toward the page
Move the page closer, improve lighting and consider a stable gentle page angle for longer review. Raising the whole desk too far can create shoulder problems, so change one variable at a time.
The writing shoulder rises
The surface may be too high or the notebook too far away. Lower the desk slightly and bring the page into the easy reach zone. Recheck chair height while seated.
The wrist bends or drags on the edge
Rotate or move the paper so the forearm follows the writing line. Create enough front-edge depth and avoid a thick pad transition under the wrist.
Standing becomes tiring quickly
Shorten the standing block, change footwear or floor support as appropriate and sit for precision work. The correct response is not always a higher or lower desk. Sometimes the task simply works better seated.
A five-minute setup test
- Write a paragraph, a short list and a signature.
- Check shoulder height, wrist alignment and page reach.
- Look up at any reference screen several times.
- Move to the second posture and repeat.
- Adjust one variable, then repeat the paragraph.
- Save the height only when the result is comfortable and repeatable.
Final recommendation
Set the surface around the person and the paper. Support the feet, relax the shoulders, bring the page close and give the writing forearm room to move. A useful handwriting height may sit near the keyboard height, but it should be tested independently.
If writing is a frequent part of the workday, an adjustable surface such as the Aspire custom standing desk can make separate positions easier to repeat. Confirm the current product dimensions and controller options, then build the setup from measurements rather than a generic height chart.
Sources: CCOHS, Sit/Stand Desk; CCOHS, Space Requirements for Office Work; CCOHS, Lighting Ergonomics.
Previous article
Standing Desk Setup for Students: Study, Screens and Small Spaces
Next article
How Far Apart Should Office Desks Be? A Practical Space Planning Guide