

How to Mount a Laptop Beside a Monitor at a Standing Desk

In this article
Mounting a laptop beside a monitor can free desk space and create a practical two-screen workstation, especially on a standing desk. The key is to treat the laptop as a screen, not as a complete input device. Once it is elevated, use a separate keyboard and mouse so screen height and hand position can be adjusted independently.
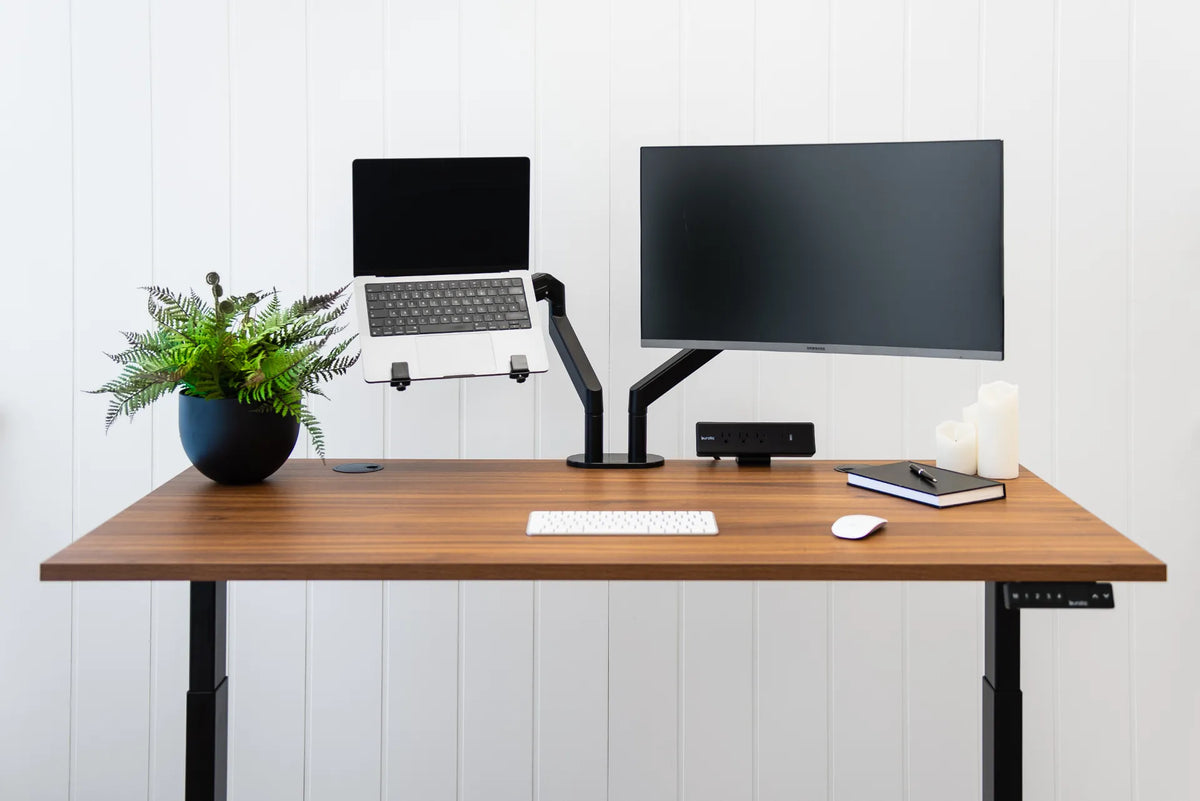
A laptop tray may attach to its own arm or to one side of a dual monitor arm. Before choosing either configuration, verify the tray dimensions, ventilation, retaining features, arm load limits, mounting pattern and desk clamp requirements. The active Burotic Monitor Arm includes laptop-stand configurations to evaluate. Compatibility must be confirmed from current specifications, not from appearance alone.
Quick answer: put the main screen in front
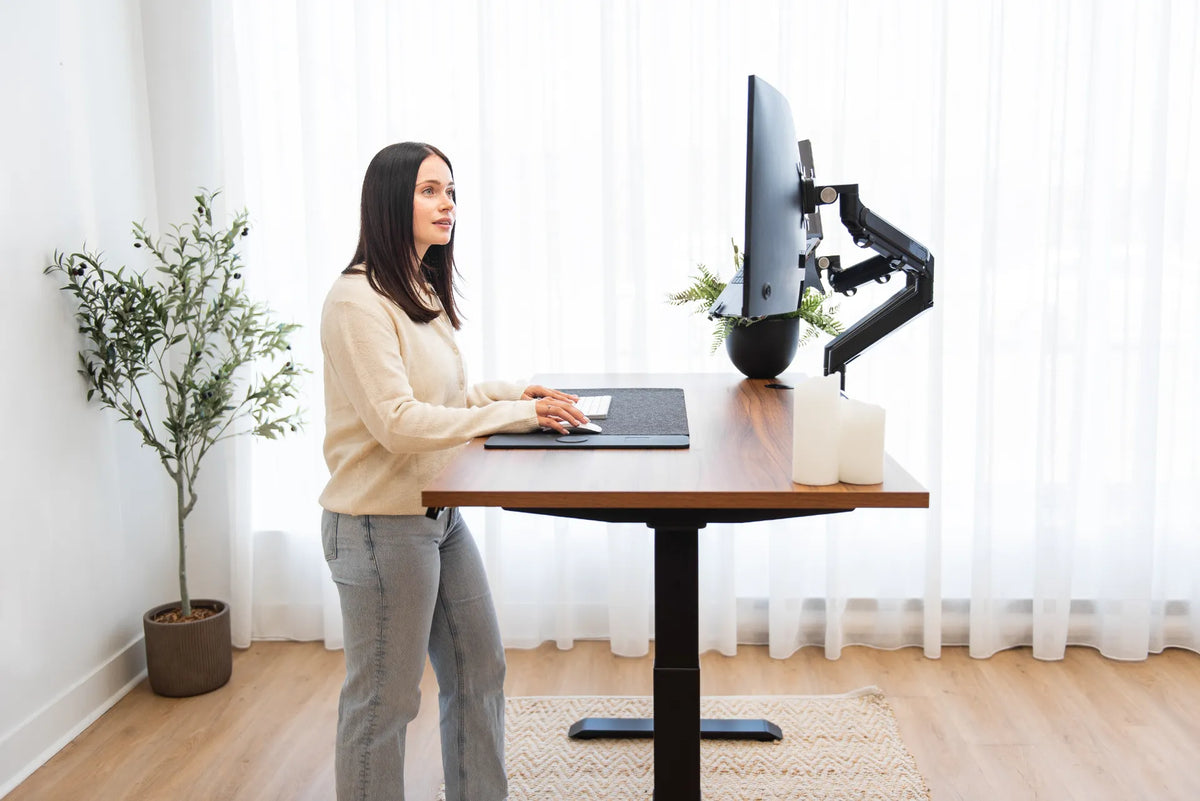
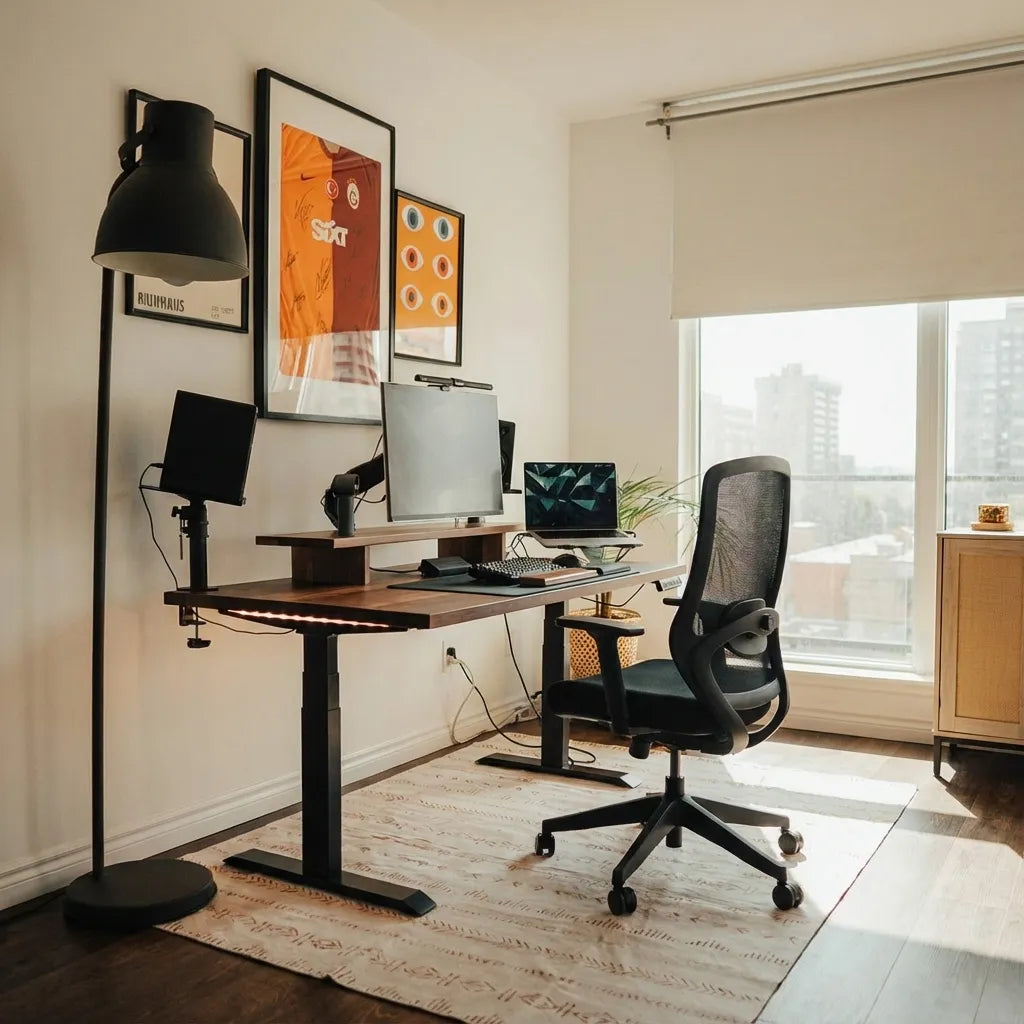
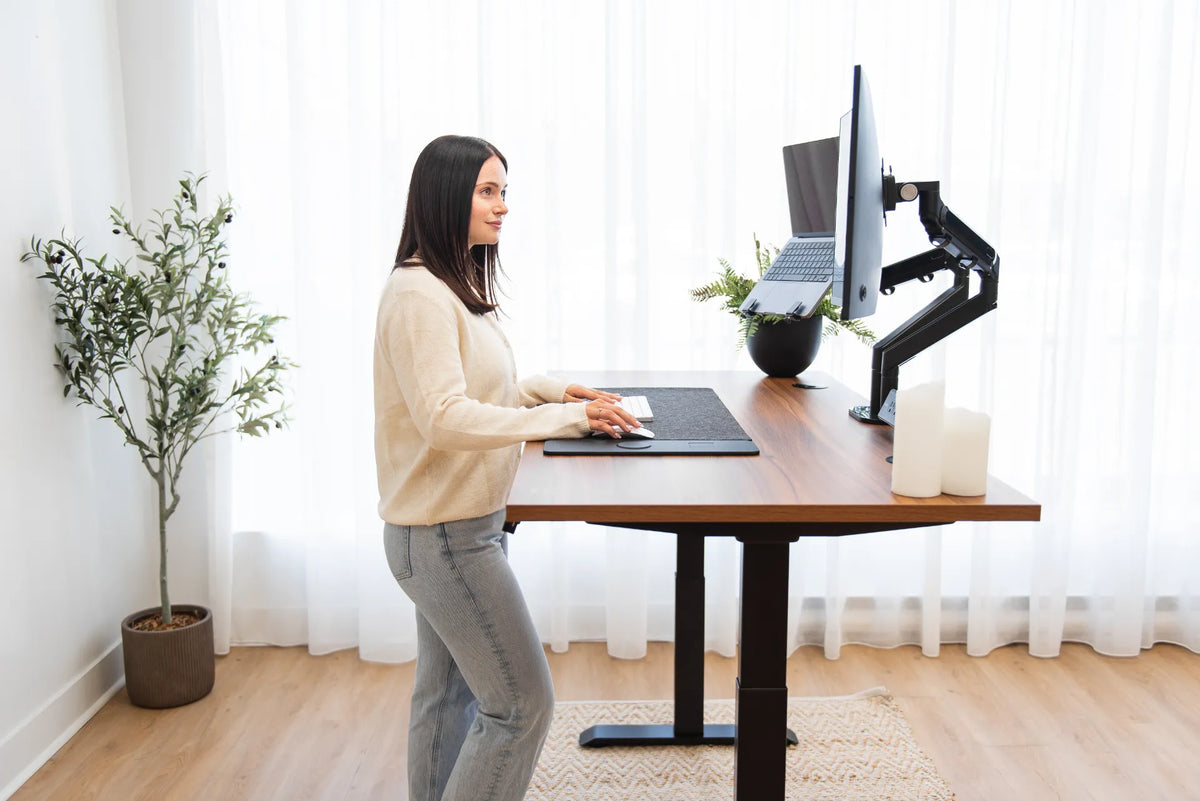
If the external monitor is your primary screen, centre it with your body and place the laptop slightly to the left or right. Keep both screens at a comfortable viewing distance and reduce the angle between them so frequent glances require mostly eye movement rather than repeated neck rotation. If both screens are used equally, centre the seam between them.
The laptop screen should not force the external monitor too far away or block a clear line of sight. Mounting is worthwhile only when it improves the entire geometry.
Choose the right mounting method
Separate laptop arm
A dedicated arm gives the laptop independent height, depth and side-to-side adjustment. It can be useful when the external monitor is heavy or when the two devices need different movement ranges. It also uses another clamp or mounting point on the desktop.
Dual arm with laptop tray
A dual arm can support one monitor on a VESA plate and one laptop tray when the manufacturer explicitly supports that combination. This keeps the mounting area compact, but the total load and balance still matter. Confirm the permitted device weight on each arm, not only the combined capacity.
Desktop laptop stand
A stand is simpler and may be sufficient when desk depth is generous. It does not recover as much surface area and may limit repositioning, but it avoids another clamp. The best choice depends on the desk, equipment and frequency of adjustment.
Verify compatibility before ordering
Measure the closed and open laptop width, depth and thickness. Check where vents, ports and hinges are located. A tray should support the computer without covering essential ventilation or pressing against a connector. Retaining lips or straps must hold the device without obstructing normal opening and closing.
For the external monitor, confirm its weight without the original stand and its VESA mounting pattern. Then confirm the arm's supported range. The monitor-arm buying guide covers clamp type, top thickness and movement requirements in more detail.
Also inspect the desktop. A clamp needs a flat, structurally suitable area above and below the rear edge. Be cautious around cable grommets, apron rails, bevelled edges and fragile surfaces. Follow the desk and arm instructions for permitted mounting locations.
Decide which screen is primary
Primary-screen choice should follow the task. The display used for most typing, reading or detailed work normally belongs closest to the body's centreline. A secondary screen can sit beside it at a modest inward angle. If the laptop is mainly for messages, controls or reference material, it usually works well as the secondary display.
When both screens are equally important, position them at similar distances and centre the inner edges. Large differences in screen size may require a compromise. Aligning the top edges is not mandatory if doing so makes the smaller screen uncomfortable. Prioritize the portion of each display you look at most.
Set height and distance
CCOHS recommends placing the monitor directly in front of the user when it is the main display, with the screen at a comfortable distance and the top around eye level or slightly lower for many users. Individual vision, corrective lenses and screen size affect the best position.
Start at roughly arm's length, then move the screen closer if text is difficult to read rather than leaning forward. The monitor-distance guide explains how text size and viewing habits affect the final setting. If you wear progressive lenses, a lower screen position may reduce the need to tilt the head back.
Use a separate keyboard and mouse
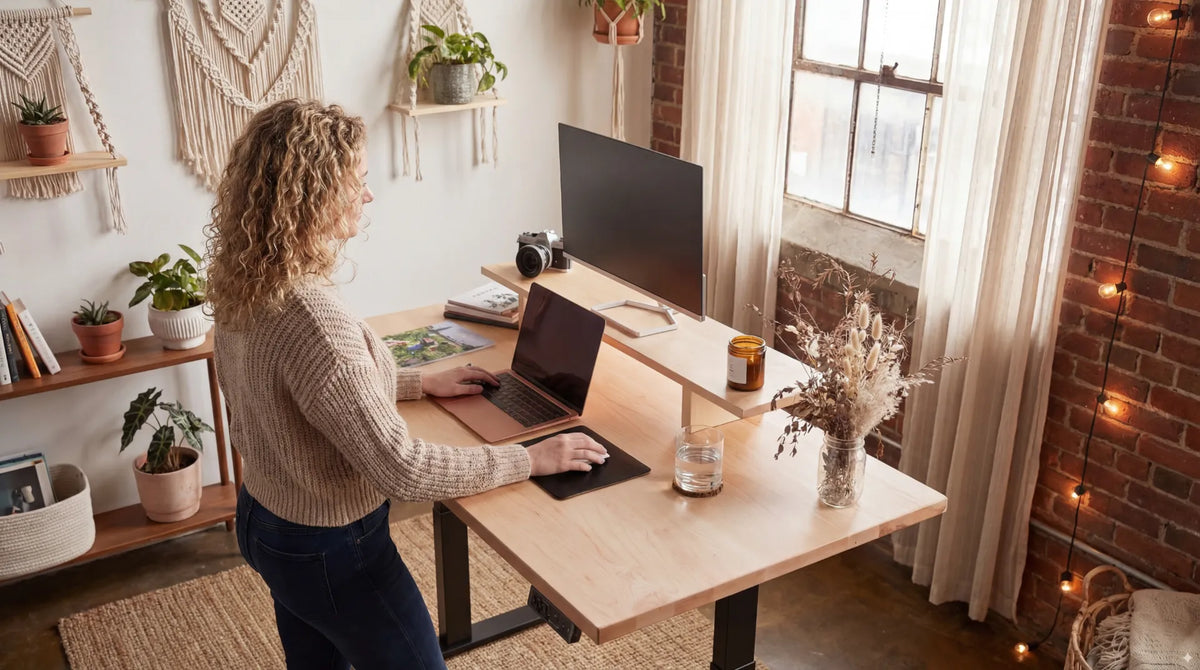
Once the laptop is raised, its built-in keyboard is too high and too far away for sustained use. Put a separate keyboard and mouse directly in front of the body, close enough that the upper arms stay relaxed. Keep the pointing device beside the keyboard rather than beyond a wide numeric pad when possible.
The desk height should serve the hands first. Adjust the screens after the keyboard surface feels comfortable. The ergonomic laptop and monitor guide provides a broader sequence for keyboard, display and chair adjustments.
Place the arm where it can actually move
A centred clamp is not always the best clamp position. Many arms sweep backward as they move, so the desk may need clearance from a wall. Before tightening the mount, hold the screens near their intended positions and trace the joints' path. Leave room for rotation without hitting a wall, shelf or window.
The recent guide to monitor-arm position explains how an offset clamp can bring the screen to the centre while preserving joint travel. Test the setup at both sitting and standing heights before final cable routing.
Plan cables for moving equipment
A laptop mount adds power, video and often USB cables to a moving assembly. Route cables along the arm using the supplied channels or suitable reusable ties. Leave a gentle service loop at each moving joint. A tight cable can pull on a port, limit the arm or disconnect when the desk rises.
At standing-desk level, leave a separate vertical loop from the desktop system to the wall or floor connection. Raise and lower the desk slowly while watching the full route. Keep cables away from pinch points, chair wheels and the arm's springs.
Account for the webcam
If the laptop camera is used for calls, mounting the laptop far to the side changes the apparent eye line. You can temporarily move it closer to centre for meetings, use the external monitor as the primary reference or add a separate camera when the workflow justifies it. Do not compromise all-day screen position solely for occasional calls.
A laptop tray must remain stable while the screen is open. Avoid typing on the elevated laptop during a call, because the force can make the camera shake. Use the separate keyboard.
Test the completed workstation
- Sit in the normal working position and centre the primary display.
- Place the secondary screen within an easy visual sweep.
- Set keyboard and mouse reach before fine-tuning screen height.
- Check ports, vents, retaining edges and hinge movement.
- Move both arms through their useful range.
- Raise the desk while watching joints and cables.
- Type, read and join a test call in both positions.
Common mistakes
- Choosing a tray from screen size alone without measuring the laptop body.
- Using the elevated built-in keyboard for long typing sessions.
- Centred hardware that forces the screens off-centre.
- No clearance behind the desk for the arm joints.
- Cables pulled tight at standing height.
- A laptop covering half of the primary display.
Final recommendation
Use a laptop mount when it creates a cleaner and more adjustable two-screen system, not simply because it lifts the computer. Verify the tray, arm, laptop, monitor and desktop as one compatibility chain. Centre the screen used most, use separate input devices, preserve cable slack and test every working height before final tightening.
Sources: CCOHS, Monitor Positioning; CCOHS, Sit/Stand Desk; official Canadian laptop-mount and monitor-arm pages from Desky and Progressive Desk, consulted September 28, 2026.
Previous article
How to Measure for a Standing Desk Before You Buy
Next article
How to Measure for a Standing Desk Before You Buy