


How to Measure for a Standing Desk Before You Buy

In this article
Before buying a standing desk, measure more than the empty wall. You need the desktop footprint, the chair's working clearance, the desk's moving envelope, the user's seated and standing needs, the equipment layout, the cable route and the path the components must travel during delivery. A configurable product such as the Burotic Aspire Wood Laminate Standing Desk makes these measurements especially important because top size is part of the choice.
A simple measurement plan prevents three common mistakes: choosing a top that is too shallow for the screen, blocking a door or storage area with the chair, and discovering that the desk cannot rise safely beneath a shelf or window treatment. Record measurements in one place and compare them with current published product specifications before ordering.
Quick answer: measure in seven layers
- Available floor and wall space.
- Desktop width and depth required by the equipment.
- Chair and walking clearance.
- Lowest and highest useful working heights.
- Vertical travel around shelves, windows and lights.
- Outlet locations and cable travel.
- Doors, stairs, elevators and corners on the delivery route.
Do not rely on a room listing or an old floor plan. Measure the actual finished surfaces, including baseboards and trim.
Tools to gather
- A rigid tape measure for furniture and walls.
- Painter's tape to mark the proposed footprint.
- A level or reliable levelling app for the floor.
- Paper or a notes app with separate room, user and equipment sections.
- A helper for long spans and delivery-route checks.
Use one unit system consistently. Canadian product pages may show inches, centimetres or both. Label every figure and do not convert mentally while shopping.
Step 1: map the room
Measure the usable width of the wall, then measure from the wall into the room. Subtract baseboards, radiators, columns, floor registers and trim that prevent the desk from sitting where expected. Mark door swings, closet access and frequently used walking paths.
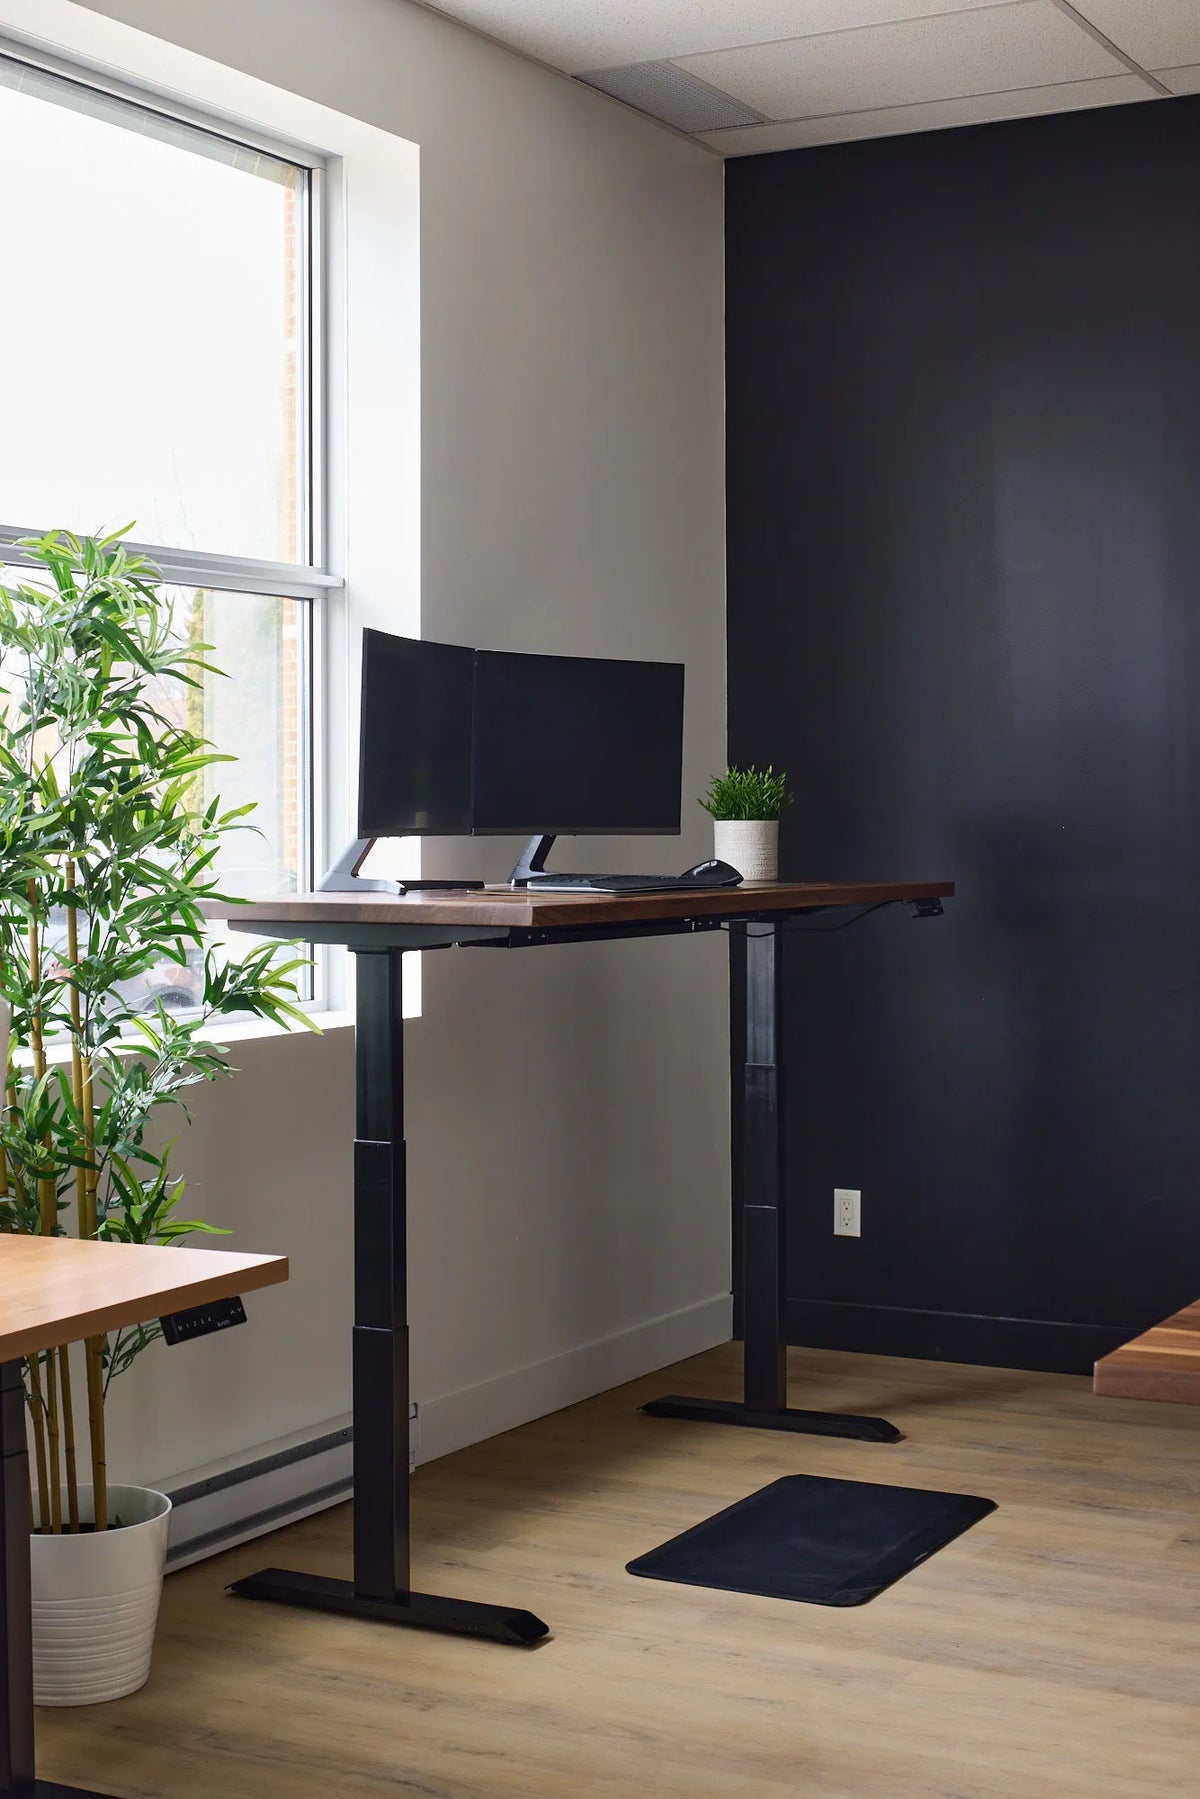
Use painter's tape to outline the proposed desktop on the floor. Add a second line for the chair pulled back. Walk around the outline and open every nearby door. The standing-desk clearance guide helps identify movement zones that a simple width measurement can miss.
Step 2: inventory the equipment
List every item that must remain on the surface: monitor bases, laptop, keyboard, mouse, speakers, docking station, phone, documents, camera equipment and task light. Measure each footprint. Leave working space around objects rather than packing their dimensions edge to edge.
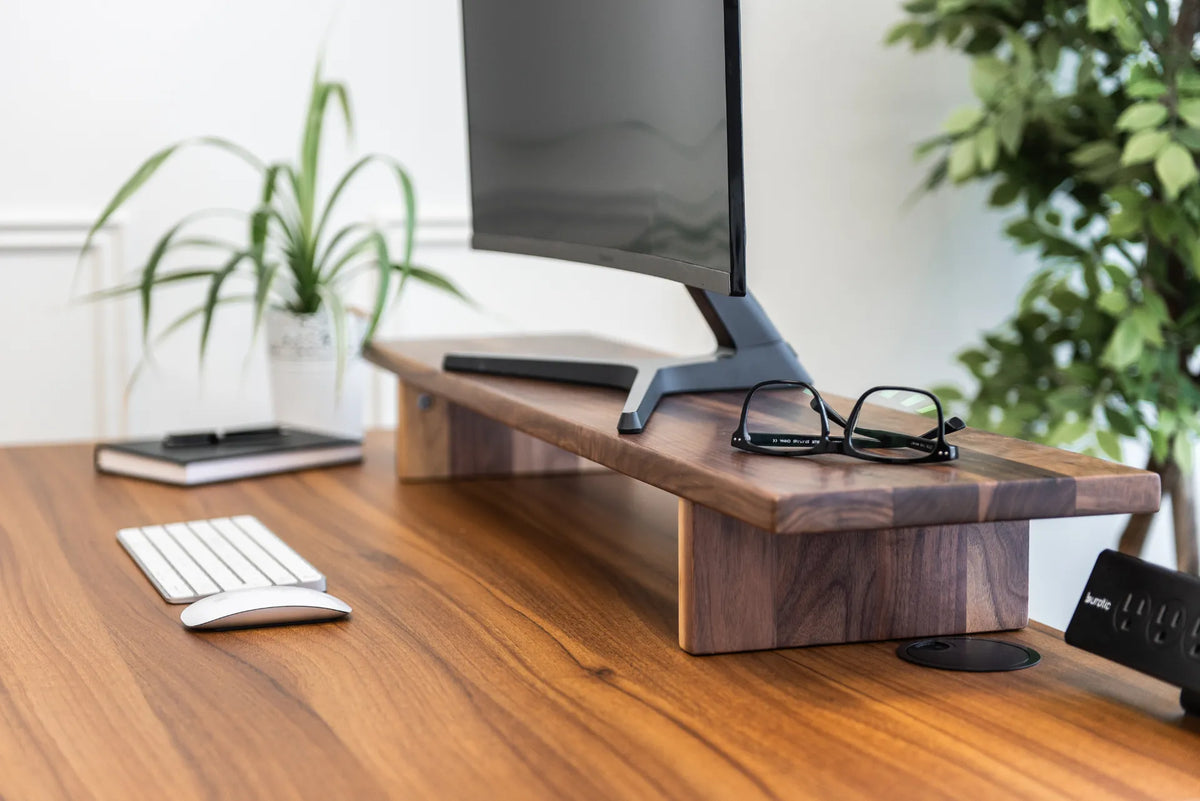
Monitor depth is often the limiting factor. Measure from the back of the stand or arm to the front of the screen, then include a comfortable viewing distance and keyboard space. If documents sit between the keyboard and screen, add their real depth. Compare the result with the 24-inch versus 30-inch desk-depth guide.
Step 3: choose width from the workflow
Width should reflect equipment and task changes. One laptop can fit on a compact surface, but handwriting beside it, a second monitor or frequent reference documents require additional room. Measure the working arrangement, not the devices stored vertically when the desk is photographed.
Mark likely widths with painter's tape and recreate your keyboard and monitor positions using the real equipment if possible. The 48-, 60- and 72-inch desk comparison explains the practical differences among common sizes without assuming the largest is best.
Step 4: measure the user and working heights
A product's height range should cover the working surface needed in both seated and standing positions. Do not choose from overall body height alone. Chair height, footwear, keyboard thickness, task type and individual proportions all affect the result.
For a seated starting point, adjust the chair so the feet are supported and the upper arms can relax. Measure from the floor to the preferred keyboard surface. For standing, wear normal work footwear, relax the shoulders and measure to approximately elbow level, then expect to fine-tune. If more than one person uses the desk, measure everyone.
Compare both numbers with the published desktop-height range, not just the frame height. A thick top changes the surface position. The guide to standing-desk height for shorter and taller users explains why range matters more than a single recommended number.
Step 5: map the full moving envelope
A standing desk does not occupy one static box. The top, monitor arms, screens, lamps and accessories move vertically. At the proposed location, measure up to shelves, windows, sloped ceilings, wall art and light fixtures. Include the highest point of the monitor, not only the desktop.
Check the rear movement of monitor-arm joints and the forward reach of accessories. A desk can clear a windowsill while the monitor strikes it. Leave practical margin rather than planning a path that works only to the millimetre.
Step 6: plan power and data
Locate outlets and network connections. Measure the cable route at both sitting and standing heights. The path should not cross a doorway, pass beneath a rug or become tight at maximum height. Include power bricks, dock cables and the connection from any desktop power unit to the wall.
Do a dry run with string or an unused cable before committing to the desk position. Preserve a service loop for movement without leaving a loose coil in the walking area. Electrical changes should be performed by an appropriate qualified person where required.
Step 7: inspect the floor
Check whether the floor is level and whether the desk feet will land on one consistent surface. A frame partly on a rug and partly on hard flooring can sit unevenly. Thick carpet may allow movement under load. Measure the rug edge and base footprint so all feet have stable support.
If the floor slopes, confirm the range of the desk's levelling glides from the manufacturer. Do not assume loose improvised shims will be safe. Test the location with a level before assembly day.
Step 8: measure the delivery route
Measure the narrowest doorway, hall turn, stair width and elevator opening between the entrance and the office. Note low ceilings, railings and doors that cannot be removed. Compare these constraints with the packaged component dimensions when available.
A desktop may be easy to rotate through a doorway yet impossible around a tight stair landing. A frame shipped in smaller components may be simpler, but do not assume every part can be separated. Confirm packaging and assembly information with the seller.
Create a one-page measurement record
- Maximum desktop width and depth.
- Preferred working width and depth.
- Seated and standing surface heights for each user.
- Chair pull-back and walking clearance.
- Highest safe point for monitors and accessories.
- Floor type and levelling notes.
- Outlet distance and cable length needed.
- Narrowest delivery dimension.
Add the date and the exact product-page URL beside any specification. Products and options can change, and a similar model name may not use the same dimensions.
Allow margin without wasting space
A measurement that fits exactly on paper can fail because of trim, connectors, cable bends or installation access. Leave enough margin to assemble, level and clean around the desk. At the same time, avoid choosing an oversized top that narrows circulation or encourages unnecessary clutter.
CCOHS guidance on office working space emphasizes adequate room for the worker, chair, equipment and normal movement. The right amount depends on the task and layout, so use the real workflow rather than a decorative photo as the plan.
Final check before ordering
- Compare your record with the exact product specifications.
- Confirm whether dimensions describe the top, base or package.
- Confirm the complete height range with the selected top.
- Verify load limits using the actual equipment list.
- Review the assembly manual and mounting restrictions.
- Walk the delivery route one more time.
- Photograph the taped layout for reference.
Final recommendation
Measure a standing desk as a moving workstation, not a rectangle. Begin with the room and equipment, add the user's seated and standing needs, then check the chair, cables, floor and delivery route. A careful fifteen-minute layout test can prevent an expensive size or placement mistake.
Sources: CCOHS, Working Space; CCOHS, Sit/Stand Desk; CCOHS, Workstation Ergonomics, consulted September 28, 2026. Verify final dimensions on the current manufacturer's product page and installation guide.
Previous article
How to Mount a Laptop Beside a Monitor at a Standing Desk
Next article
How to Mount a Laptop Beside a Monitor at a Standing Desk