

How to Adjust an Office Chair for Hip Comfort

In this article
Hip discomfort at a desk often means the chair and workstation are not fitting together well. Start with seat height, seat depth and foot support before adding cushions or changing posture dramatically. The goal is to create room at the hips, distribute weight across the thighs and let the backrest carry part of the load.
General ergonomic adjustments can improve comfort, but they do not diagnose an injury. Persistent, severe or radiating pain, numbness, weakness or symptoms after an injury should be discussed with a qualified health professional.
Why a chair can feel uncomfortable at the hips
A chair that is too low places the knees above the hips and closes the angle at the front of the body. A chair that is too high leaves the feet unsupported and may increase pressure under the thighs. Excessive seat depth encourages sliding forward, while a narrow seat can concentrate pressure at the sides.
The desk can contribute too. If it is too high, you may raise the chair until your feet dangle. If it is too low, you may lean forward or tuck the legs back. Adjust the chair and desk as one system rather than treating the chair in isolation.
1. Set seat height
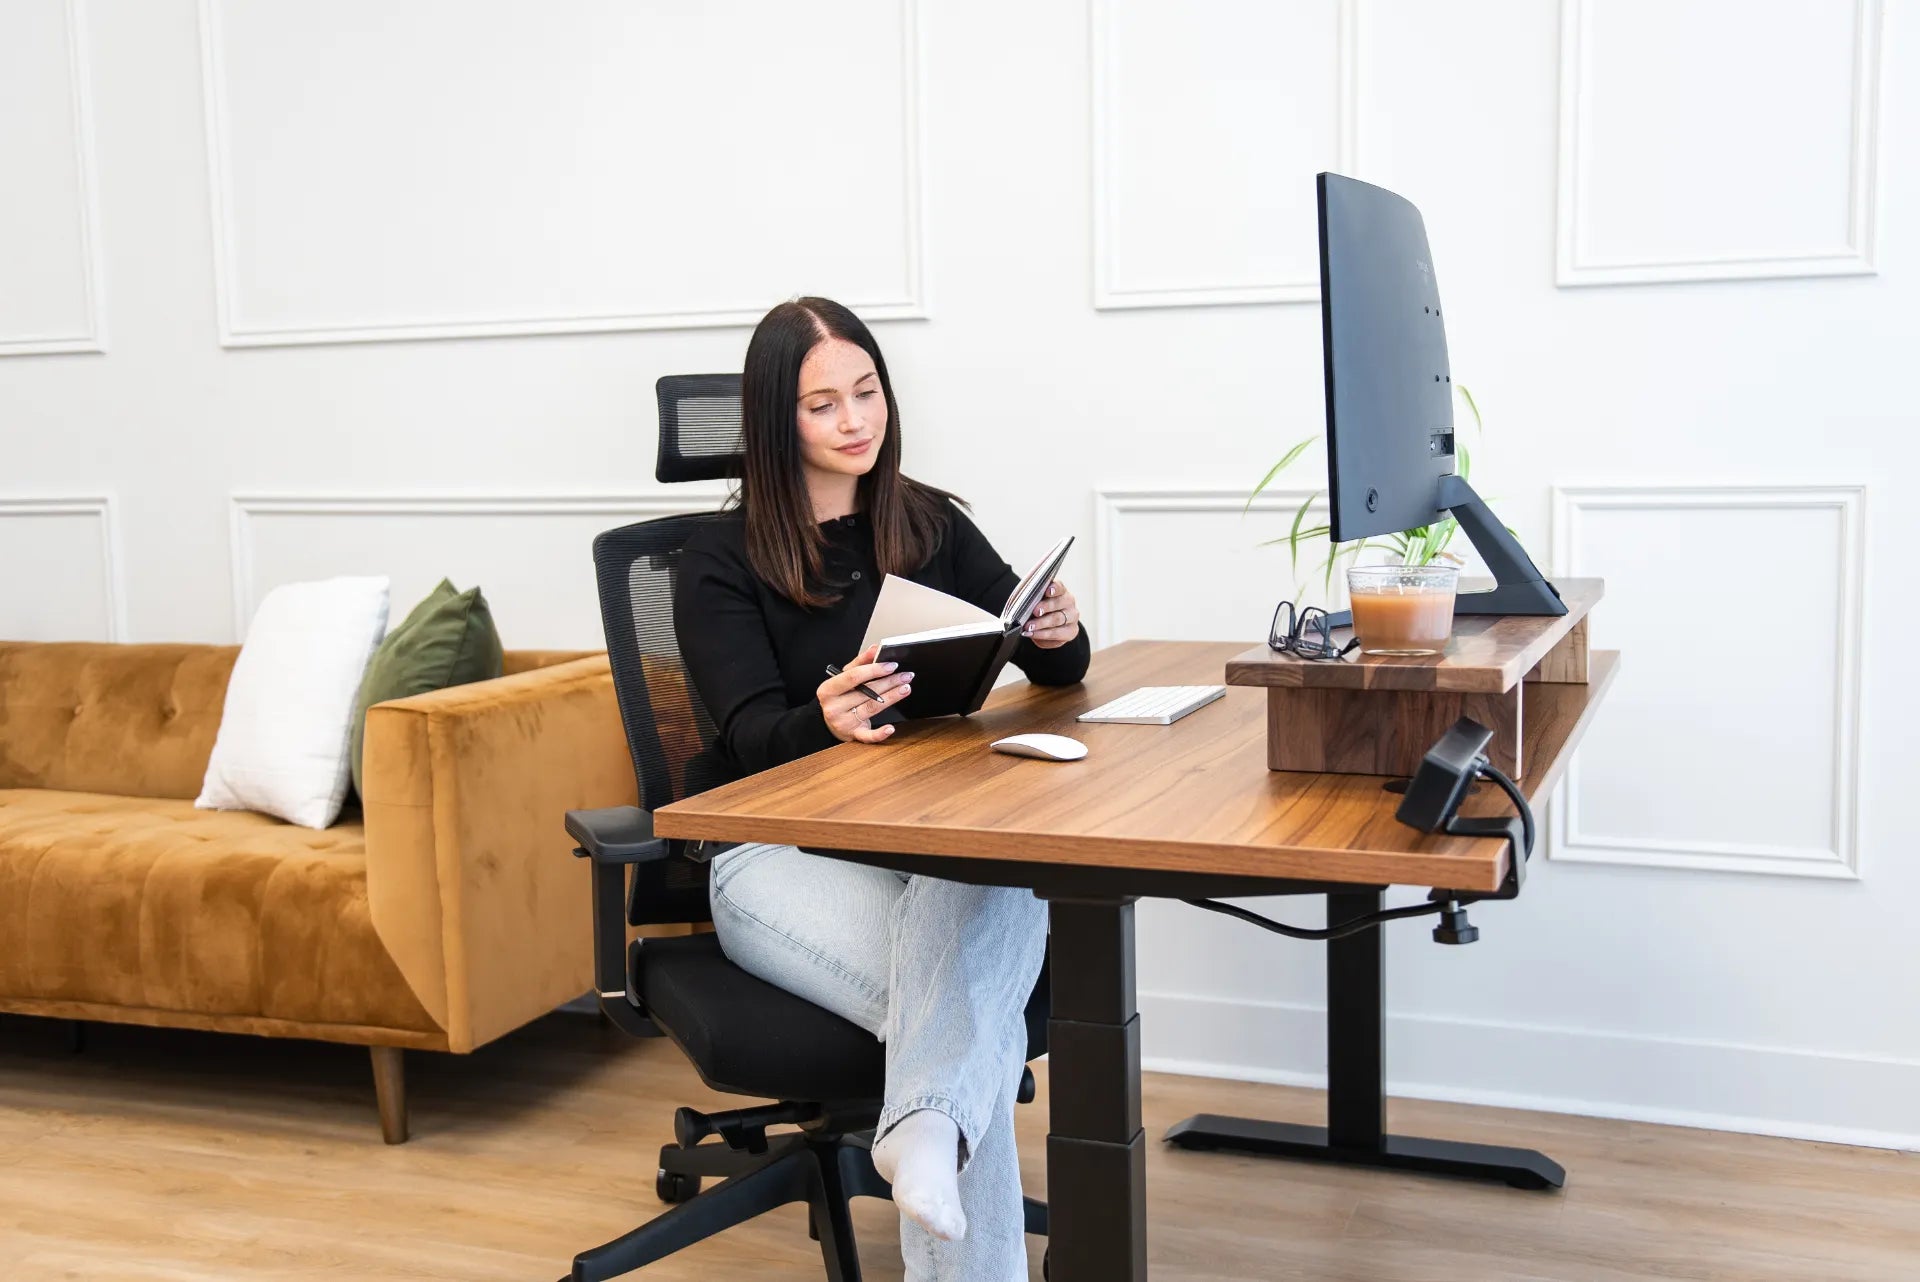
Sit fully against the backrest with both feet supported. Aim for knees around hip level or slightly lower. The Canadian Centre for Occupational Health and Safety recommends feet flat on the floor or on a footrest, with knees at or below the hips. This creates a more open hip angle than sitting with the knees high.
If a fixed desk requires a higher chair position, use a stable footrest. Do not balance on the toes or slide forward to reach the floor. Check that the footrest supports the whole foot and does not force the knees upward.
2. Correct seat depth
Leave about three finger widths between the front edge of the seat and the back of the knees. Too much depth stops the pelvis from reaching the backrest. Too little depth reduces thigh support and can concentrate weight under the sitting bones.
Use a seat slider if available. Move it in small increments, then work several minutes before judging. Your calves should not press against the edge and you should not need to perch. If the chair has no depth control, seat-pan length becomes an important buying measurement.
3. Check seat width and contours
The seat should allow you to sit centred without the frame, armrest supports or raised edges pressing into the sides of the hips. A deeply contoured seat may fit one body well and another poorly. Evaluate the usable flat area rather than the widest external dimension.
Clothing and pocket contents matter. A coat, wallet or phone in a back pocket can shift the pelvis and create uneven pressure. Remove those items before changing the chair so you are solving the real setup problem.
4. Use lumbar support gently
Place lumbar support in the inward curve of the lower back. If it is too deep, it may rotate the pelvis forward or move you away from the seat. If it is too low, it may press near the top of the pelvis. Aim for broad contact, not the strongest possible pressure.
Our lumbar support positioning guide explains how to find the correct zone and test the setting over a real work period.
5. Adjust recline and tilt tension
Sitting rigidly upright all day is not the target. A modest recline can open the hip angle and redistribute contact toward the backrest. Set tension so the chair follows you without dropping away or pushing you forward. Compare an upright typing position with a slightly reclined reading position.
CCOHS notes that no single sitting position stays comfortable over a long period. Use recline to vary posture, not as a permanent cure. If the seat tips sharply with the backrest, confirm that your feet remain supported.
6. Place the armrests
Armrests should lightly support the forearms without lifting the shoulders or blocking your approach to the desk. When they are too high or wide, people sometimes lean to one side. When they hit the desktop, people sit too far back and reach forward.
Lower, narrow or move them until the torso stays centred. If fixed armrests interfere, remove them only if the manufacturer permits it. Never force a component that is part of the chair structure.
7. Bring the work closer
A distant keyboard, mouse or screen pulls the torso away from the backrest. Bring input devices close enough that the upper arms remain near the body. Centre the monitor and frequently used objects so you are not twisting repeatedly through one hip.
An adjustable desk can meet the elbows after the chair is set. A fixed desk may require a keyboard tray or footrest. Avoid raising only one arm or resting body weight on the desk edge.
Footrests and cushions
A footrest is useful when the chair must be raised for the desk. Choose a stable surface large enough for both feet. A seat cushion changes height, depth and lumbar contact, so treat it as a major adjustment rather than a harmless accessory.
Avoid very thick or uneven cushions that reduce usable seat depth or tilt the pelvis to one side. If a clinical cushion was recommended, follow the professional instructions and readjust the rest of the workstation around it.
Common mistakes
- Raising the chair for the desk without supporting the feet
- Sitting cross-legged for long periods because the seat feels too high
- Using maximum lumbar depth automatically
- Keeping a wallet or phone in a back pocket
- Locking the chair upright and avoiding all movement
- Changing several settings at once and losing track of what helped
A practical 30-minute test
Change one setting, then type, use the mouse, read and recline for 20 to 30 minutes. Notice whether pressure is centred, whether one foot moves repeatedly and whether you slide forward. Repeat later in the day when fatigue makes compensations easier to notice.
Keep a brief note of the final height, depth and recline tension. Shared workstations are easier to reset when each person knows their reference settings.
When the chair may be the wrong size
If the feet cannot be supported within the chair range, the seat edge presses the knees even at minimum depth, or the armrest supports squeeze the hips, adjustments may not solve the mismatch. Compare the published dimensions with your body and desk before replacing equipment.
A short showroom test should include typing, reclining and reaching. Do not judge only by softness. Pressure patterns often become clearer after several minutes.
Choosing a chair for hip comfort
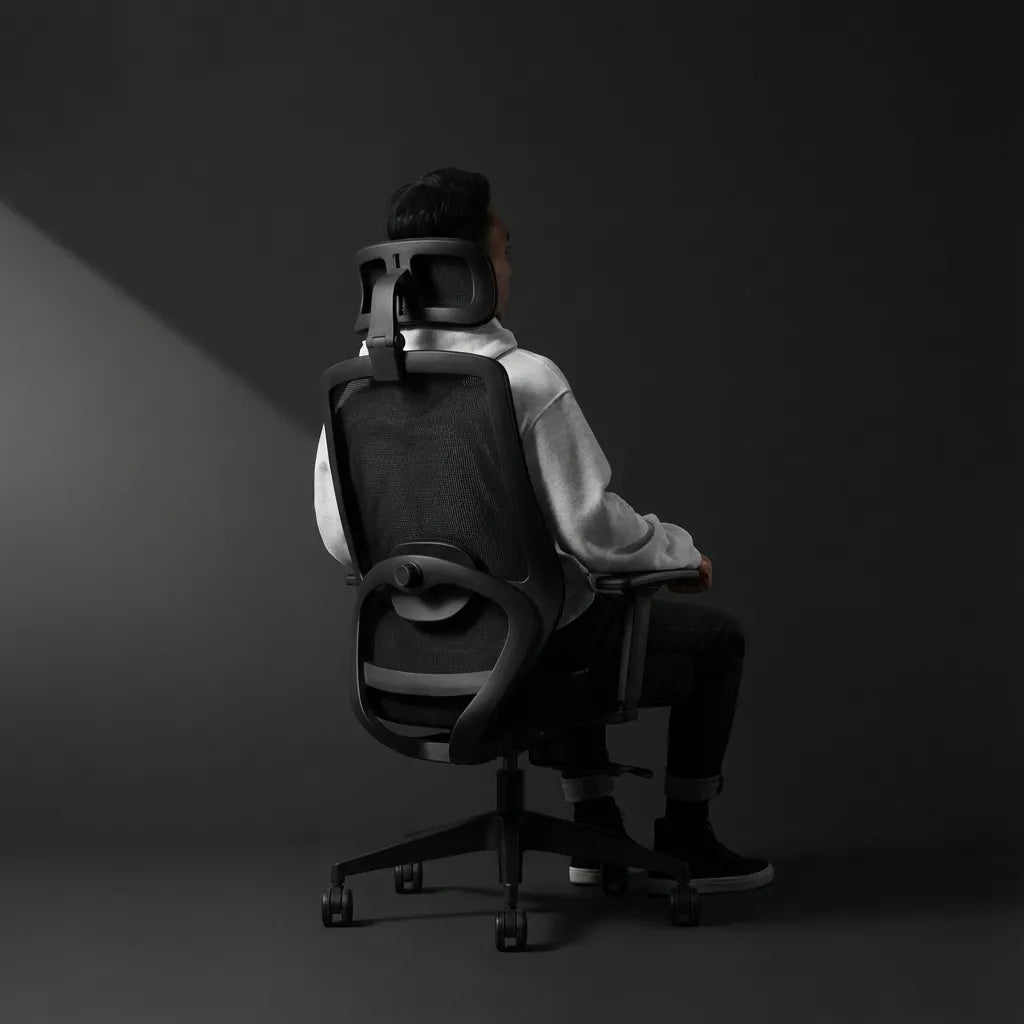
Prioritize an appropriate height range, adjustable depth, usable width, a supportive front edge and smooth recline. The Loop Ergonomic Chair includes seat-depth adjustment, adjustable lumbar support, 3D armrests and infinite recline locking. The Peak Ergonomic Chair is another fully adjustable Burotic option.
Use our chair fit guide and chair height guide to compare measurements and setup order.
The practical takeaway
For hip comfort, begin with supported feet, knees at or slightly below the hips and clearance behind the knees. Then refine lumbar contact, recline, armrests and desk height. Change position regularly and avoid treating one rigid posture as the goal.
If one small adjustment makes symptoms worse, return to the previous setting. Persistent discomfort deserves professional assessment rather than endless workstation experimentation.
Previous article
Office Chair Tilt Mechanisms Explained: Synchro, Knee and More
Next article
Mesh vs. Upholstered Office Chairs: Which Is Better for You?