

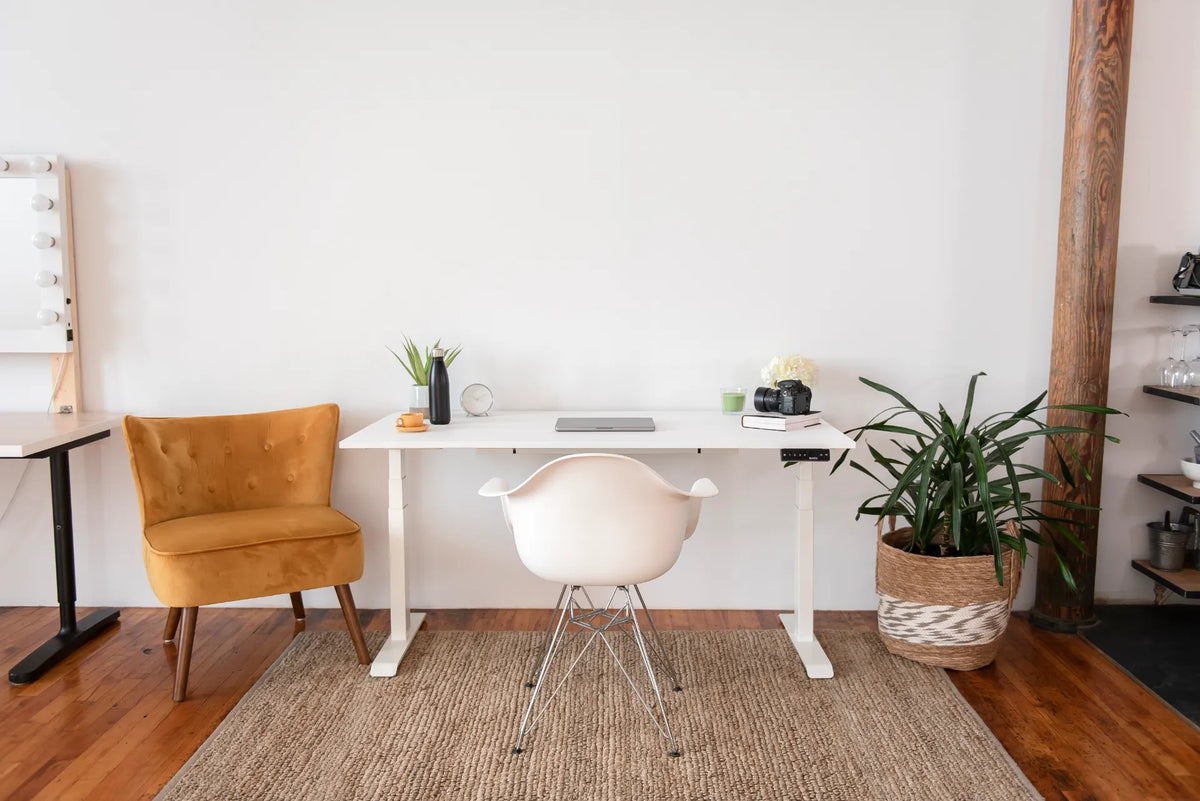
Standing Desk Setup for Content Creators: Camera Gear, Editing and Workflow

In this article
A content creator's desk has to do more than hold a computer. It may be an editing station in the morning, a product-photography surface after lunch and a video-call set before the day ends. A standing desk can make those transitions easier, but only when the equipment, lighting and cables are planned around the desk's full movement.
The best standing desk setup for content creators is not the one with the most gear. It is the one that keeps the current task accessible, protects equipment and lets the user change posture without rebuilding the workspace. This guide explains how to create that system for photography, video, audio, design and editing work.
Start with the work, not the accessories
List the activities that actually happen at the desk. A photographer may review images, charge batteries, clean lenses and occasionally photograph small objects. A video creator may edit, record voice, join calls and transfer large files. A designer may need a keyboard and mouse for long sessions plus open space for sketching. Each activity needs a different amount of surface area and a different relationship to the screen.
Group those activities into three zones. The primary zone is the area directly in front of the body, where the keyboard, pointing device or current hands-on task belongs. The secondary zone is within easy reach and can hold a notebook, control surface or frequently used lens. The storage zone is for chargers, spare batteries and equipment that does not need to remain on the moving surface.
This simple map prevents the common mistake of treating every item as equally important. It also makes a future purchase easier to judge: if an accessory has no clear zone or daily purpose, it may add clutter rather than capability.
Choose enough surface, then protect usable depth
Width matters when a workflow includes a monitor, laptop and camera, but usable depth is often the tighter constraint. The screen should not force the keyboard toward the front edge, and a camera placed behind the keyboard should not block the monitor or become vulnerable when the desk moves.
Measure the equipment in its working position, not in a product box. Include the monitor stand or arm, the open laptop, the keyboard, the mouse movement area and the space required to set down a camera safely. Then leave a clear margin at the front so the forearms can remain relaxed instead of reaching over equipment.
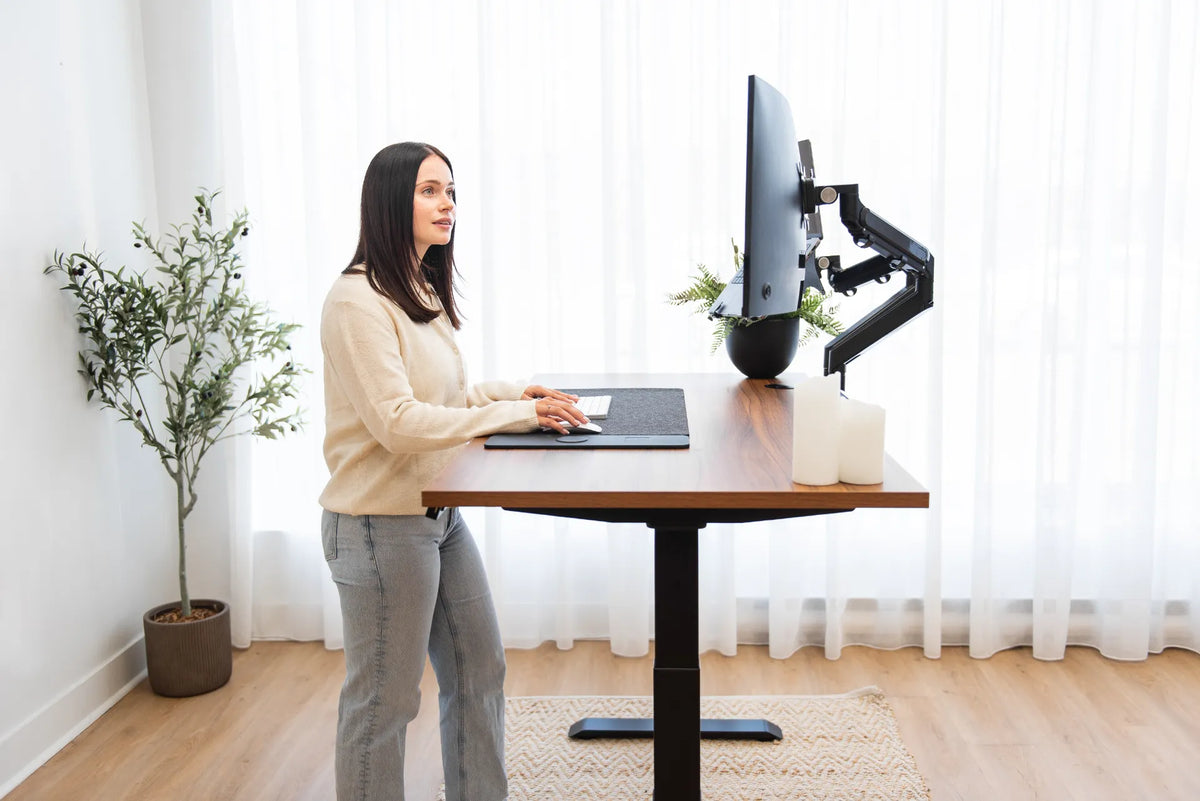
A monitor arm can recover surface area, but it still needs compatible mounting space and enough range for the screen. The Burotic monitor-arm compatibility guide explains what to verify before mounting. For a larger or custom surface, review the Aspire custom solid wood standing desk rather than assuming that one standard size fits every creative workflow.
Set the editing position before the filming position
Editing is usually the longest continuous task, so establish that position first. The Canadian Centre for Occupational Health and Safety recommends arranging the screen so the neck can remain neutral and the viewing distance is comfortable. Exact measurements vary with screen size, text size, vision and the work being viewed, so use a range and adjust from experience rather than chasing one universal number.
Place the main screen directly in front of the body for single-screen work. If a laptop is the second display, raise or angle it so frequent glances do not require repeated twisting. Keep the keyboard and mouse close enough that the shoulders stay relaxed. The laptop and monitor setup guide covers this arrangement in more detail.
Create separate saved heights, if the desk controls allow it, for seated editing, standing editing and filming. A recording height may prioritize the camera frame, while an editing height should prioritize the hands and screen. Do not force one compromise height to serve every task.
Plan camera and lighting gear around movement
Keep heavy or fragile equipment predictable
A camera resting on the desktop should have a defined landing area away from the edge and away from drinks. Place lenses in a padded case or stable organizer instead of leaving them where a rising desk can carry them into a wall shelf. If a tripod stands beside the desk, test the complete desk travel with the tripod in its normal position.
Lights, microphones and overhead camera mounts can be attached to the desk or supported independently. Desk-mounted equipment moves with the work surface, which can preserve its relationship to the subject. Independent stands isolate vibration and may support larger equipment, but the desk can collide with them. The right choice depends on the weight, clamp limits and working range of the actual equipment.
Control glare before adding brightness
More light is not automatically better. Position the monitor to reduce reflections from windows and bright fixtures, then add task or video lighting as needed. The CCOHS lighting checklist recommends looking for glare, reflections and uneven illumination. For colour-sensitive editing, keep the surrounding light reasonably consistent so the image does not appear to change simply because the room became warmer or brighter.
Build a cable path that can travel
A standing desk changes the distance between the desktop and the wall outlet. Every power, data and audio cable that crosses that boundary needs enough controlled slack for the highest position without forming a loop that catches at the lowest position.
- Move the desk to its highest intended height.
- Connect the computer, monitor, lights and charging equipment.
- Route desktop cables into one anchored path under the surface.
- Leave one controlled service loop between the moving desk and the fixed outlet.
- Lower the desk slowly while watching every cable and nearby object.
Keep storage drives and card readers on the moving side when possible. A short data cable between two devices on the desktop is easier to manage than a cable that repeatedly bridges moving and fixed furniture. The standing desk cable-management guide provides a complete planning method.
Do not overload a receptacle or substitute an extension cord for permanent wiring. Use electrical products bearing a certification mark recognized in Canada, follow their ratings and replace damaged cables. If the power requirement is unclear, consult a qualified electrician.
Separate active gear from archive storage
The moving desktop should carry what the current session needs. Camera bodies, a daily lens, headphones and an active notebook may belong there. Backup drives, cases, seasonal equipment and packaging are better stored on a fixed shelf or in a cabinet.
Label battery and card locations so charged, used and empty items cannot be confused. A small tray can act as an intake point after a shoot. Files should be copied and backed up before cards are cleared, using a process appropriate to the value of the work. Good storage is not only visual organization; it reduces the chance that a fragile item will fall or a project will be misplaced.
Match posture to the creative task
Standing is useful for short reviews, product styling, packing equipment and tasks that benefit from movement. Sitting may be more comfortable for precise masking, retouching or long writing sessions. Neither position should become a test of endurance. CCOHS guidance on sit-stand work emphasizes variation and adjustment rather than prolonged static posture.
Change position before discomfort becomes the reminder. A practical rhythm might be to stand during imports and selects, sit for detailed edits, then walk while a large export finishes. The specific pattern matters less than creating regular opportunities to move. See when to sit or stand at a standing desk for task-based examples.
Use a full-range test before calling the setup finished
Place the equipment as it would be used on a busy day. Raise and lower the desk through its full intended range. Watch the monitor, camera, lights, plant, cables, drawers, chair, rug and wall. Check that the desk remains clear of shelves and that nothing can be pulled by a cable.
Then complete one real workflow from start to finish: transfer files, edit, charge a device and prepare the next shoot. Note every unnecessary reach and every item that had to be moved twice. Small corrections made during this test are more valuable than decorative additions chosen before the workflow is understood.
A flexible studio starts with a clear system
A well-planned standing desk can support creative work without turning into permanent equipment storage. Define the tasks, protect usable depth, establish ergonomic editing positions, give fragile gear a safe home and route cables for motion. The result is a workspace that can shift from focused editing to hands-on production with less friction.
If a standard surface cannot comfortably hold the real equipment, Burotic can help you compare desk sizes and accessories. Begin with measurements and the workflow you want to protect, then choose only the components that solve those specific needs.
Previous article
How to Clean a Wireless Charging Desk Pad Safely
Next article
How to Clean a Wireless Charging Desk Pad Safely