

Standing Desk Setup for Video Calls: Camera, Light and Background

In this article
A good standing desk setup for video calls has to work as a workstation before it works as a studio. The camera should frame you naturally, but the keyboard, screen and mouse still need comfortable positions. Lighting should make your face visible without putting a bright window behind you. Cables must have enough travel for both sitting and standing heights.
The most reliable approach is to create one call position, test it in the software you actually use and save the desk height when the equipment is stable. You do not need a large production setup. A deliberate camera angle, soft front light, quiet audio and a simple background solve most problems.
Choose whether calls will be seated or standing
Standing can add energy to a short presentation, while sitting may be more comfortable for a detailed meeting that requires notes and precise mouse work. Neither position is automatically more professional. Choose according to the task and change position between meetings rather than moving continuously on camera.
Set the desk so the keyboard is near elbow height and the shoulders stay relaxed. Then adjust the camera independently. Do not raise the whole desk simply to bring a laptop camera to eye level, since that also raises the keyboard. A separate screen support or laptop stand with an external keyboard can separate those requirements.
Put the camera near the line of sight
Use the screen you look at most
Place the meeting window on the screen closest to the camera. If the camera is above one display but the participants appear on another, your gaze will seem consistently off to the side. Keep notes close to the meeting window and move private notifications away from the shared screen.
For a laptop, raise the computer only when a separate keyboard and pointing device are available for longer meetings. For an external webcam, mount it securely near the top centre of the primary display. Avoid balancing it on loose objects that can move when the desk changes height.
Frame before buying accessories
Open the actual video application and check the final crop. Leave some space above the head, include the shoulders and keep the lens reasonably close to eye height. Small differences are usually less distracting than an extreme low angle or a camera far to one side.
A monitor arm can help coordinate screen and camera height, but compatibility comes first. Verify monitor weight, mounting pattern, clamp clearance and cable travel before choosing a configuration.
Use front or side light, not a bright background
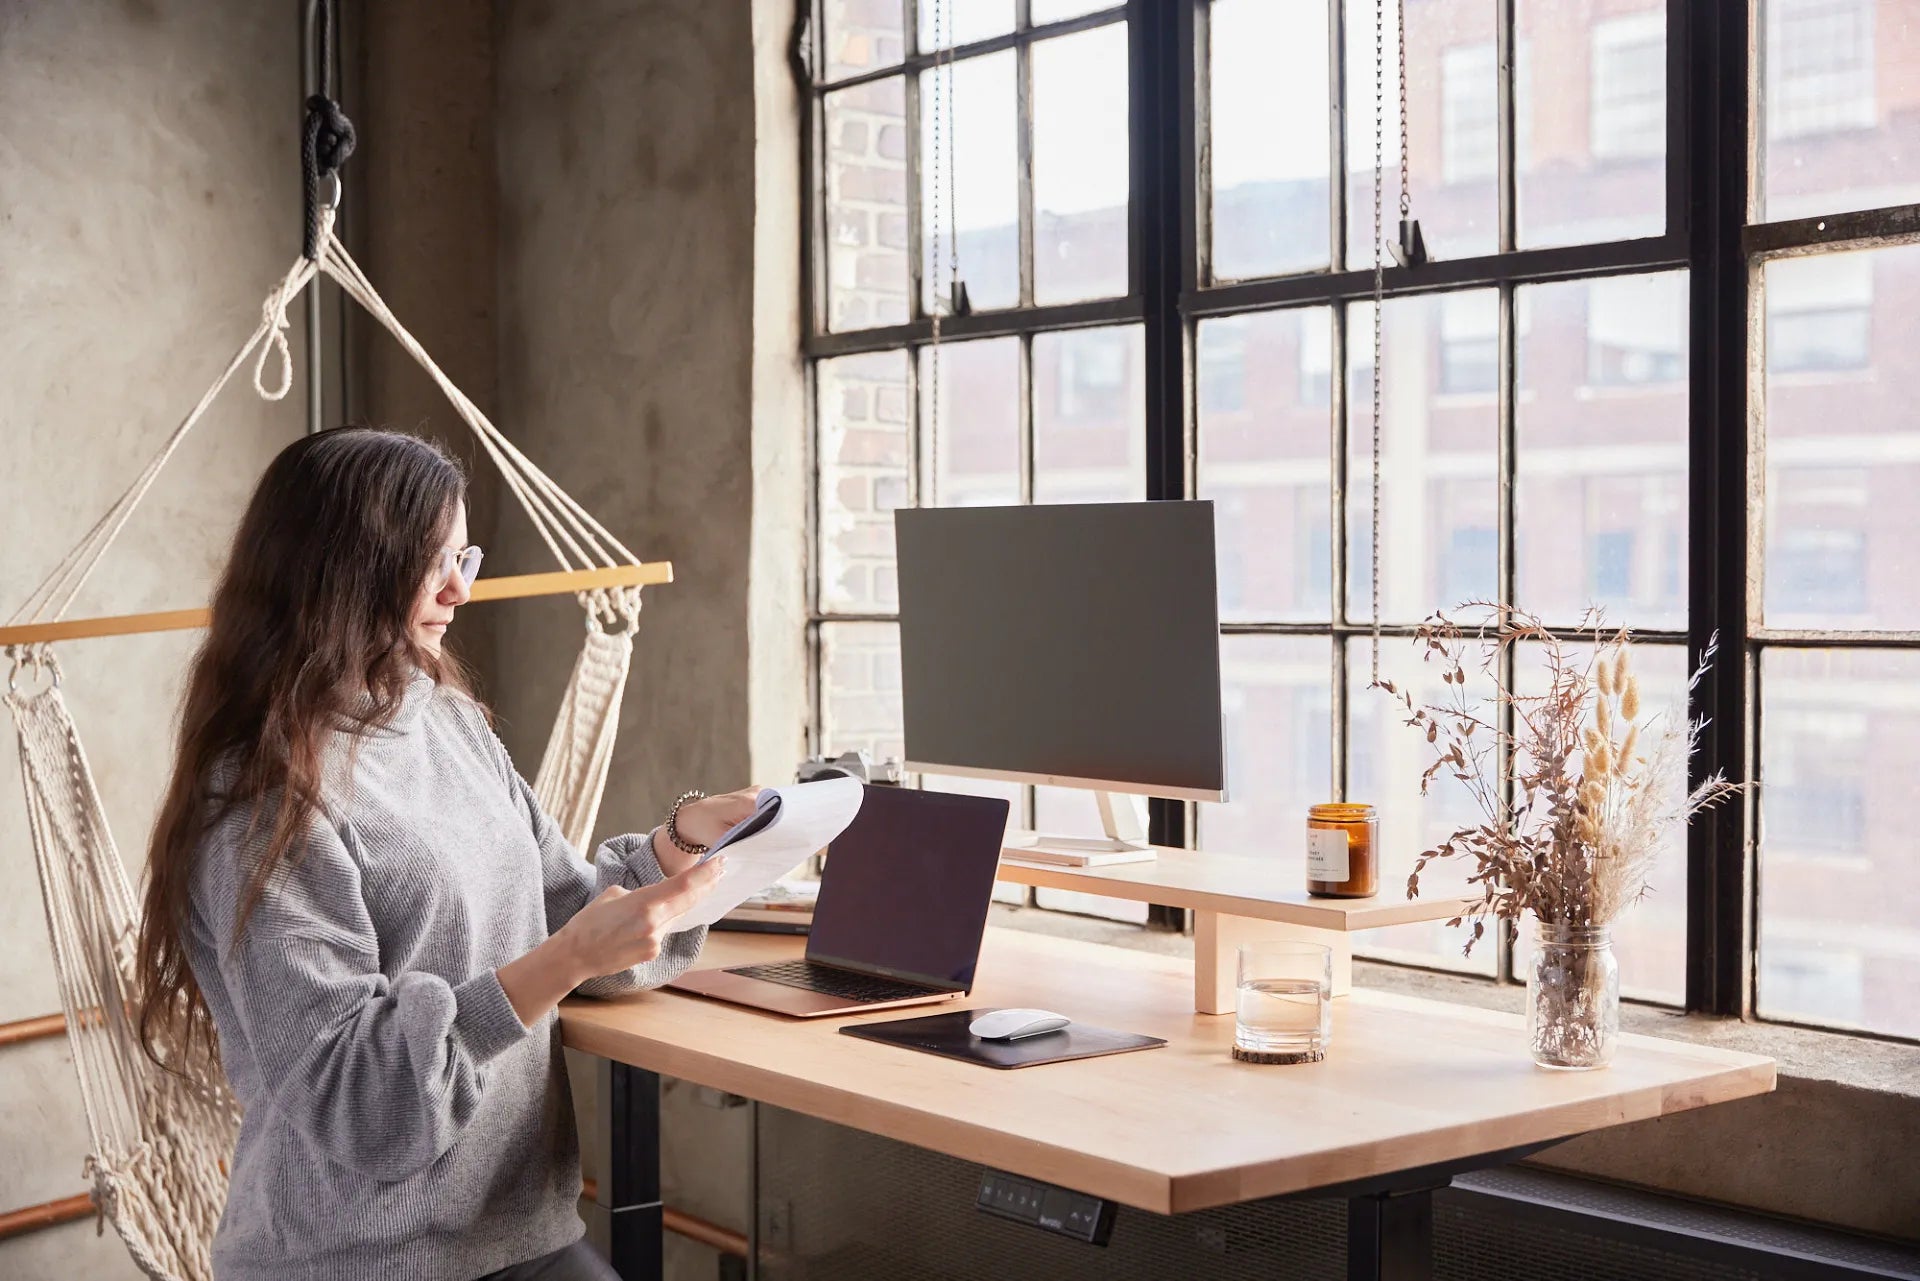
Face a window when the daylight is soft and stable, or place the window slightly to one side. A bright uncovered window behind you can turn the face into a silhouette. Direct midday sun can also change during the call, so blinds or a diffusing curtain may be more dependable than daylight alone.
The CCOHS lighting checklist recommends checking glare, reflections, shadows and differences in brightness across the work area. Add a lamp in front and slightly above eye height if the room is dark. Keep it far enough away to soften the light and prevent reflection in glasses.
Burotic's guide on placing a desk near a window covers daylight, glare and room orientation in more detail.
Build a background with depth and restraint
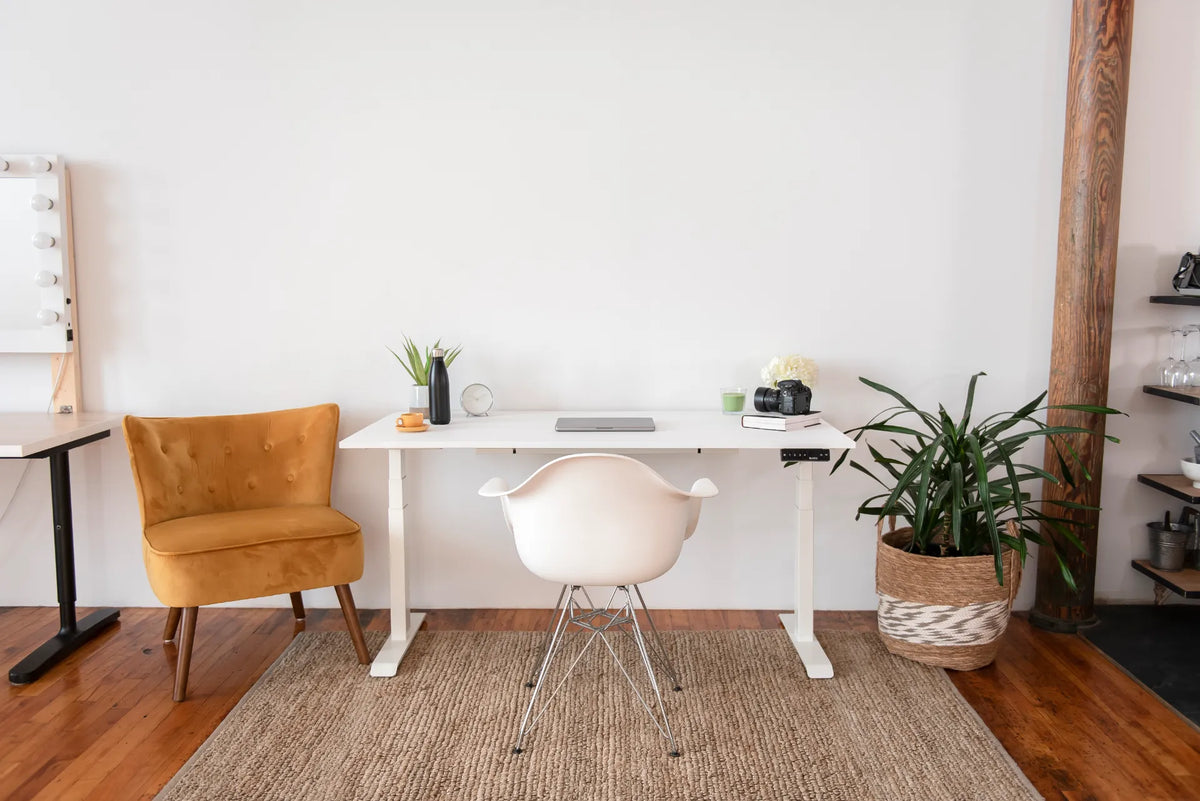
A simple background is easier to maintain than a highly styled one. Move the desk far enough from the wall that the camera can separate you visually from it, if the room permits. Keep confidential documents, household traffic and reflective surfaces out of frame.
Use one or two deliberate elements such as a plant, shelf or framed piece. Check the crop at sitting and standing heights because objects that disappear when seated may enter the frame when the desk rises. Virtual backgrounds can be useful for privacy, but uneven lighting and movement may create distracting edges.
Make the audio predictable
Good audio usually matters more than a perfect image. Start with the microphone already built into a reliable headset or camera before adding equipment. Position the microphone consistently and use the application's test function. Keep speakers from feeding back into an open microphone.
Reduce nearby sources of noise: desk motors, fans, open windows, mechanical keyboards and hard empty surfaces. A rug, curtain and other normal room textiles can reduce some reflections, but they are not substitutes for a suitable microphone and a quiet location.
Plan cables for the full desk movement
Camera, lamp, microphone and charging cables all move when they are attached to the desktop. Raise the desk to its maximum intended call height with one hand near the controls and stop if anything pulls. Leave controlled slack between the moving desk and the wall supply while keeping loops away from legs, casters and feet.
Do not route a webcam cable tightly behind an arm joint. Rotate and tilt the screen through its normal range before securing the final path. If the setup changes often, label both ends of similar cables. The Burotic standing desk cable-management guide provides a full movement test.
Create a dedicated call preset
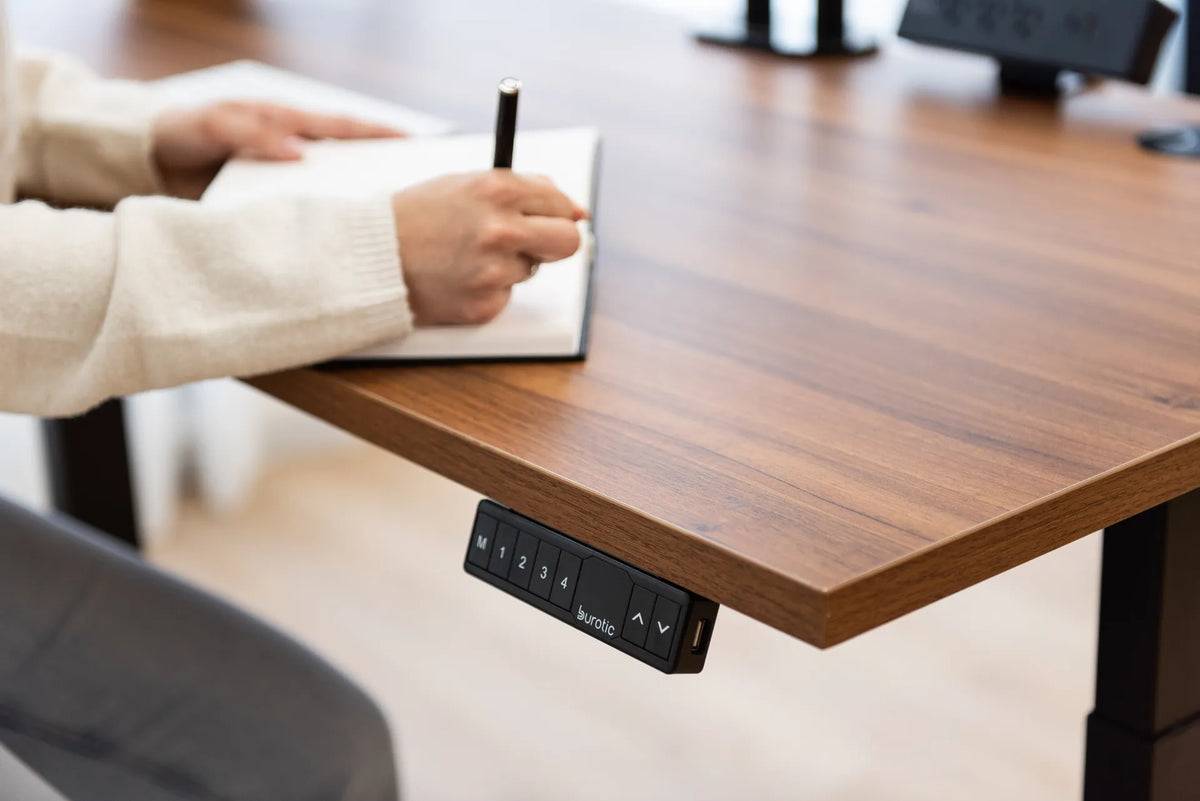
Once the camera, hands and lighting work together, save that desk height if the controller supports memory. A call preset may differ slightly from the height used for concentrated typing because the camera and framing become part of the setup. Do not save it until the desk can move without pulling a cable.
If several people share the workstation, record each user's call height or leave a short setup card. Test framing after a different chair is introduced. The Aspire Custom Solid Wood Standing Desk is one current Burotic option for a tailored work surface; measure the room and required height range before selecting any desk.
Prepare the surface for the meeting
Keep water, notes and the pointing device within easy reach but outside the camera's lower edge. Remove reflective packaging and anything that could reveal private information when screen sharing. Put the phone on silent and keep it away from the microphone unless it is part of the meeting.
Close unnecessary applications and select the correct camera, microphone and speaker before joining. Use a wired network or strong wireless connection where practical. A technically simple desk that works every time is more useful than a complex setup that must be rebuilt before every call.
A two-minute pre-call check
- Move the desk to the tested call height.
- Confirm that the camera is secure and near the primary screen.
- Check the face exposure and remove strong backlight.
- Test the microphone and speaker in the meeting application.
- Look for confidential or distracting background objects.
- Confirm that cables remain relaxed at this height.
- Place notes and water within comfortable reach.
Keep the setup consistent
The May 22, 2026 Oakywood guide to video-call desk setups also emphasizes camera height, front lighting and background planning. The useful distinction for an adjustable desk is repeatability: the entire arrangement needs to remain safe and predictable at more than one height.
Run one private test call from the application and device you actually use for work. Record a short sample while seated and standing, then listen with headphones. This can reveal framing shifts, room echo, notification sounds and autofocus changes that a still preview hides. Repeat the test after moving the desk or replacing a major accessory.
Start with the work position, move the camera rather than the hands, control the brightest light and save a tested preset. With those relationships fixed, a standing desk can support quick calls, longer meetings and presentations without becoming a complicated studio.

Previous article
Monitor Setup for Progressive Lenses and Bifocals
Next article
How High Should a Balance Stool Be? Sitting and Perching Guide